How to create motion path animation in Animate

The following tutorial will show you how to create animated UI elements along a predefined path in Adobe Animate.
The most important points of this tutorial are to learn:
- How to create and use Motion path
- How to change the easing of the animation to make the movement more natural.
Here is how the final variant will look.

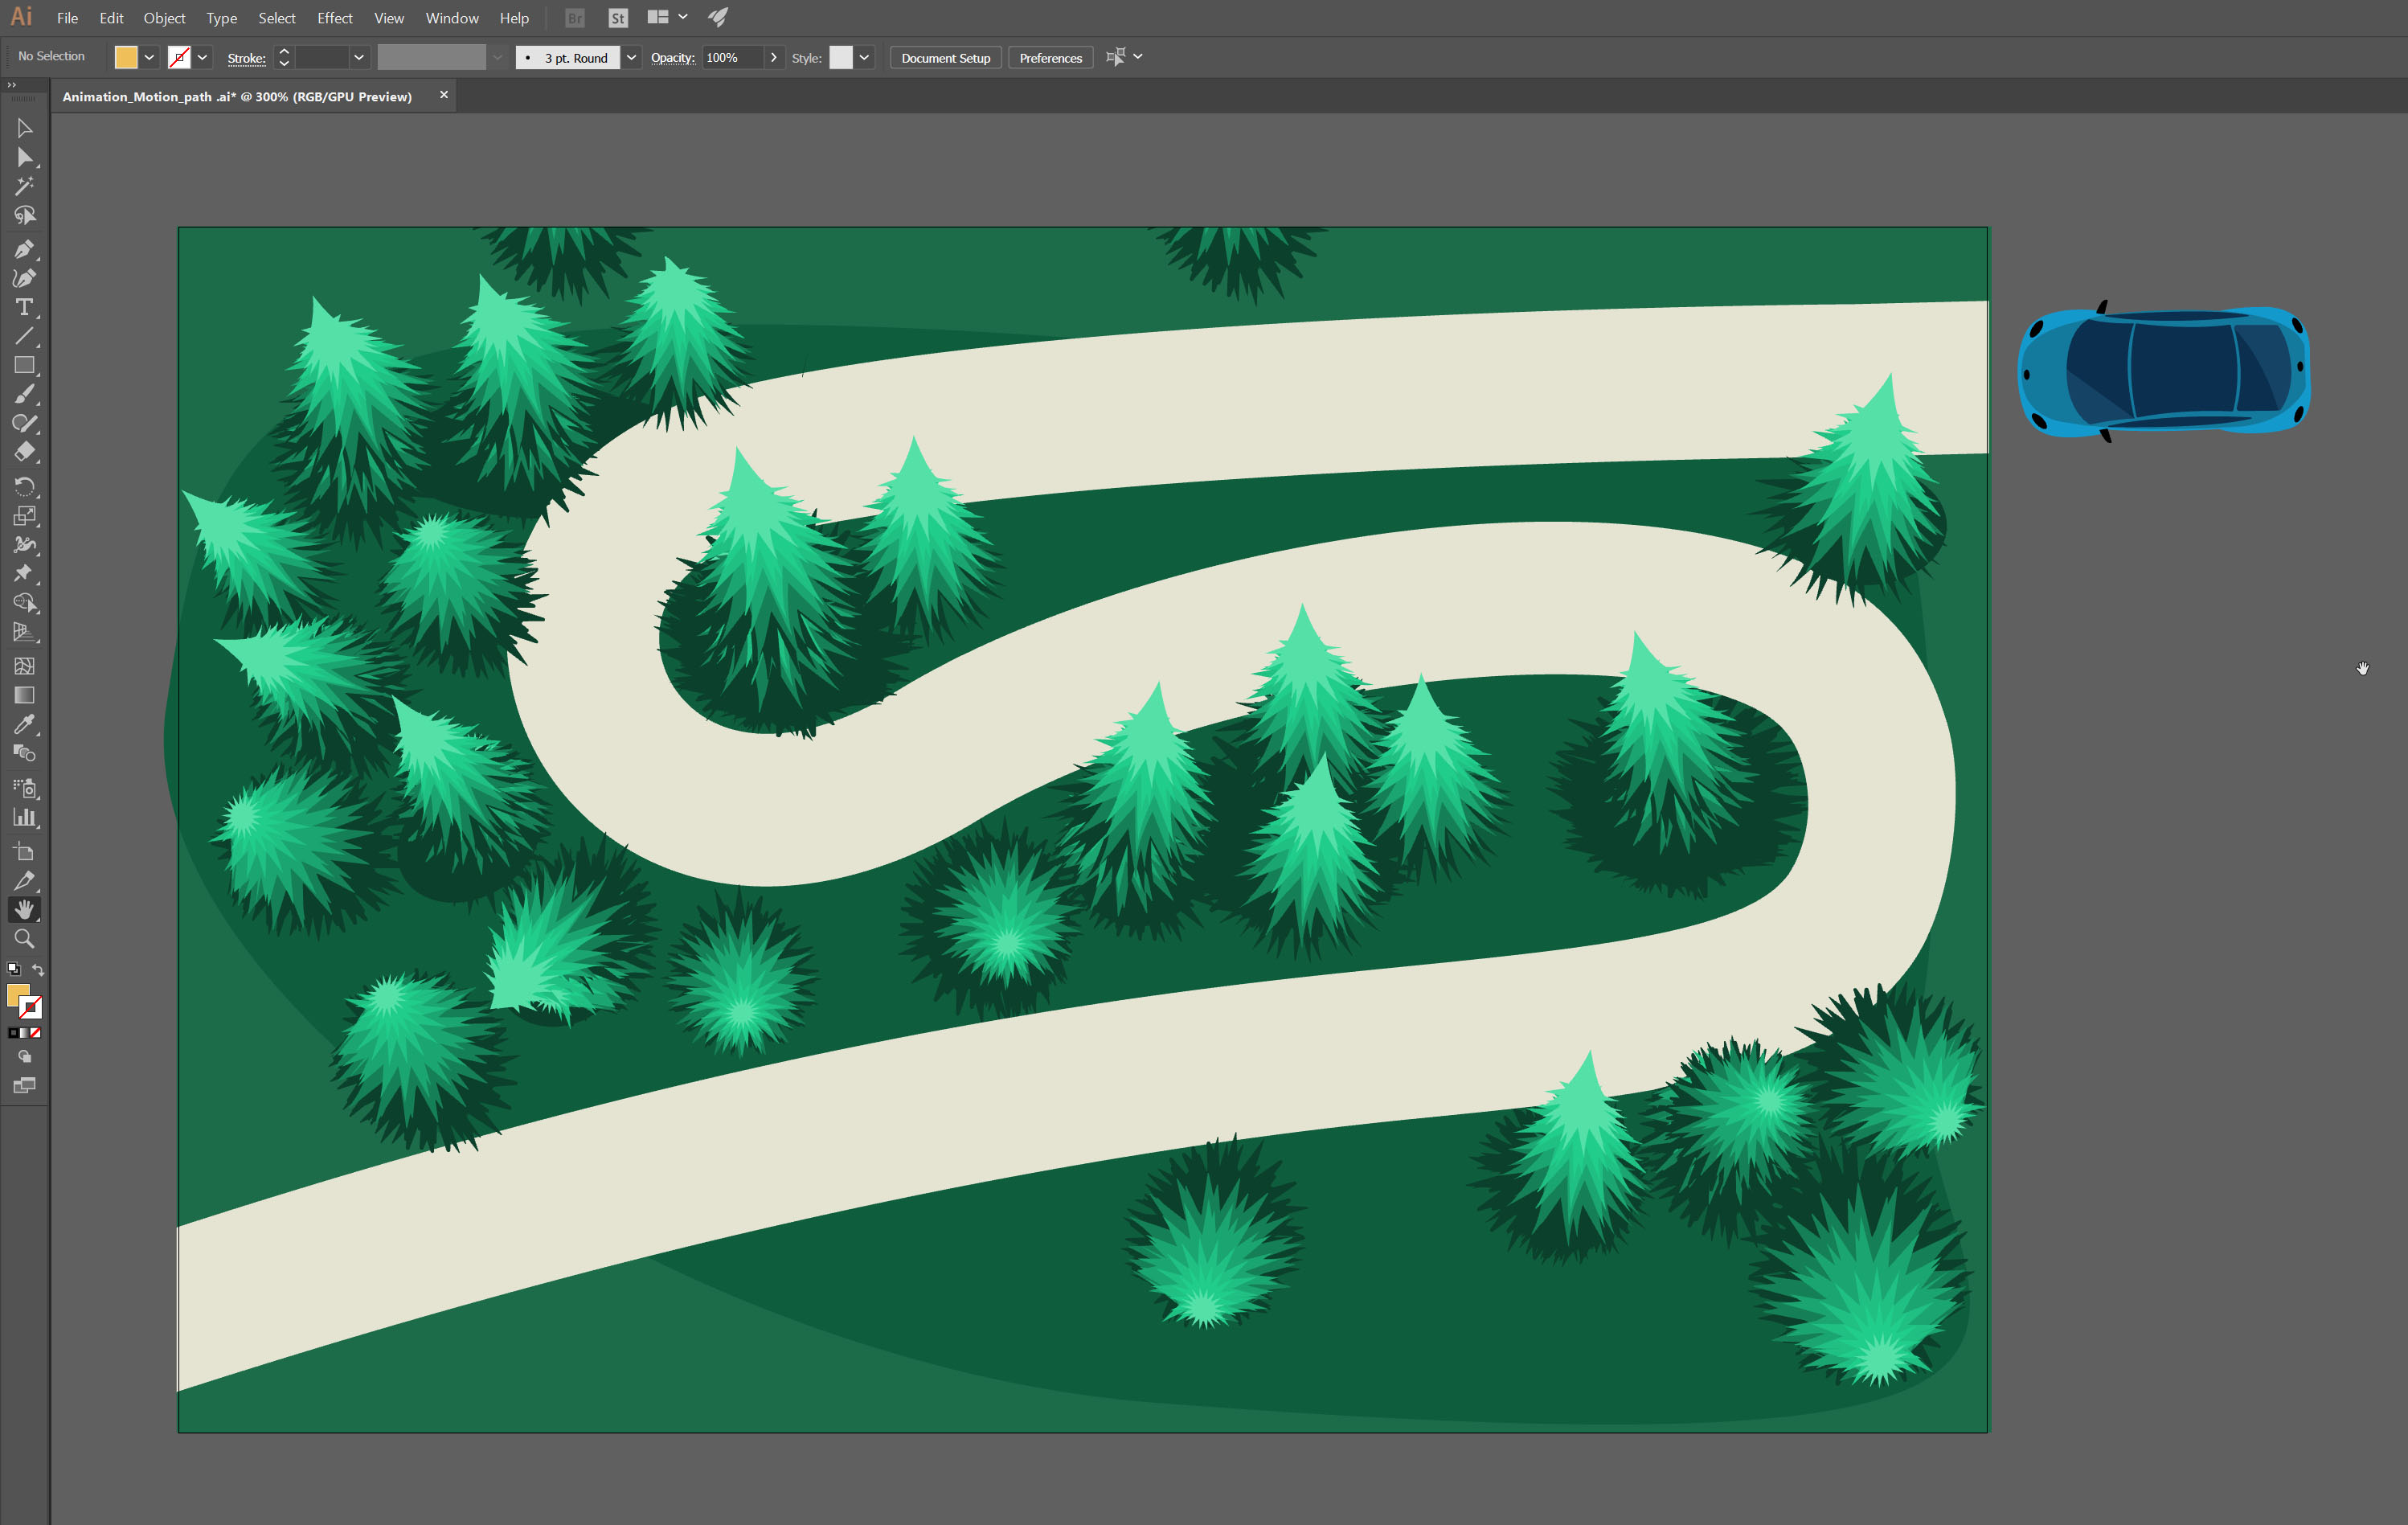
For this tutorial, we used Adobe Illustrator to create the vector assets for the scene. We decided to do so because it’s a vector based program like Animate and it’s easy to exchange assets between them.
We start off by creating a scene that consists of a road with two turns and a car for the purpose of the tutorial.
Step 1 – Import the assets in Animate
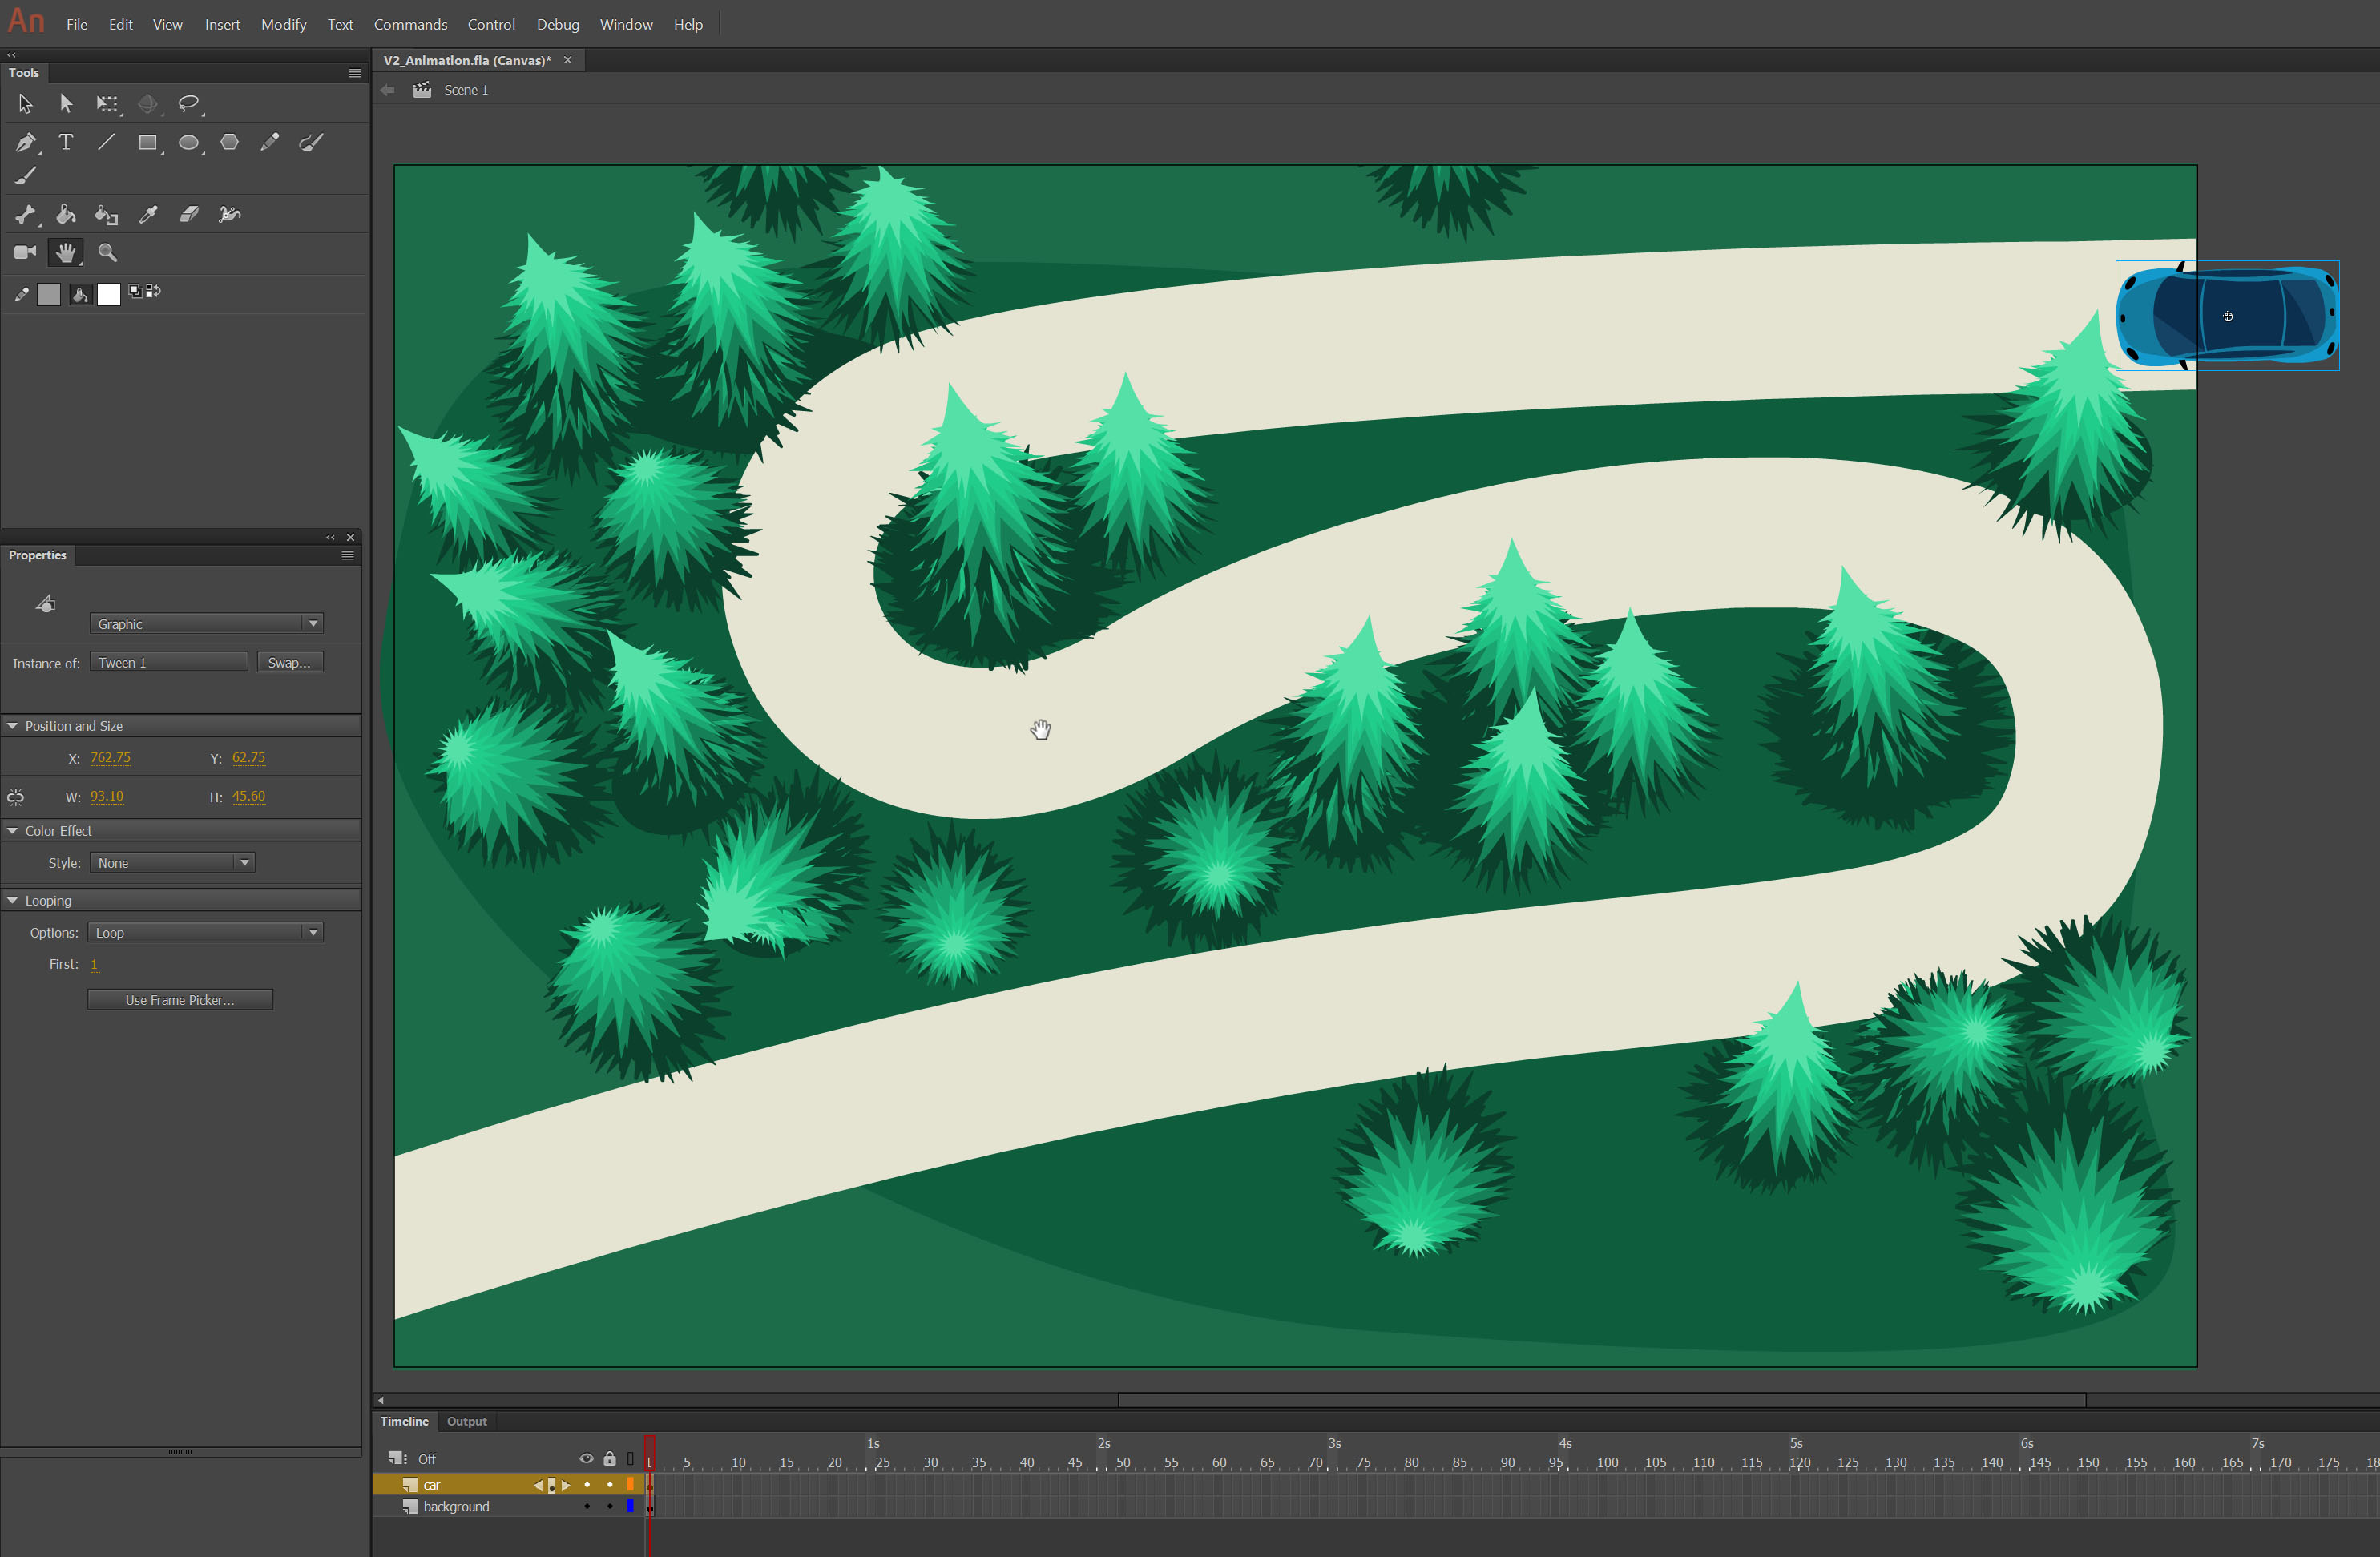
Import vector based background asset to Animate on the first layer.

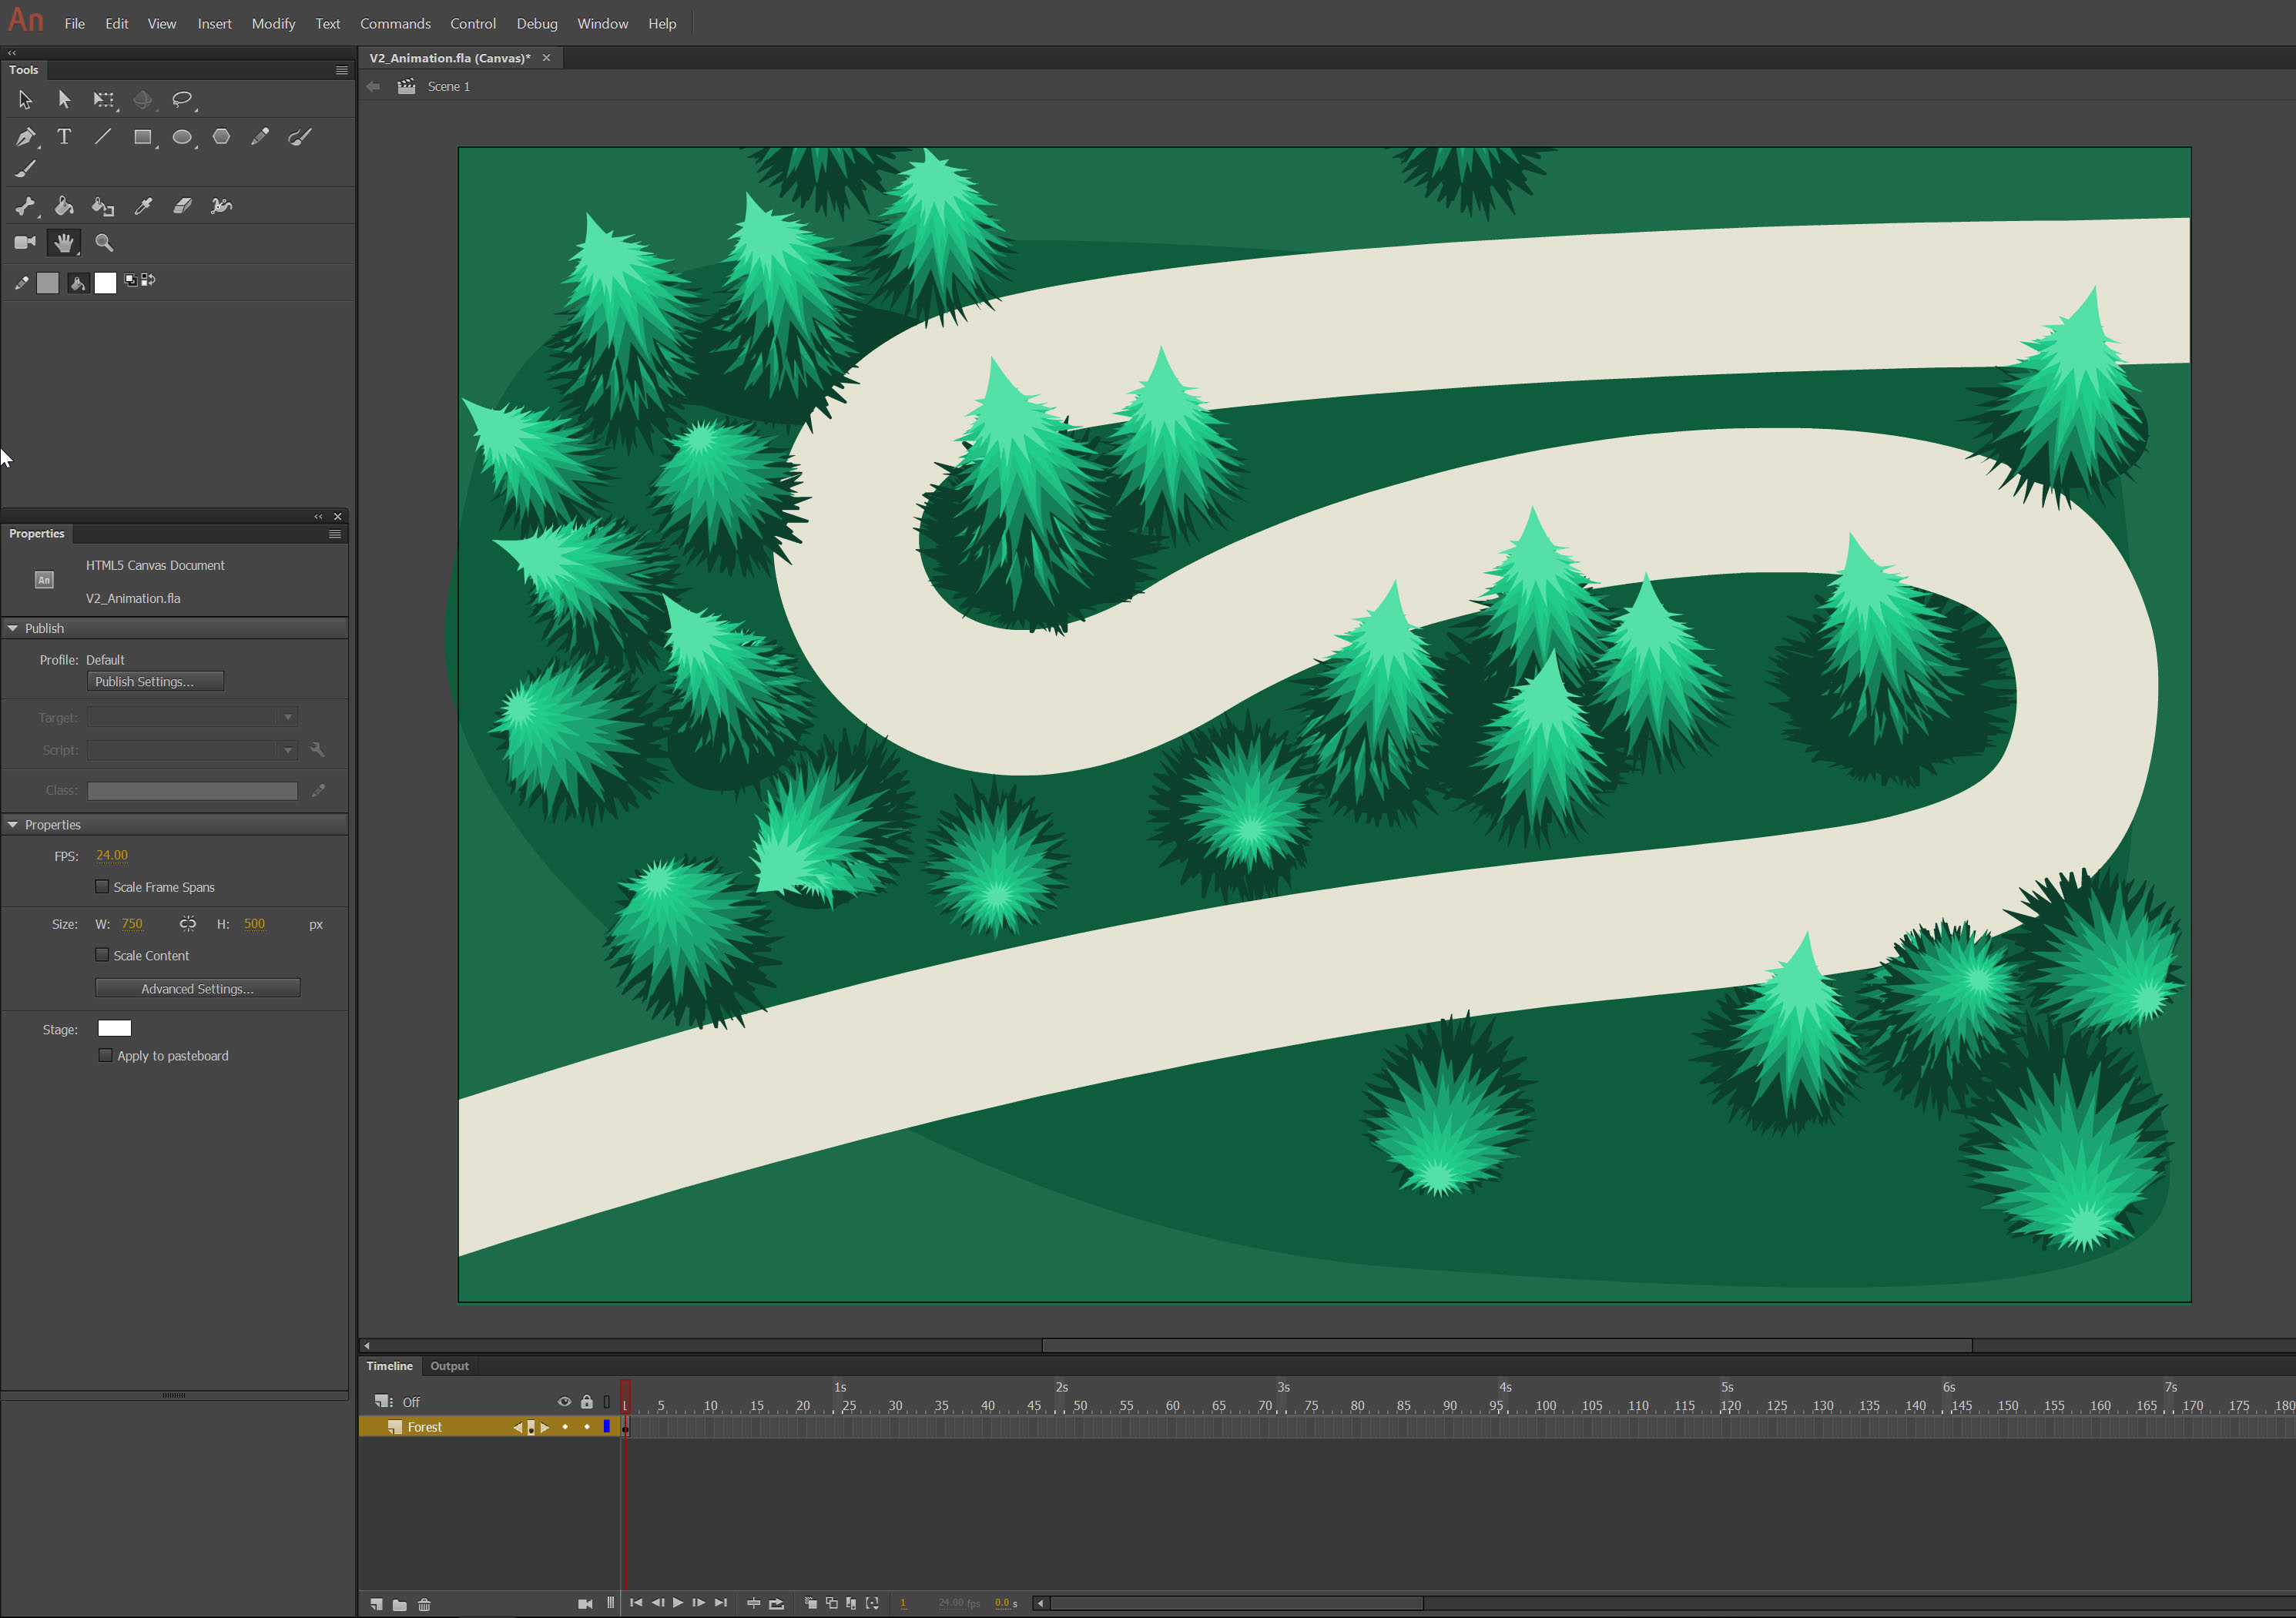
Create a second layer and import the car. In our case, the car will be the only element that will be animated.

Drag the car to the position that you want to start the animation from.
Step 2 – Preparing for animation
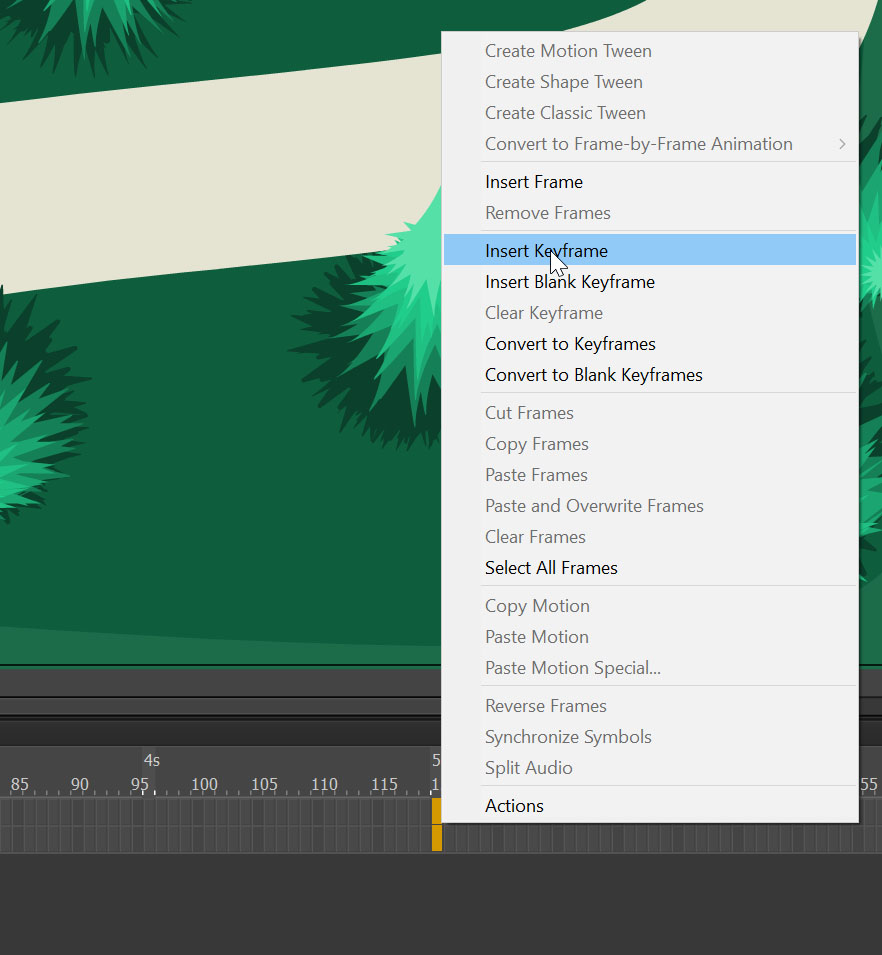
Select the frame on the timeline that you want to be the last frame of the animation.
Then right click -> select Insert Keyframe. Let’s do it 5s.
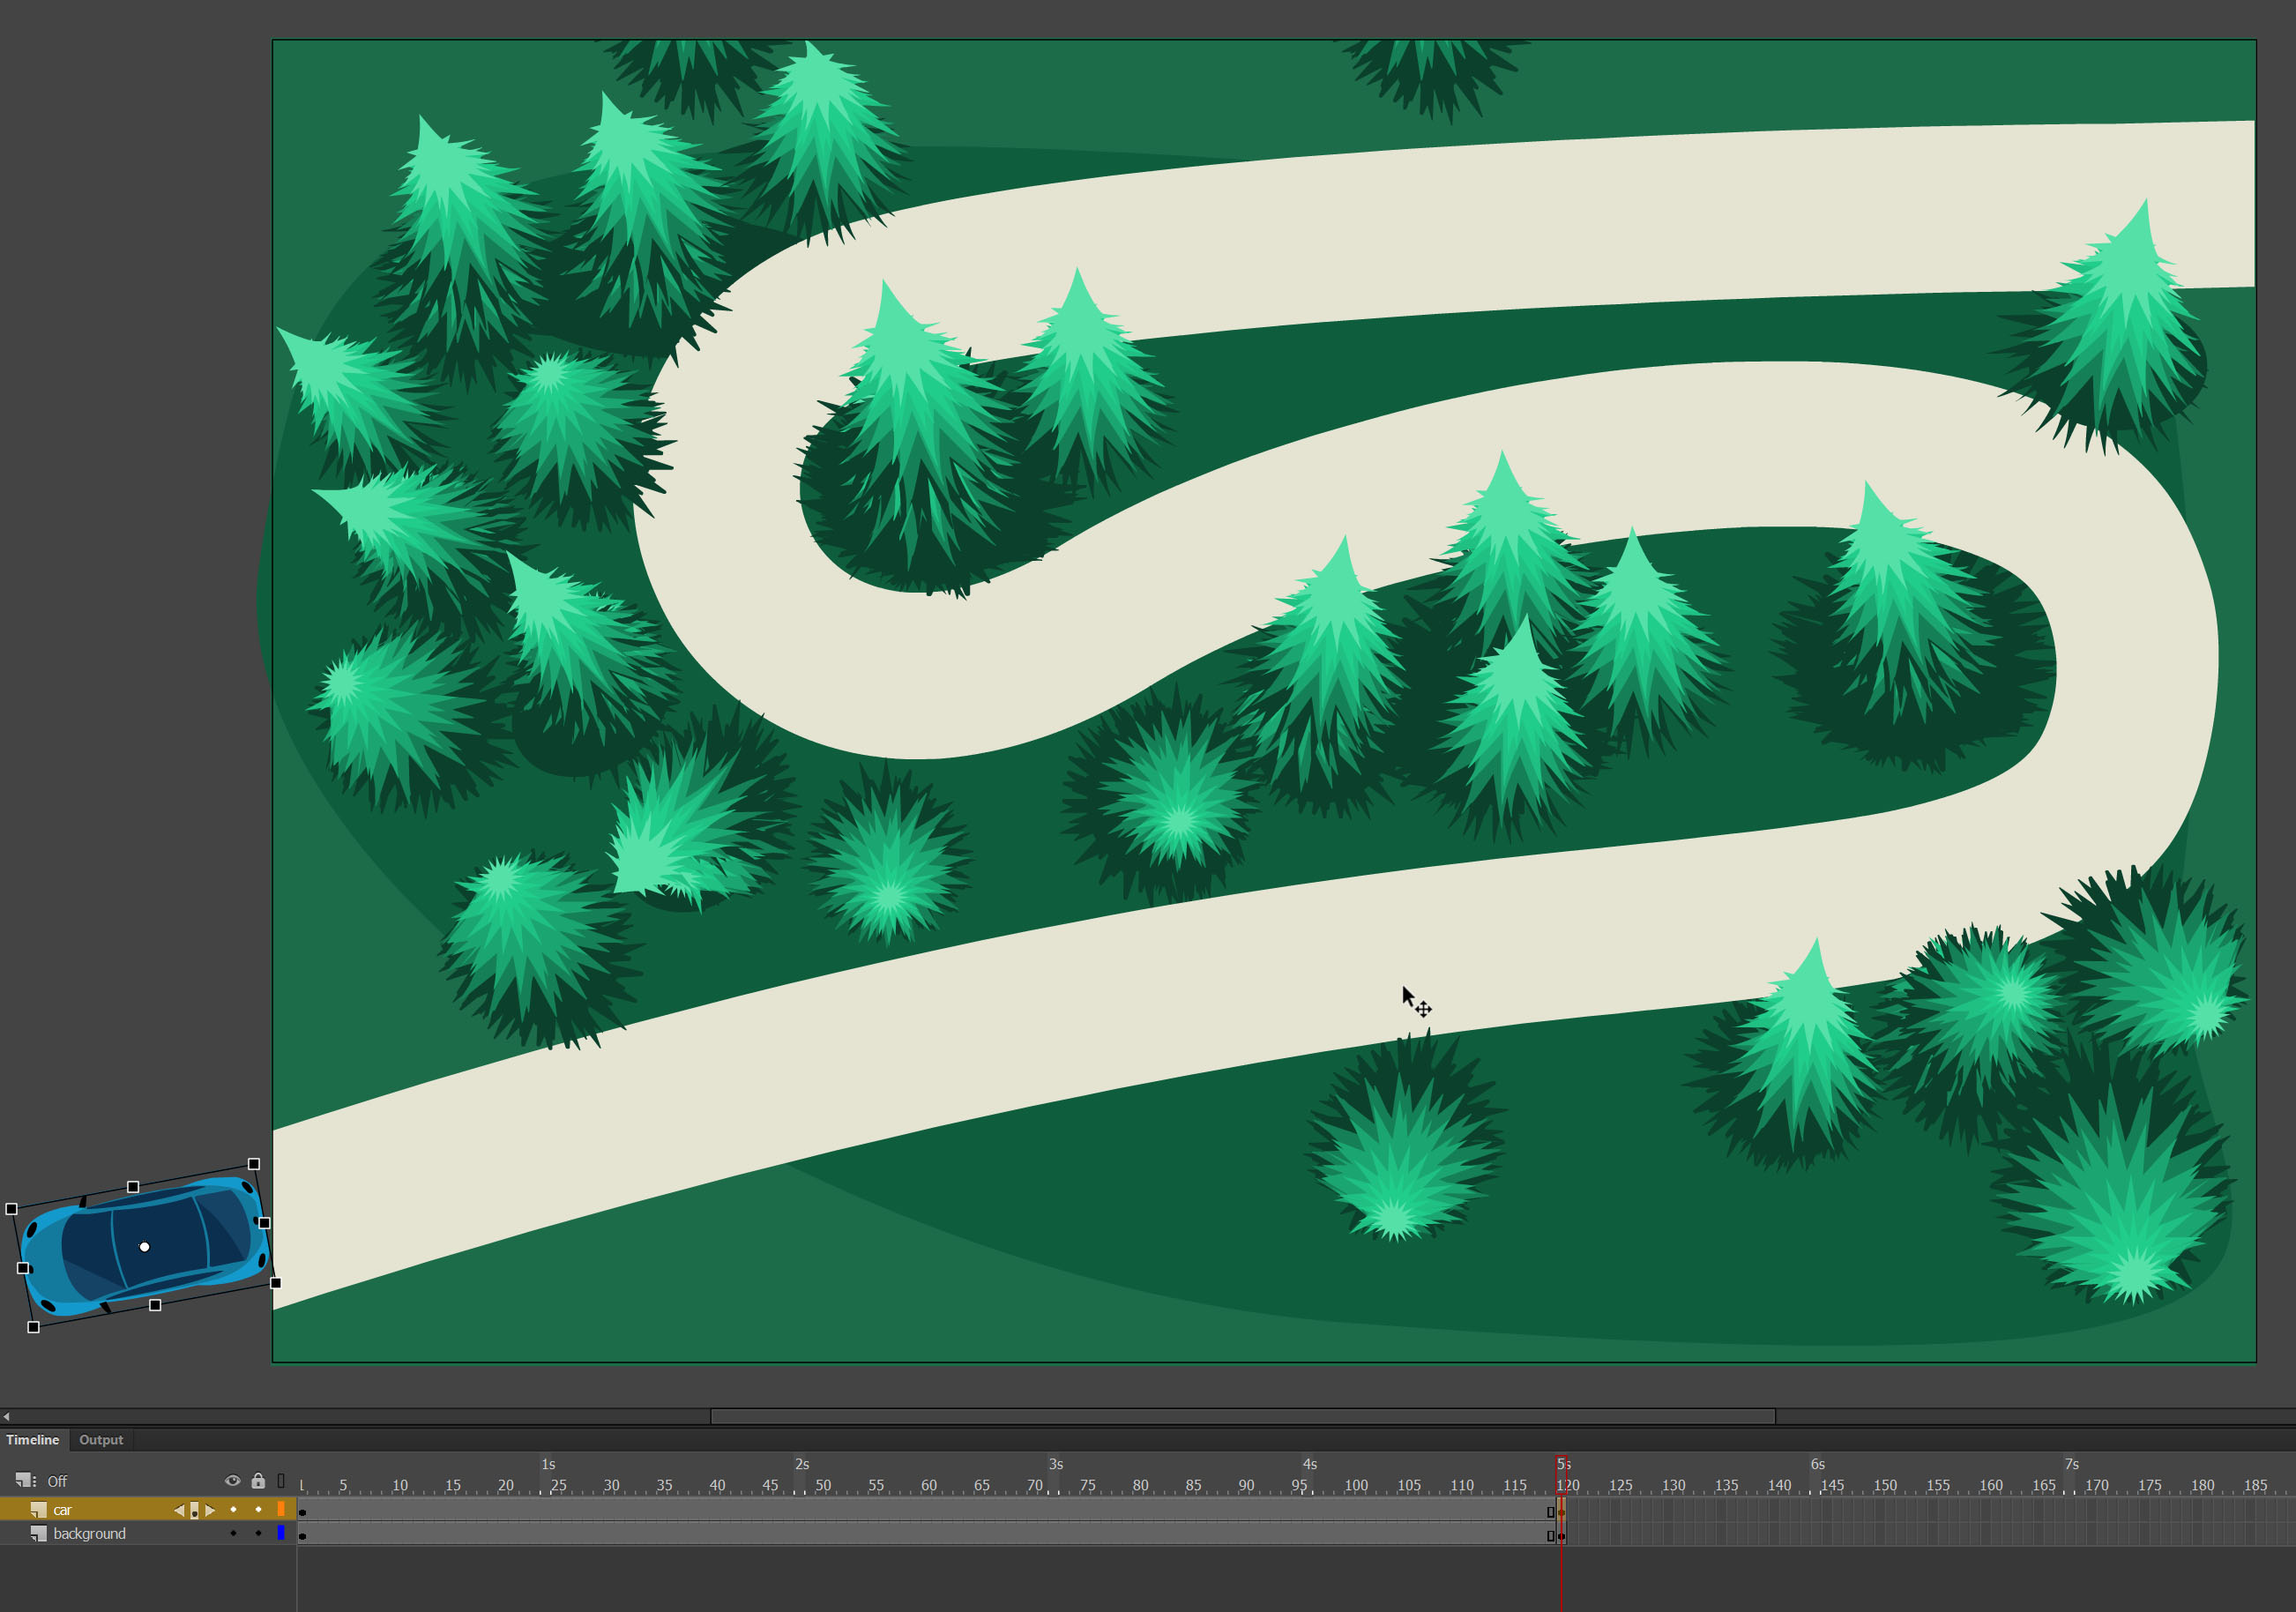
Then move the car to that point in the scene where you want the animation to end.
Step 3 – Create motion path.
Now we have the first frame and the last frame as well as the position of the car. It’s time to create a motion path to guide the car.
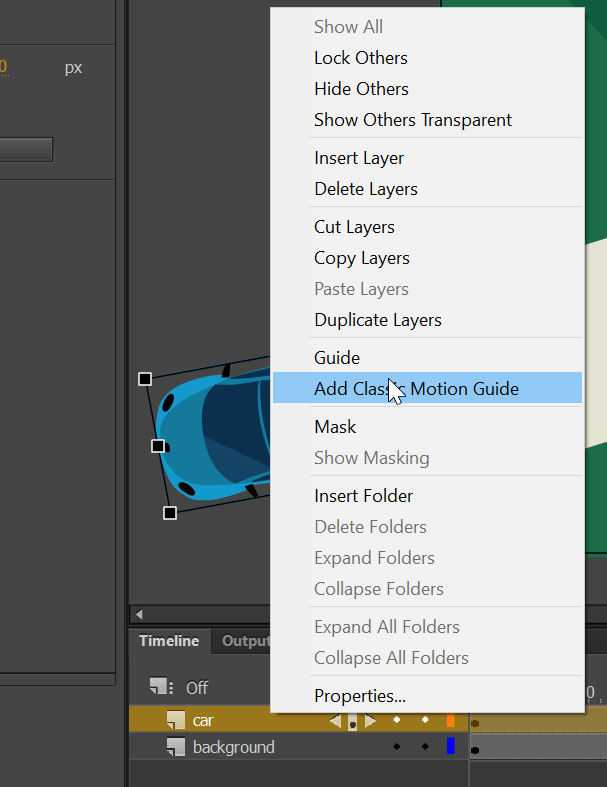
Right click on the layer (car) -> Add Classic Motion Guide
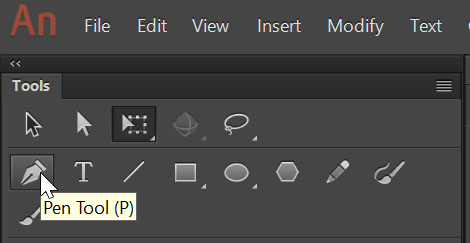
Select the Pen Tool from the Tools panel.
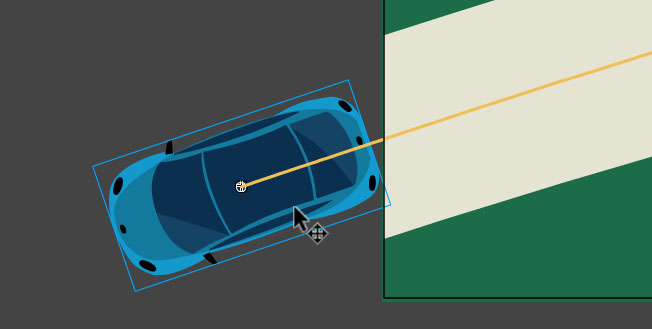
Create a guide.
The guide should follow the road to make the car move properly.
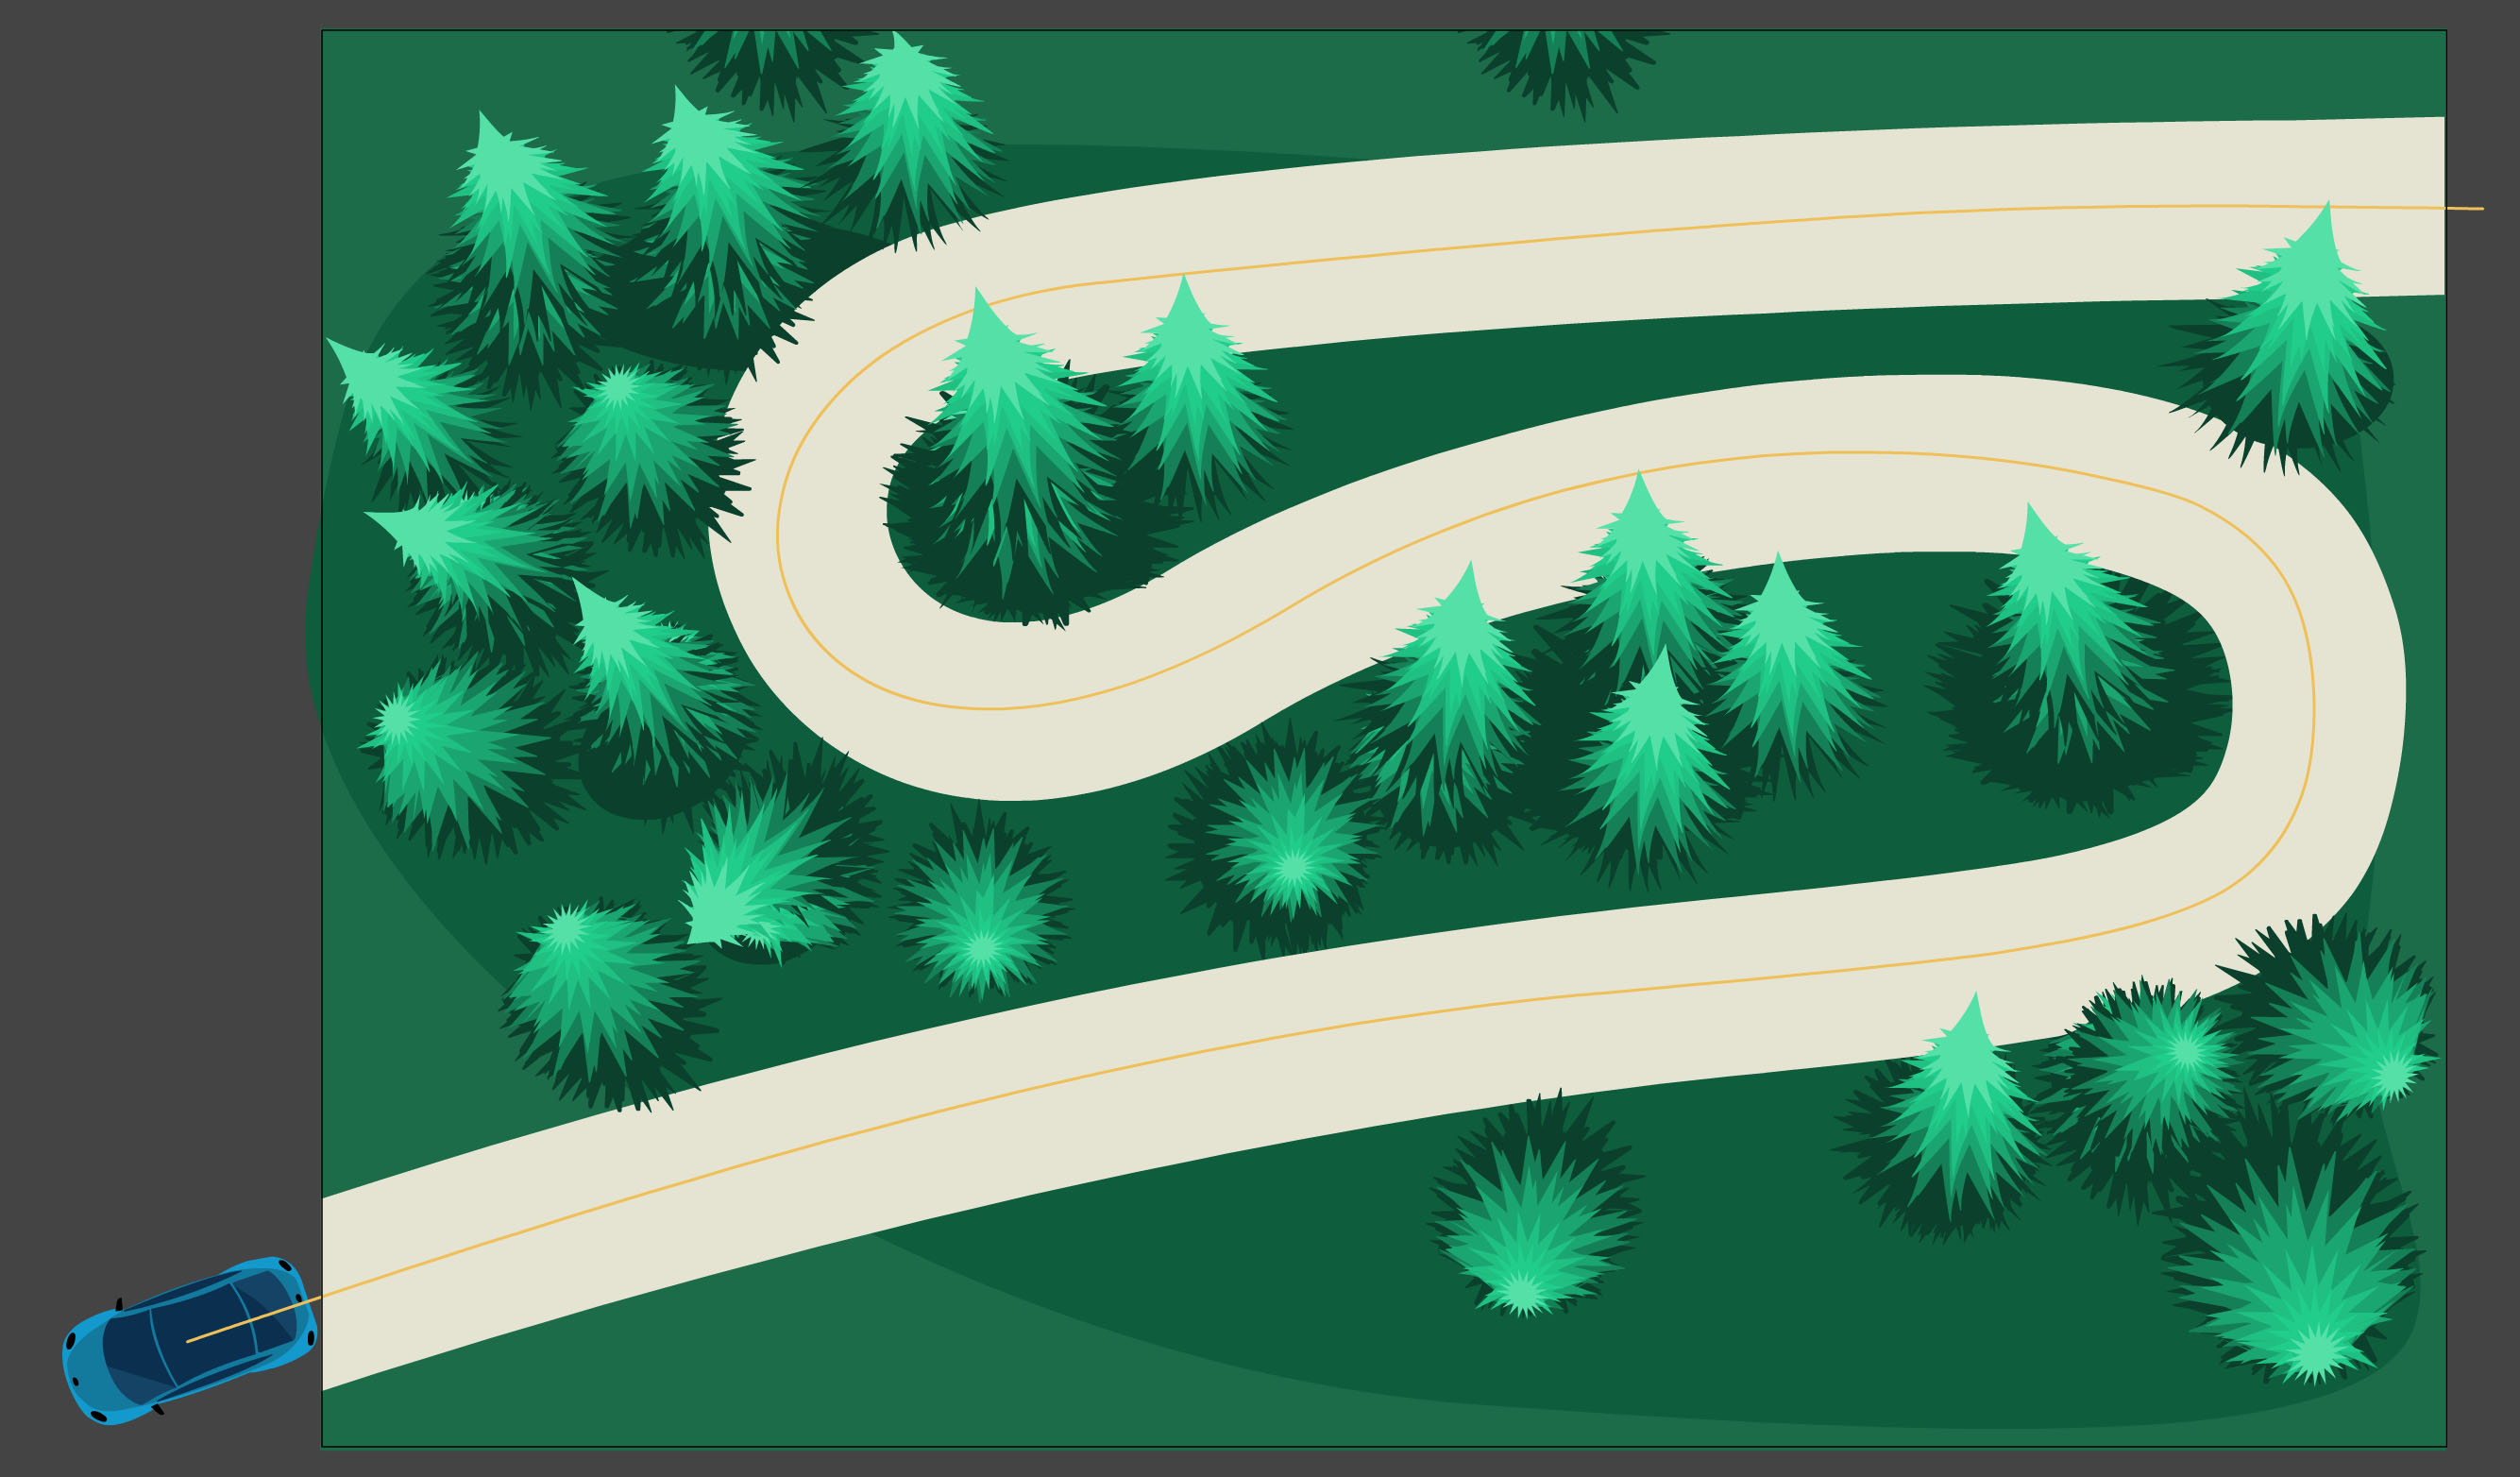
Note: Make sure the center point of the car is at the start and end of the line.
Step 4 – Animating
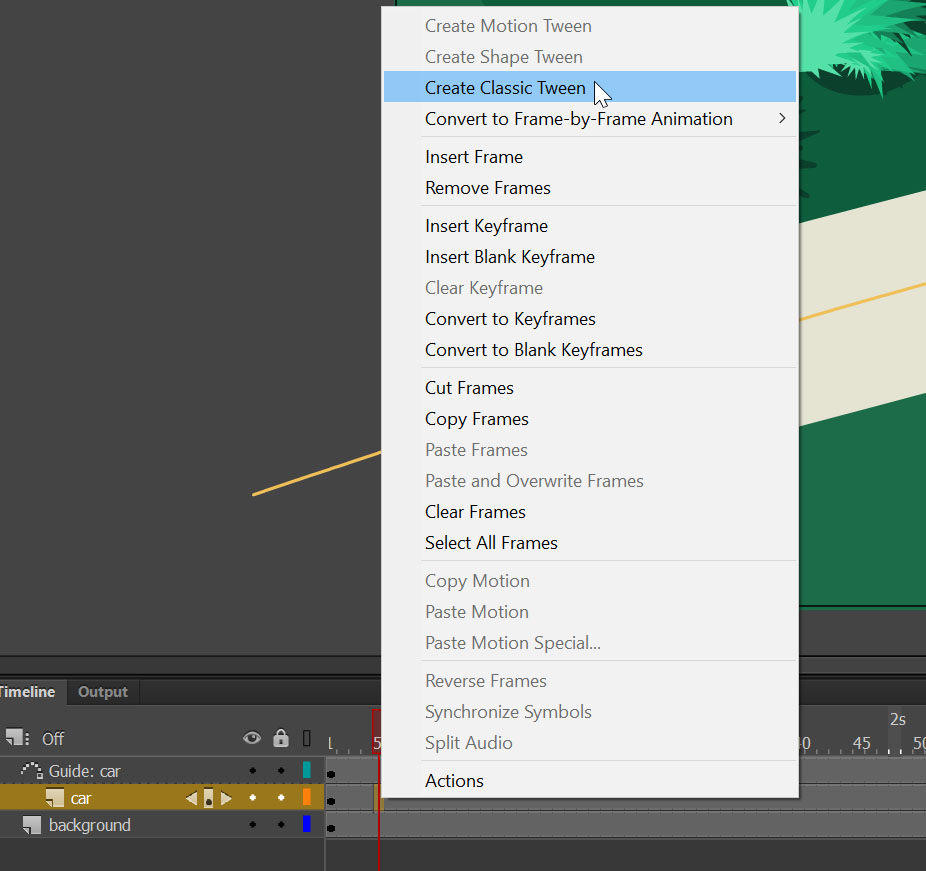
Then right-click on the layer (car) and click Create Classic tween to make the car follow the path.
Step 5 – Add animation easing
Let’s make the animation smooth and more natural.
When we already have moved to the path. It’s time to play with the properties of tweening.
Go to the Properties panel and make sure the Snap and Orient path options are checked.
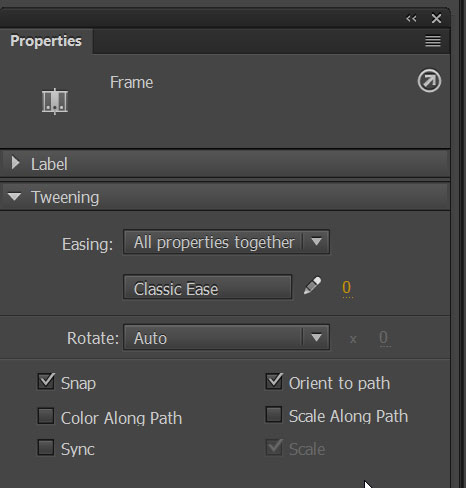
By adding a custom easing to the animation, we will make the movement of the car look more natural.
Properties -> Tweening -> Easing -> Edit easing
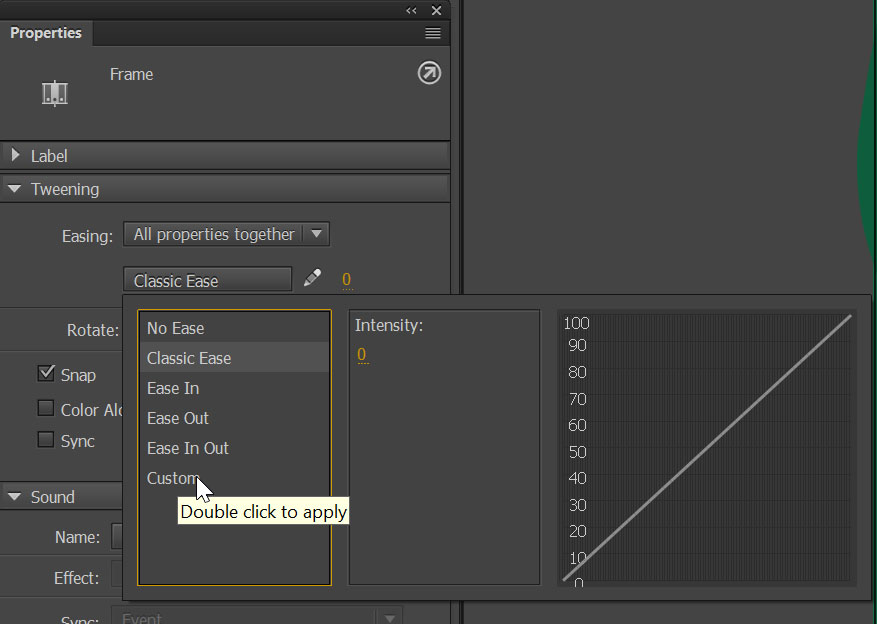
Then click on Custom -> New
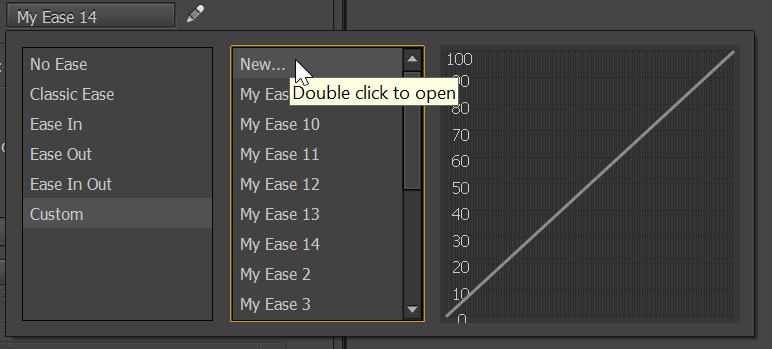
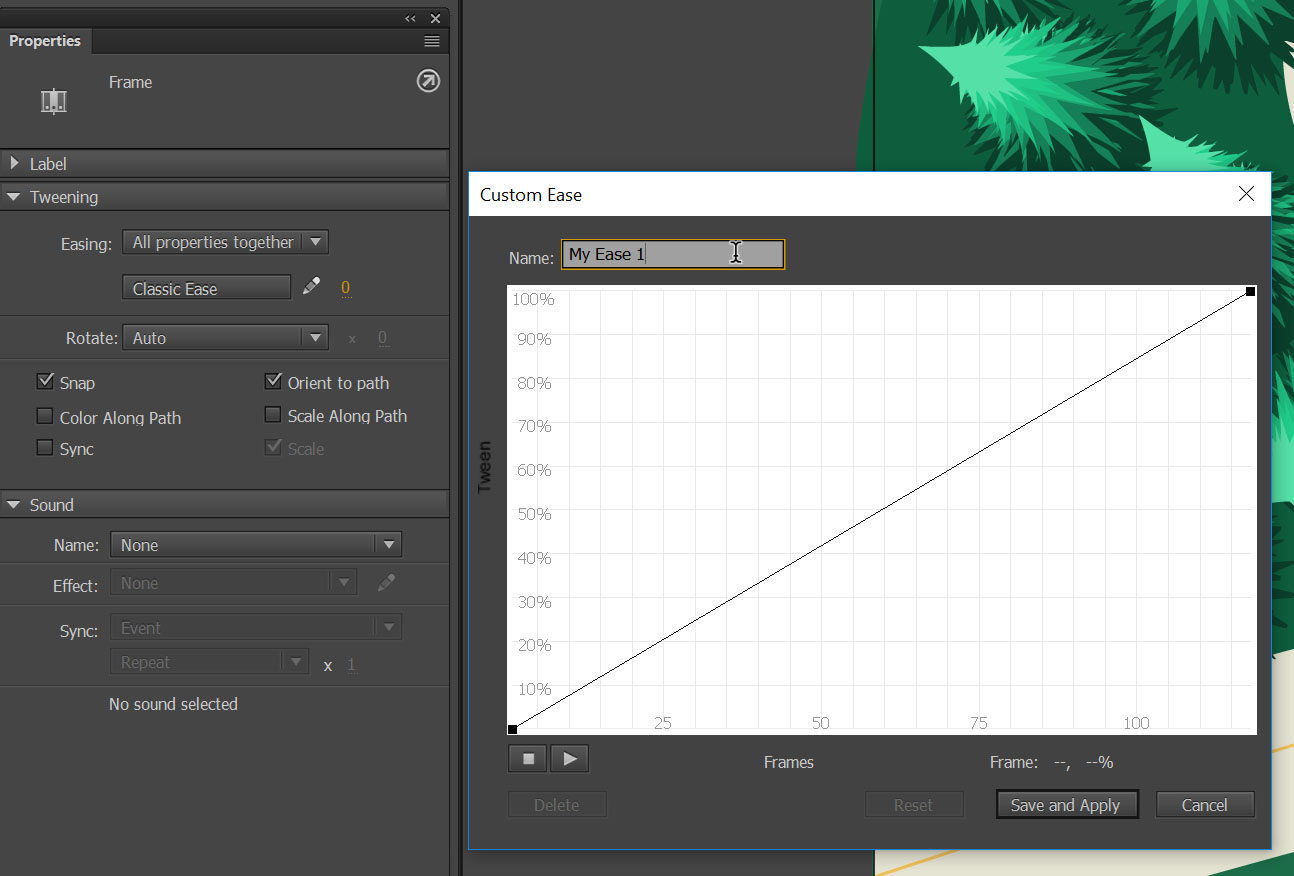
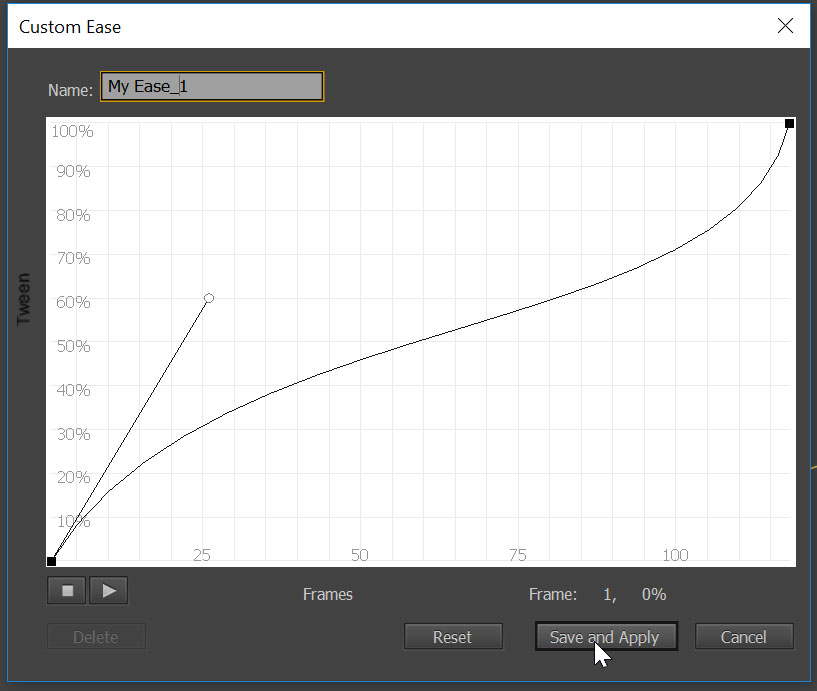
The Custom ease graph represents the degree of motion over time. The horizontal axis represents the frames and the vertical axis represents the tween’s percentage of change. These curves can be made more complex by adding additional anchor points along the length of the path. Alternatively, we can adjust the already existing anchor point at each end of the line.
In our case, we want the movement of the car to slow down before it turns and to speed upon exiting. From the first frame, the movement speeds up a bit and moves the curve to a higher percentage. Then, it slows down around the 25th frame when the car is getting to the first turn. Afterwards, we keep the curve in an almost straight position so the car moves at a constant speed until the end of the right turn. This time it is a 100 frames. It starts to speed up by changing the position of the curve on the opposite side.
And here’s the finished animation!

That completes the tutorial.
We would love to know if you found this tutorial helpful! Let us know by leaving a comment below or sharing the post on Twitter!
There are more tutorials coming your way! Stay tuned and follow our blog.

