Modular design in game UI

In this blog post, we will illustrate how to distribute a complex UI in several UI-specific widgets, placed in different .fla files and automatically updating them in one master .fla file.
Benefits of distributed UI workflow
Dividing a complex UI into smaller simpler widgets provides better organizational project structure. The workflow also allows several front-end developers and designers to work on the same UI simultaneously and independently, which improves the collaboration among the team members and consumes less development time.
Symbols from different files
Adobe Animate allows us to distribute UI widgets from one .fla file to another. In order to share a widget among external .fla files, its content must be wrapped in a Symbol. Linking the original Symbol to the one that is distributed, provides a possibility to edit and update both in real time.
Modular design usage in game UI
Let’s see how the modular UI workflow can be applied in a real project. For the demo, we will use our Simulator Kit:

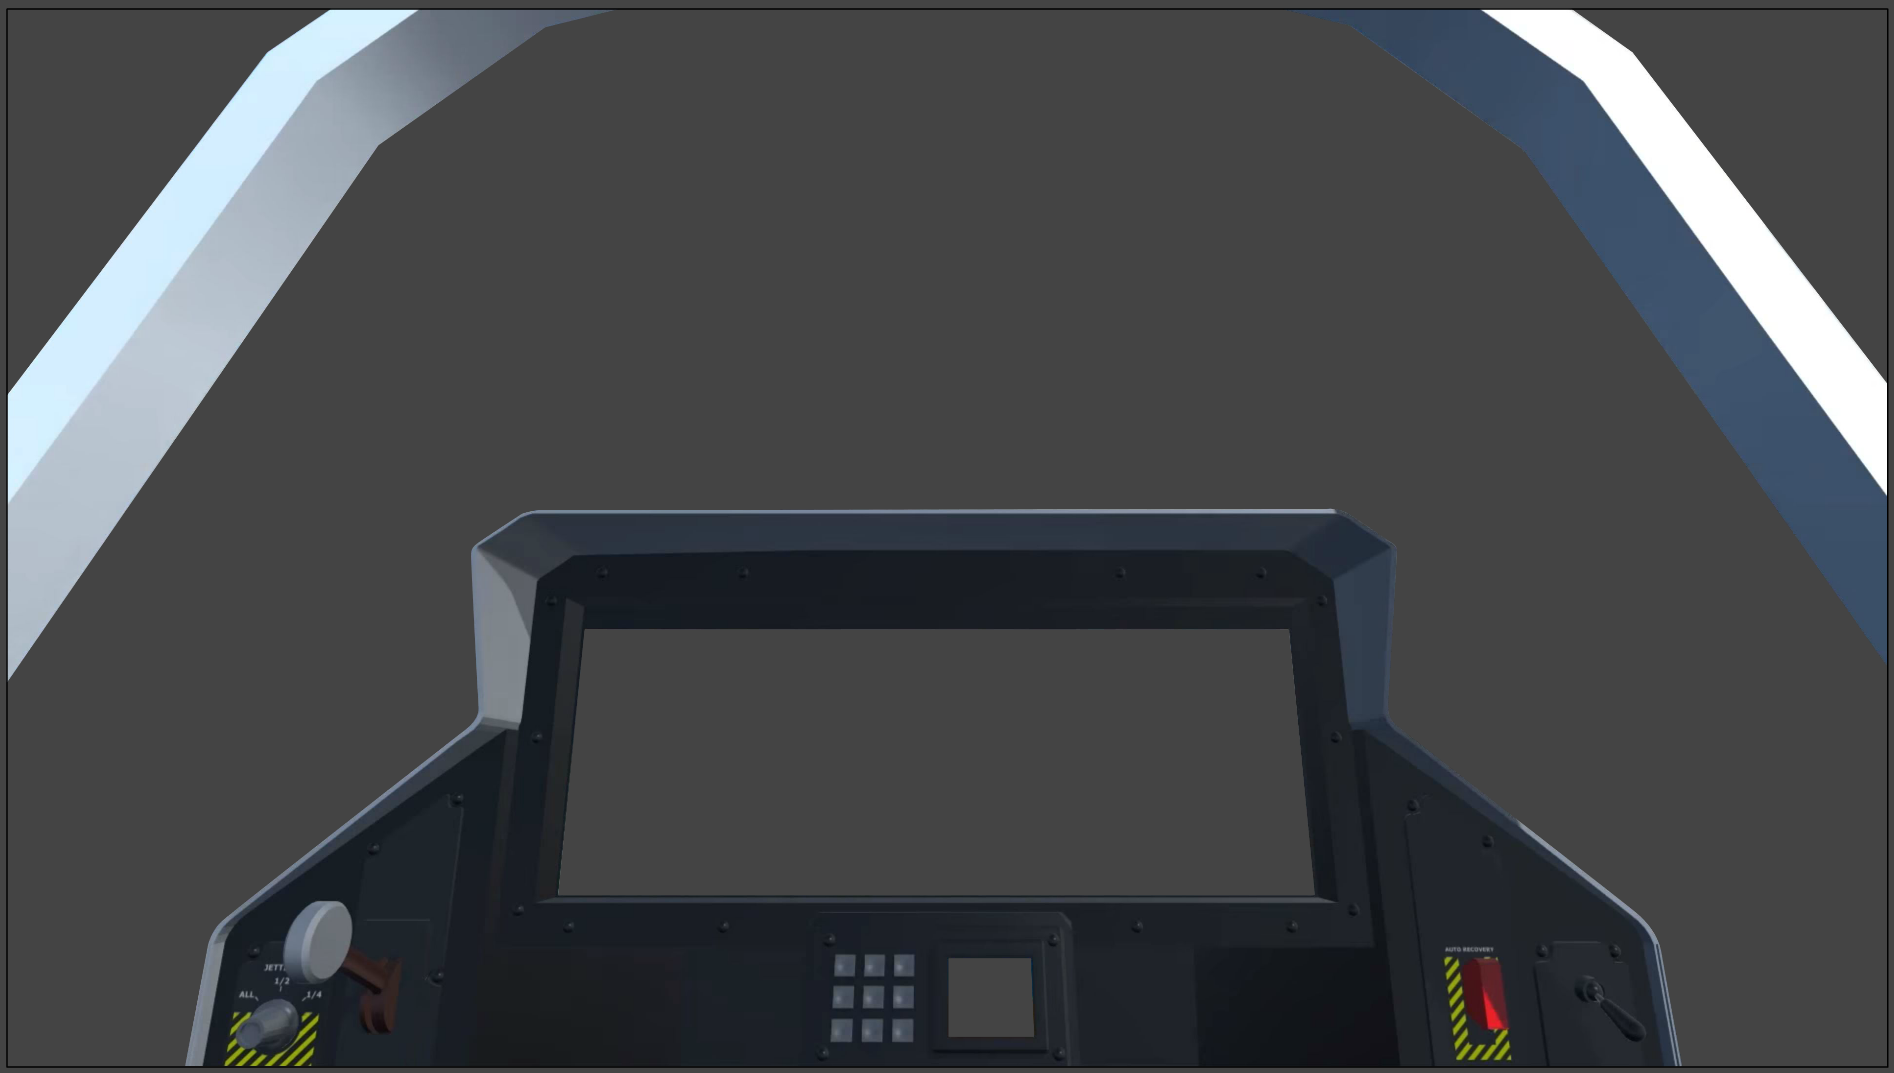
The sample consists of three widgets: Altitude Indicator, Flat Panel Display, and Head-up Display, that are composed in a scene with a mock background image of a Boeing Cockpit. In our case, the Cockpit scene will represent the master file into which we will link the rest of the widgets.
So, we have three different .fla files for each of the screen’s widgets:
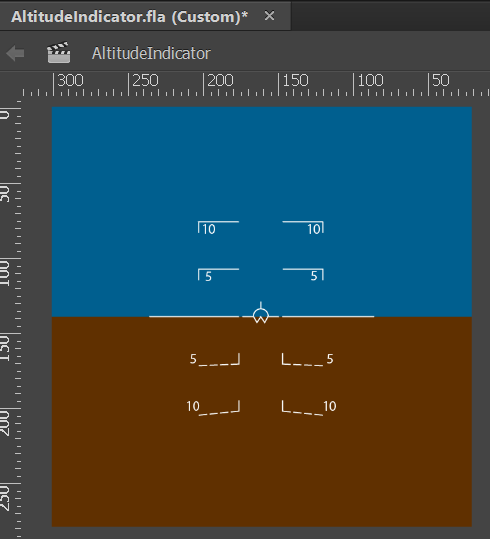
Altitude Indicator:
Flat Panel Display:

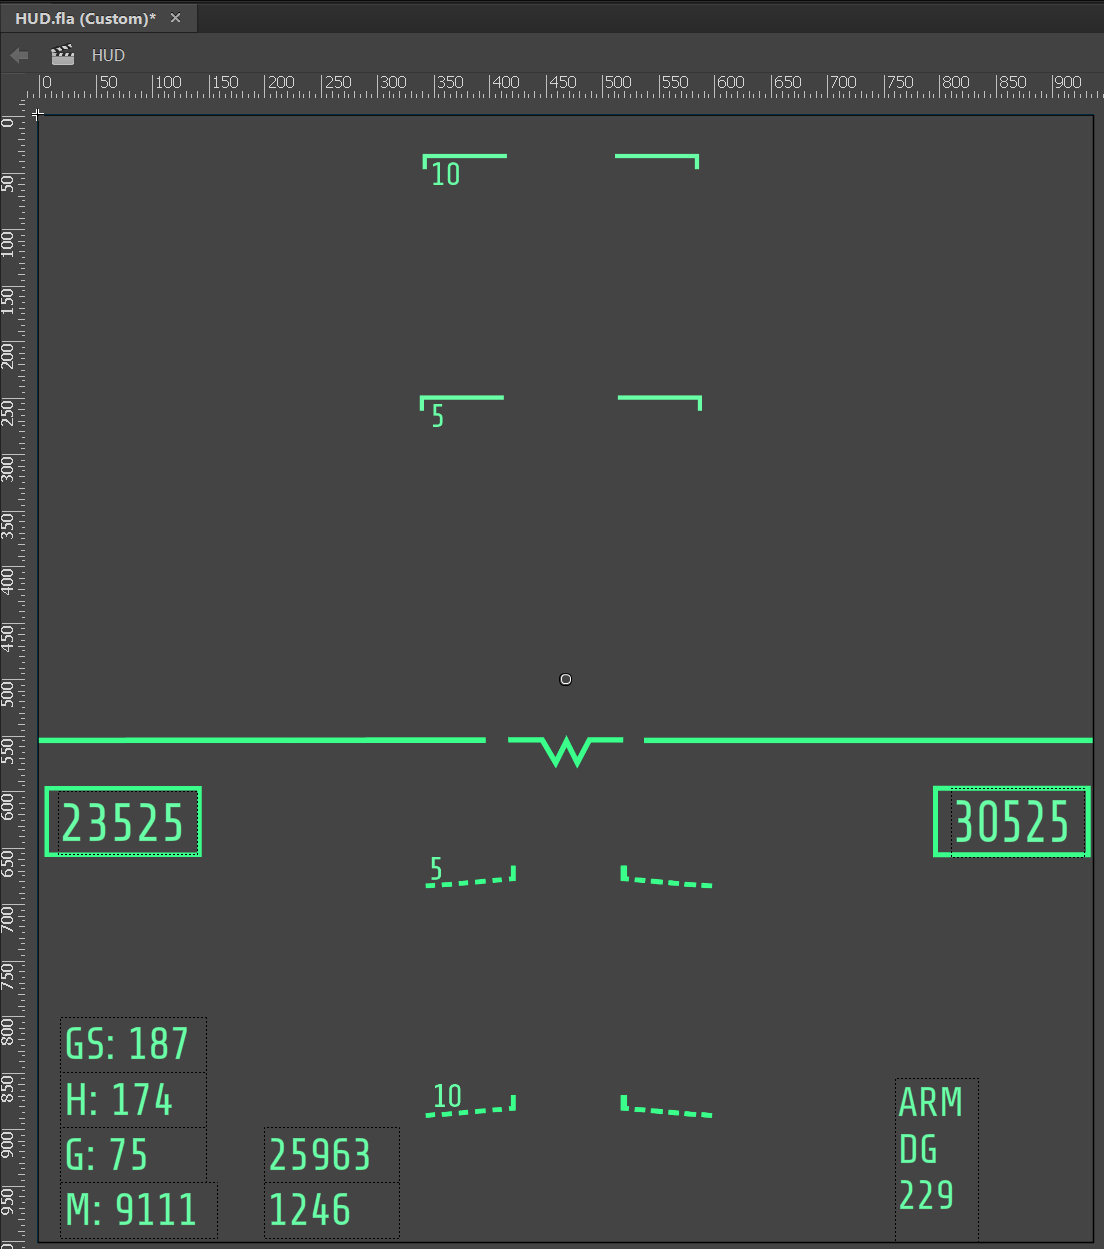
Head-up Display:
In order to link the separate UI modules into one master file, we have to open them in Adobe Animate. Now create a new .fla file, name it master.fla and place the cockpit’s image as a background:
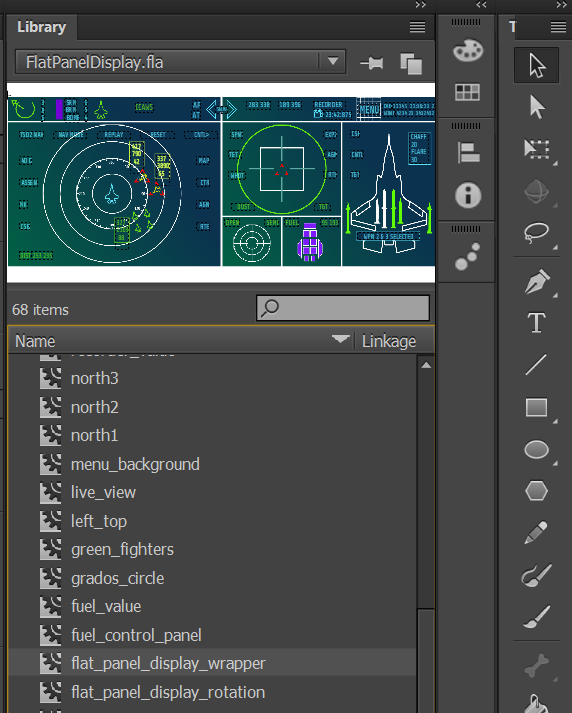
Go to the Library panel and from the drop-down menu choose the file where the Symbol you want to add is, then choose that Symbol and drag and drop it in. For example, I want to drop in the flat_panel_display_wrapper Symbol that is placed in the FlatPanelDisplay.fla:
Do the same with the rest of the two Symbols. Then from the Library drop-down menu choose the master file and save it.
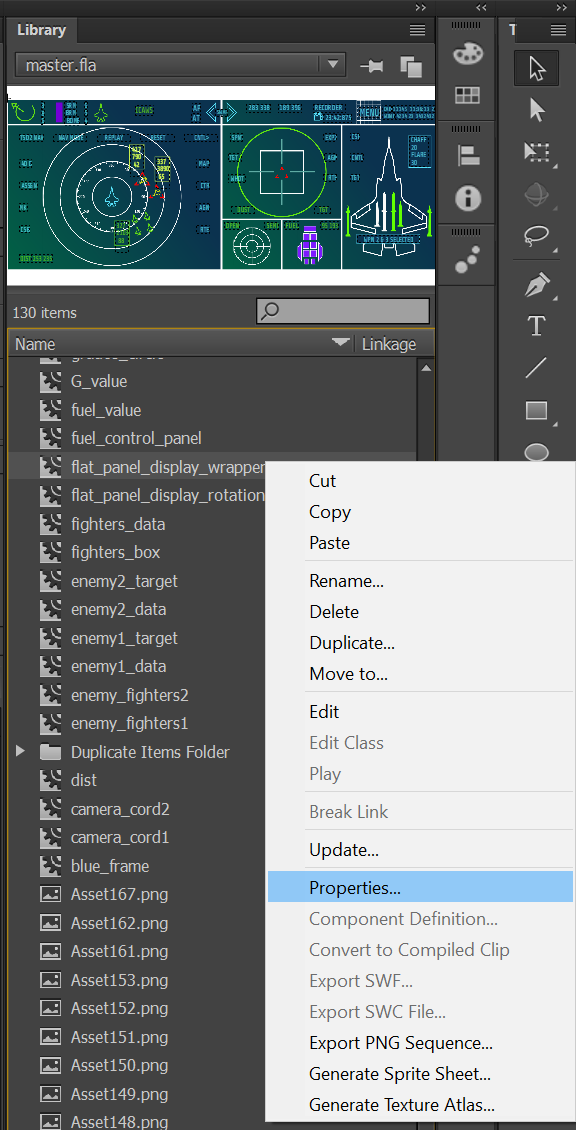
Now we have to link the dropped Symbols to their .fla files, thus when we edit each of the individual widgets, the changes will reflect the master file. Right-click on the Flat Panel Display and choose Show In Library. This will highlight the Symbol in the library. Right-click and select Properties:
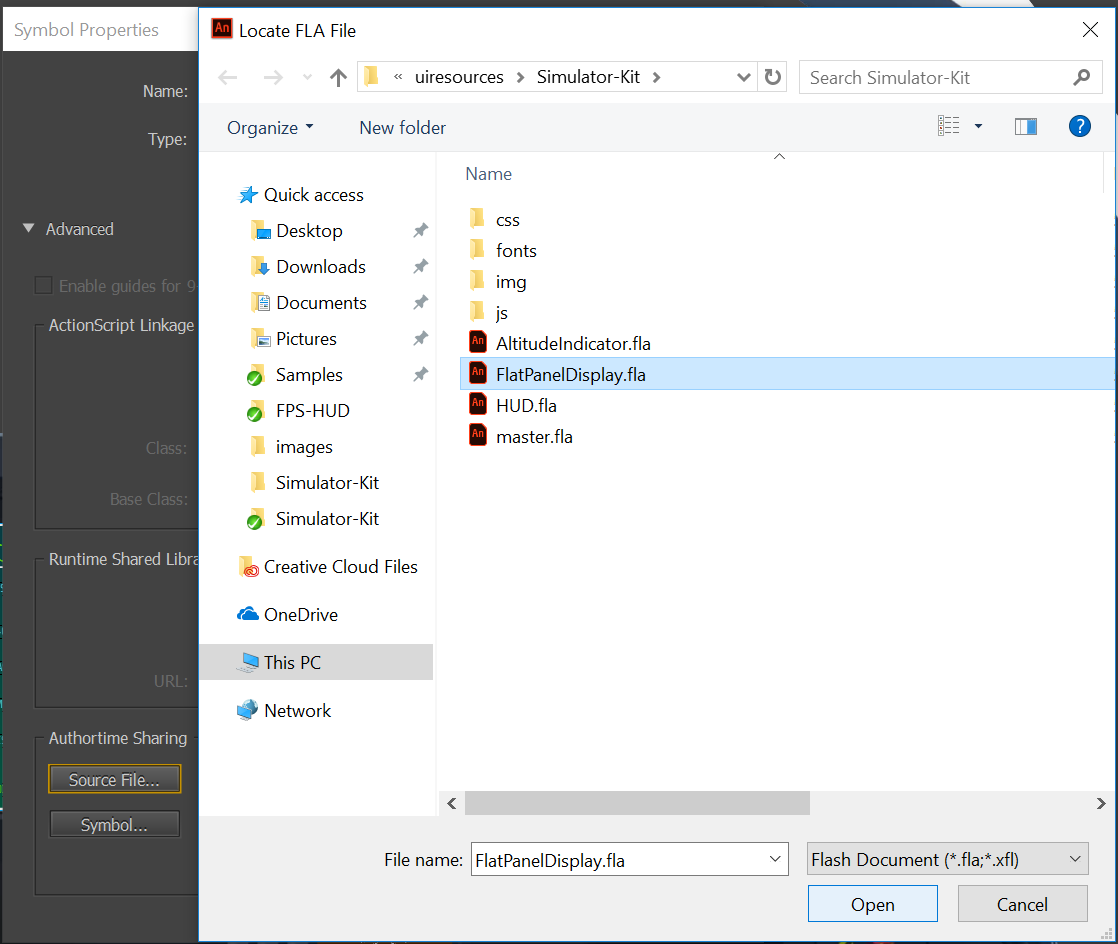
Symbol Properties window will open, in the Authortime Sharing section select the Source File button and navigate to the location of the file and click Open.
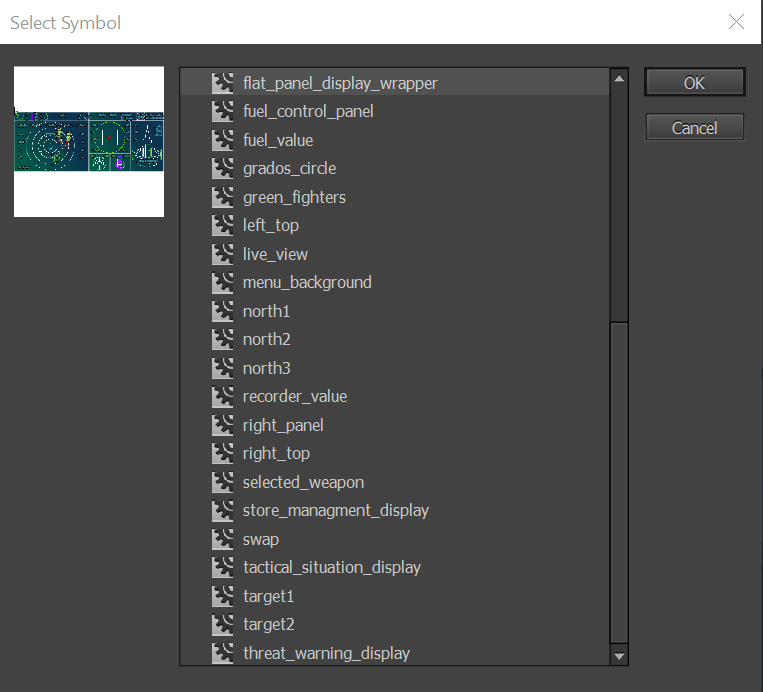
Select Symbol window will appear, select the widget Symbol, in our case flat_panel_display_wrapper and click OK.
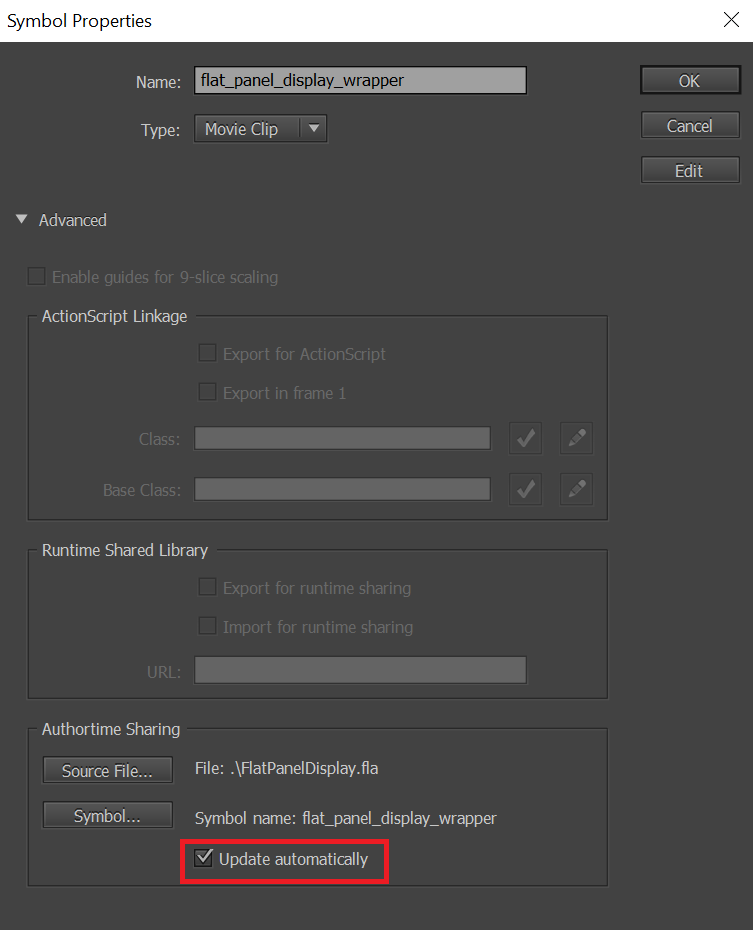
The last step is to add a tick to the Update automatically checkbox from the Symbol Properties window and click OK.
Do the same with the Altitude Indicator and the Head-up Display. Now when we edit each of the separate widgets the changes will be reflected in the master file.