
Rapid UI prototyping in UE4 with Adobe Photoshop and Coherent GT
Coherent GT is powered by HTML and gives you the unique possibility to prototype your UI directly in Adobe Photoshop and transfer it to the game engine in a few simple steps.
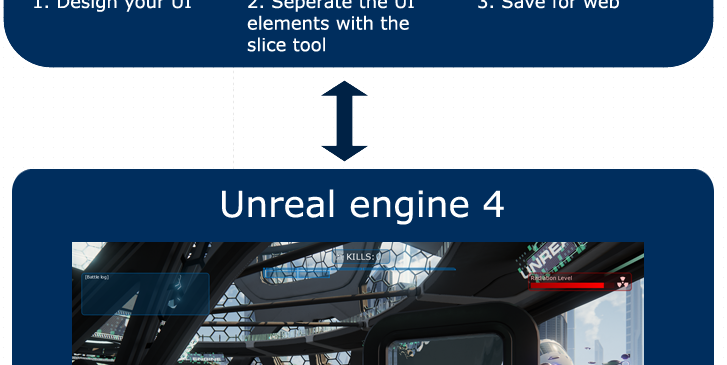
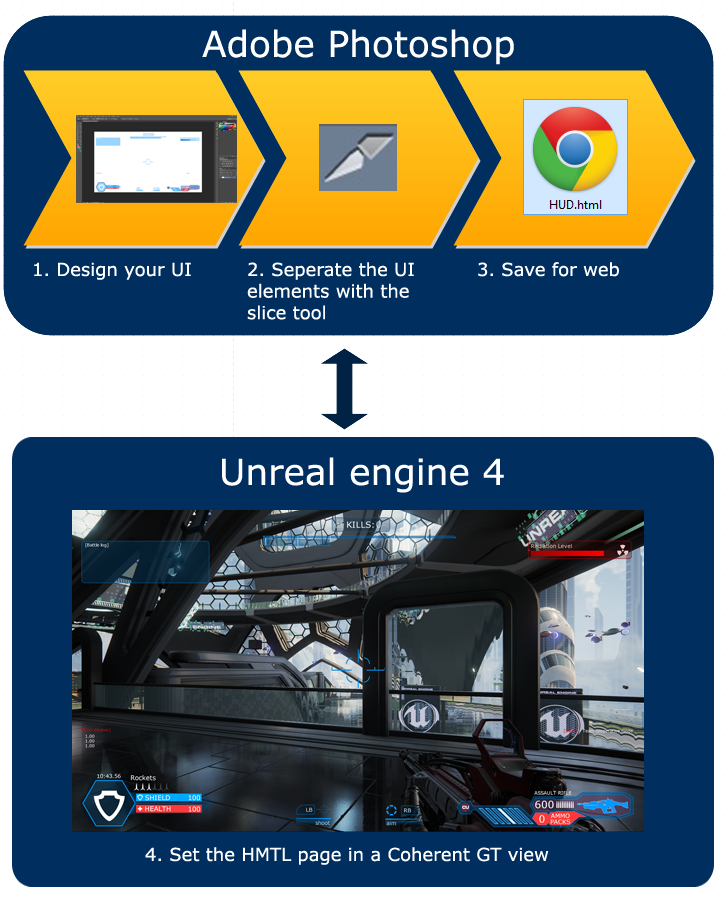
How does it work?
Once your UI is complete, you just need to define the separate UI elements using the slice tool and save the document using the “save for web” option in the “file” menu in Adobe Photoshop. Then simply set the resulting html page to a Coherent GT view in UE4.
Detailed instructions
Below are detailed instructions on how to use this rapid UI prototyping workflow:
1. Design your UI
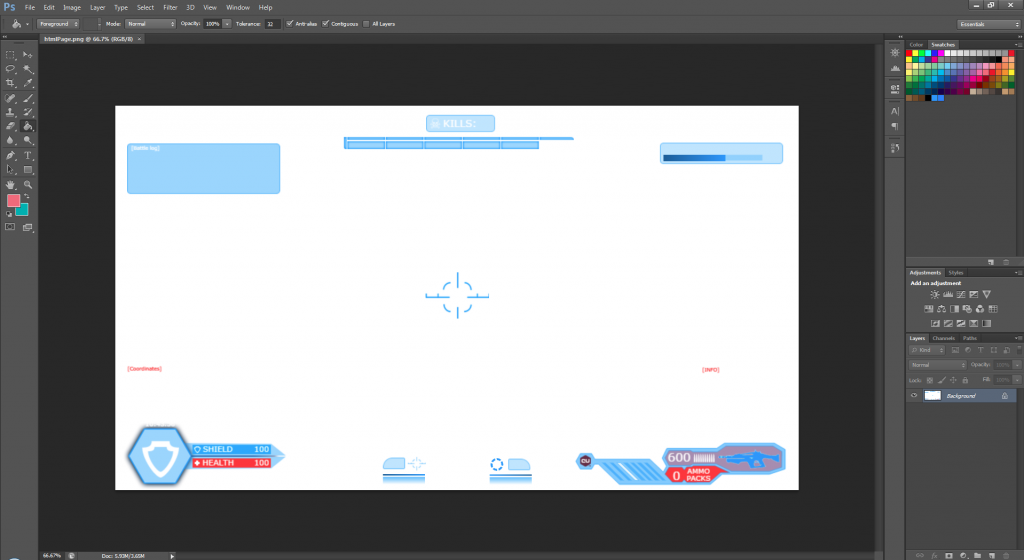
The first step is to design the UI itself. You can do this by using the built-in tools of Adobe Photoshop or import external UI assets from other image editors such as Adobe Illustrator, Corel Draw, Gimp, etc.
2. Define the separate UI elements using the slice tool
First select the slice tool from the Tools panel
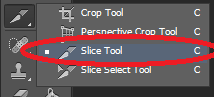
Then drag over the area where you want to create a slice.
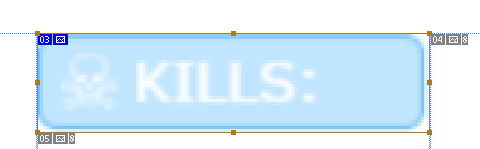
Repeat the procedure for each of your elements that you wish to be separate (have separate image file).
Then choose File/Save for Web
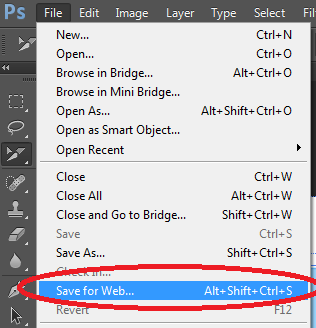
And the “Save to web” window appears
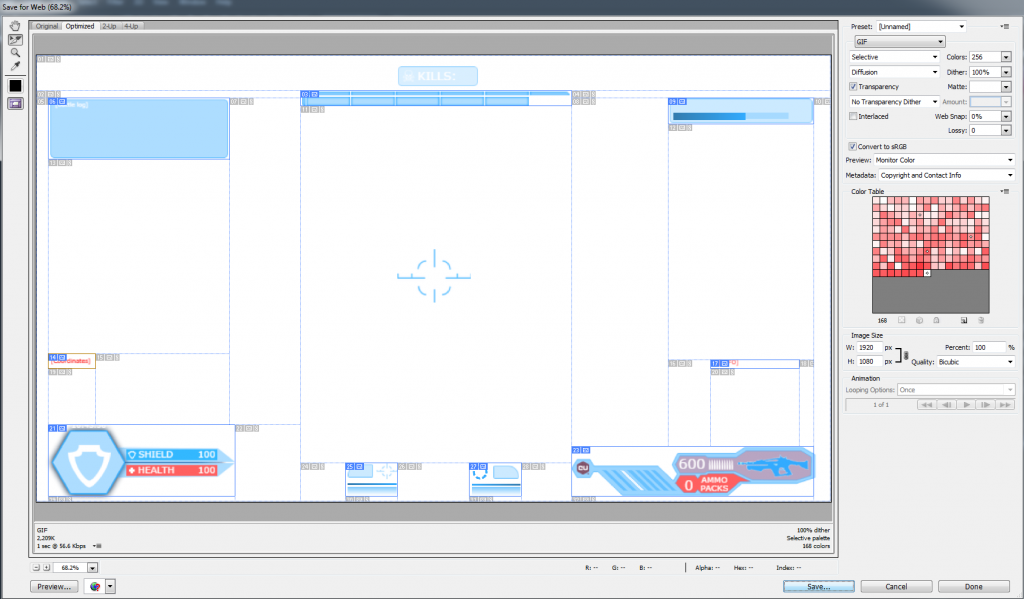
In it, you can specify the image format for each of the UI elements (png,jpeg or gif). Furthermore, if you double click on a slice with the “slice selection tool” selected, you can edit the options for the slice.
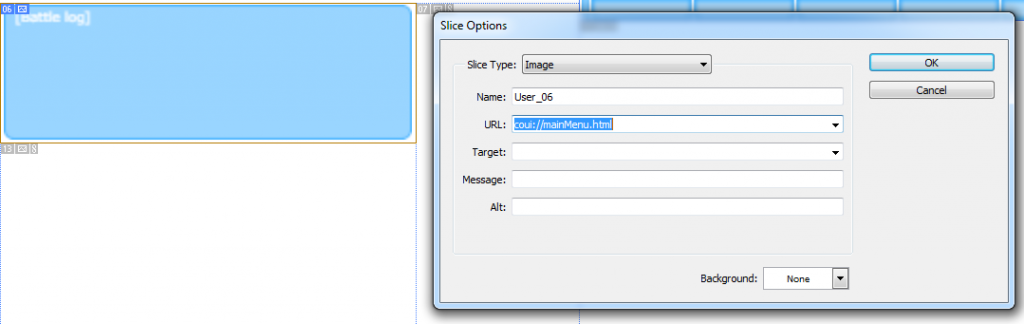
You can enter URL (for example, if it’s a menu button it can point to an URL of another window that this button opens). You can also specify name, target, message and alt message.
When you choose a slice of type “No Image”, you can enter text to be displayed in the slice area of the resulting web page. This can be plain text or text formatted with standard HTML tags. You can also select vertical and horizontal alignment options.
When you are done with the options and image formats of the slices, just click “save to web” and a HTML page and image files will be automatically generated.
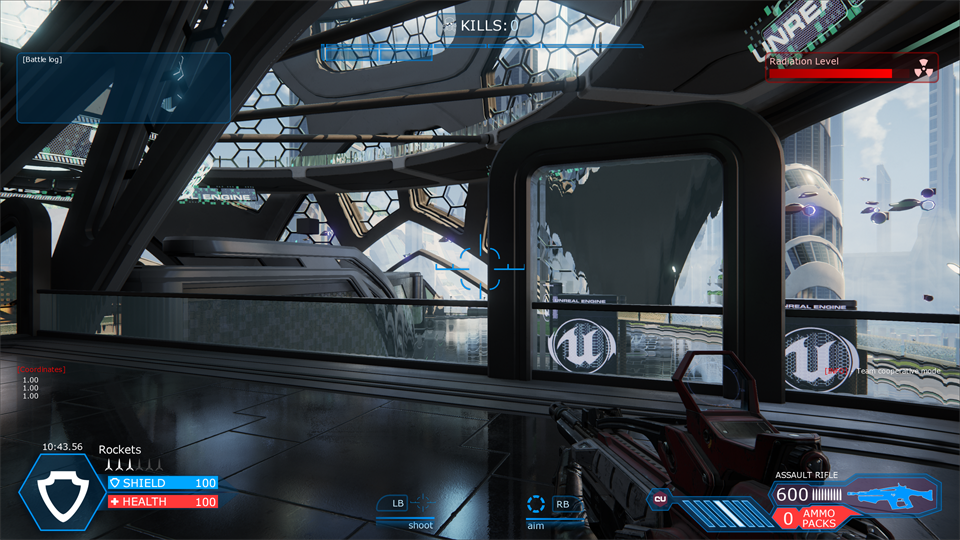
The last thing that you need to do is to just set the newly created HTML page to the URL of the Coherent GT component in UE4

and you will be able to see the UI directly in your game.
Additional notes
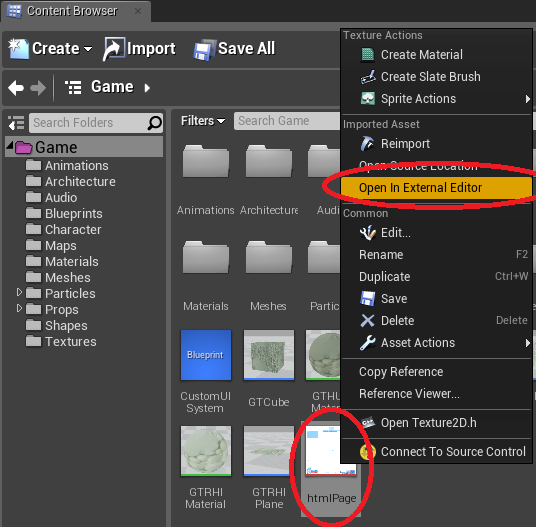
– you can actually import the PSD files in your UE4 project and whenever you need to edit it and save it for web, you can right-click the file and choose open in external editor and Adobe Photoshop will be loaded.
– the method described in this article is suitable for rapid prototyping of your UI. To add animations, responsive layouts and other complex functionalities, you’ll still need to use visual editor like Adobe Edge or code your UI using standard HTML/CSS/JavaScript methods.
– even though this is an article regarding Coherent GT and UE4, the same methods can be applied to UI design for any game engine that uses Coherent GT. Just save your UI with the “Save for web” option in Adobe Photoshop and set the resulting page to the URL of the Coherent GT view.
For more information about the slice tool in Adobe Photoshop, you can have a look at the following articles:
https://helpx.adobe.com/photoshop/using/slicing-web-pages.html
https://helpx.adobe.com/photoshop/using/html-options-slices.html?PID=7609893#html_options_for_slices