3D HOLOGRAM MENU TUTORIAl PART 2 – Adobe Edge Animate
Hey everybody,
In part two of the 3D hologram menu tutorial we’ll create the HTML content for the menu using Adobe Edge Animate and the Coherent Labs Animation Framework.
Part 1 is available HERE
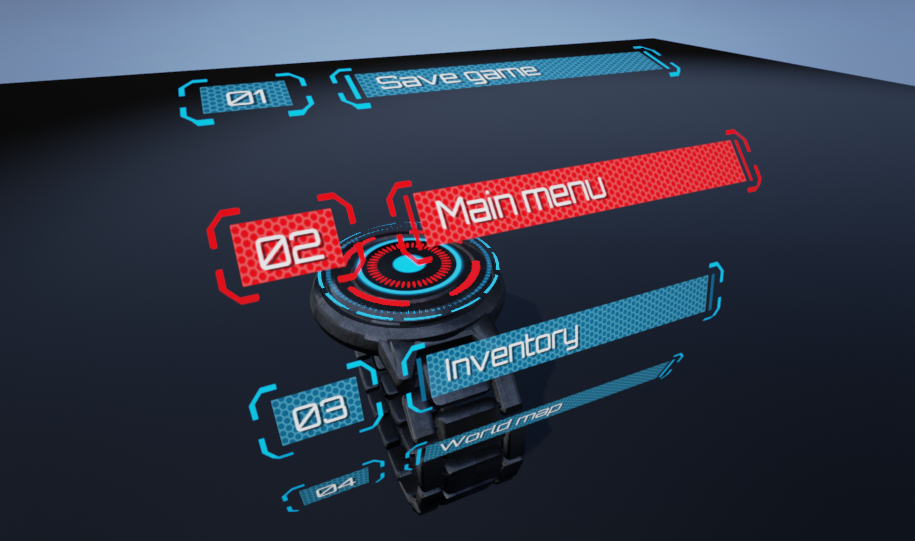
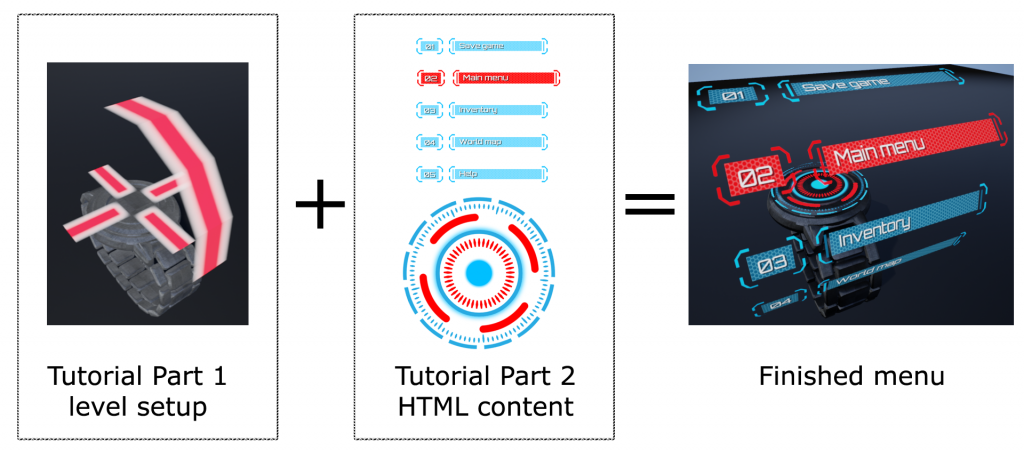
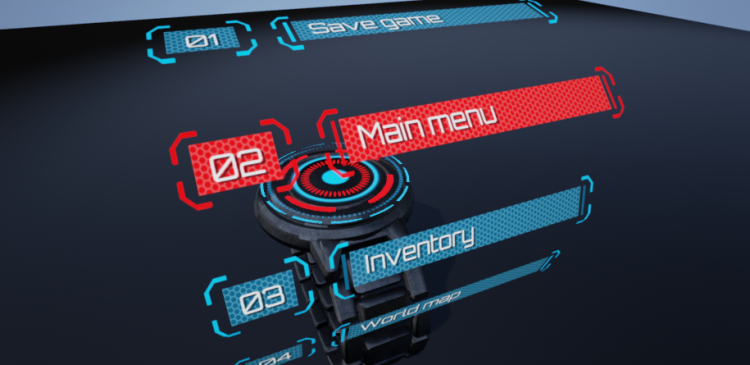
On the image above you can see the finished menu. In part 1 of the tutorial we mapped the Coherent UI views on 3D meshes and now we just need to create the HTML content for the UI.
1. The watch
First, we will create the HTML content for the Coherent UI view on the watch.
1.1 Create the project and import image
assets
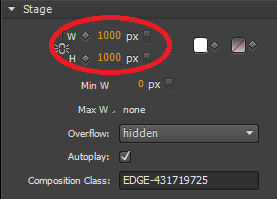
We create a new Edge project and setup the width and height of the stage to the same size to make it square.
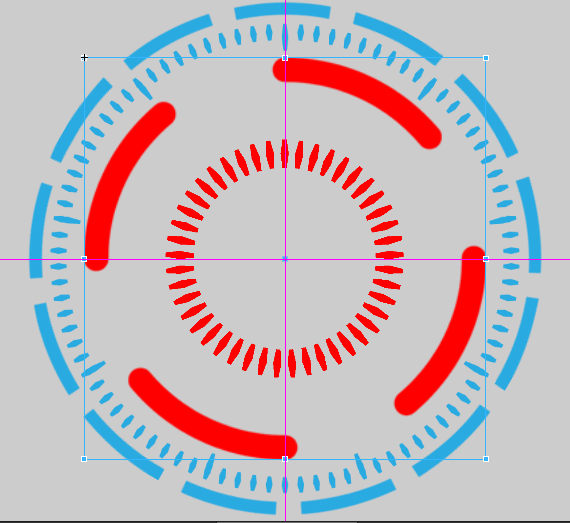
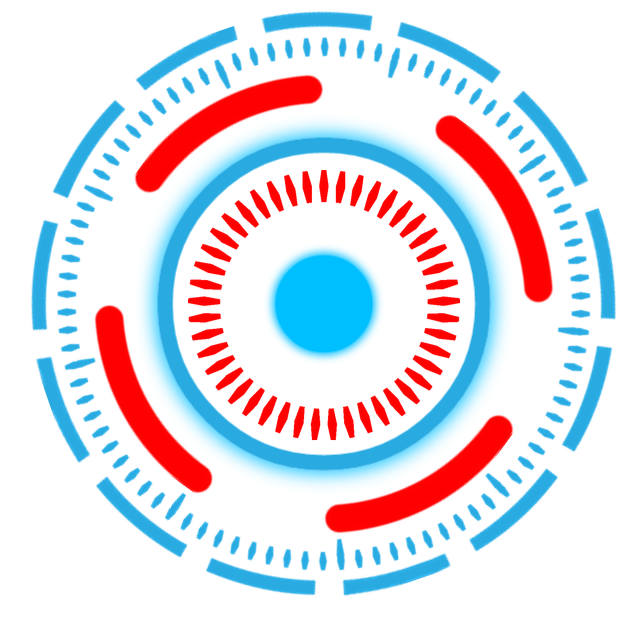
Then we import the image assets by dragging and dropping them in the scene (the image assets are available here along with the rest of the tutorial’s files). Then using the select tool we resize each of the elements.
1.2 Position the elements
We use the built-in guidelines(purple lines) of Edge Animate to center them vertically and horizontally. Make sure to check the snap to guides option (view/snap to guides).
1.3 Create symbols and animate them
Then we convert each of the images to a symbol (by right-clicking on the image and selecting convert to symbol). By doing this we have a separate timeline for each of the images. In this way can have them rotating at different speeds independent of each other.
So, one by one we select the newly created symbols and we animate their rotation by placing the appropriate keyframes and transitions on the timeline. For more information about the Adobe Edge timeline and keyframes check this tutorial – http://coherent-labs.com/blog/create-animated-game-hud-with-adobe-edge-animate-and-coherent-ui/ in our blogpost.
In order to make the animation loop at the end of each one add a trigger with the following code:
|
1 |
this.play(0); |
when this trigger is reached it will cause the animation to restart from the beginning.
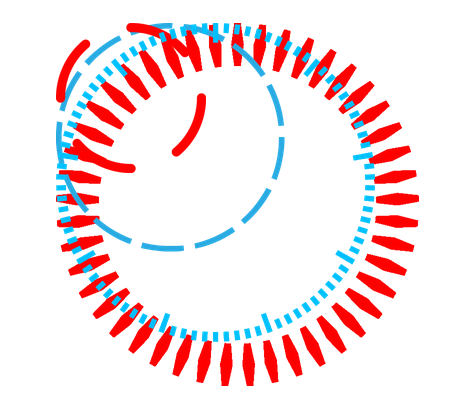
Lastly, we use the ellipse tool to create a few additional circular shapes.
and the HTML content for the watch is complete. Now we’ll move on to the menu.
2. The menu
2.1 Create the project and import image
assets
Again we create a new Adobe Edge project and we import all the image files.
2.2 Position the elements
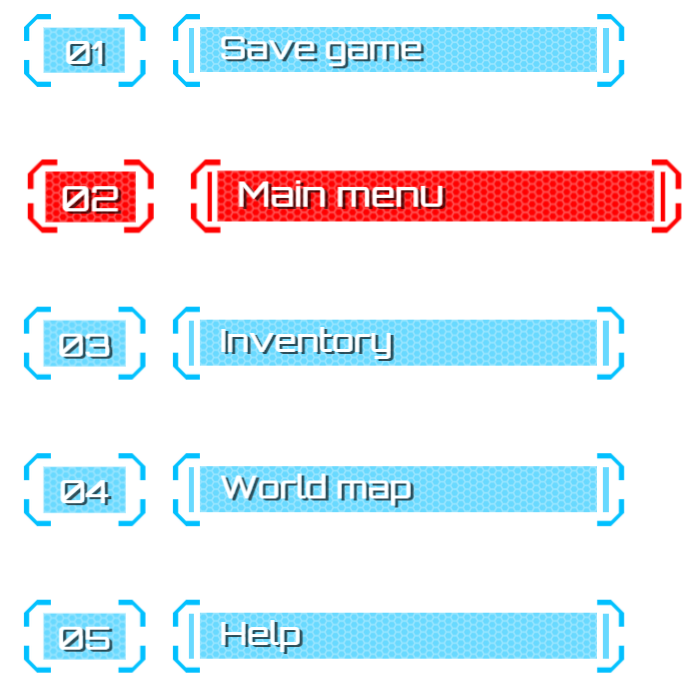
Using the selection tool we select, clone, position and rotate them to achieve the desired design.
Then using the Rectangle tool we add background
and we use the Text tool to add text.
2.3 Create symbols and animate them
Now our menu item looks complete and we convert it to a symbol and start animating it.
First, we create an initial animation to be played when the UI is first loaded. We animate the position, opacity, and size of the elements again by placing the appropriate keyframes and transitions on the timeline. The goal is to make the corner images move towards the text and back.
Then, we create an animation to be played when the user hovers the mouse pointer over the menu element. This means, however, that we need to have multiple animations for the same symbol on the same timeline.
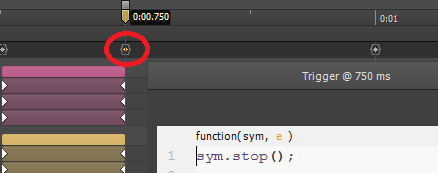
To achieve this we first add a trigger at the end of the initial animation with the following code which causes it to stop:
|
1 |
this.stop(); |
Then we choose a later time on the timeline and we create there our hover animation.
Again we animate the position, color, opacity and size of the elements by placing the appropriate keyframes and transitions on the timeline. The goal is to make all the blue elements red when the user moves the mouse over the menu item.
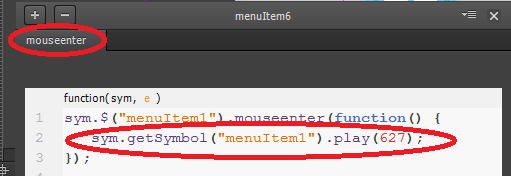
To make it work we just use the mouse enter action of the symbol and make it play from the starting moment of the hover animation.
The same way we create an action for mouse leave to play from the beginning of the timeline so that the item will be restored when the mouse leaves it. Now our menu item symbol is complete and animated.
We duplicate it in order to create the rest of the menu labels and the menu is now complete.
2.4 Add additional interactivity with the Coherent Labs Animation Framework and GSAP
To enhance the functionality of the menu we create animation which moves the menu items on mouse scroll.
To achieve this we use the Coherent Labs Animation Framework which is based on GSAP.
First we add the JavaScript libraries:
|
1 2 3 |
<script src="js/gsap/TweenMax.js"></script> <script src="js/gsap/TimelineMax.js"></script> <script src="js/coherent_animations.js"></script> |
Then we add the following simple script that will listen for mouse wheel events:
|
1 2 3 4 5 6 7 8 9 10 11 12 13 14 15 16 17 18 19 20 21 22 23 24 |
$(function() { var $scene = $('.center-wrapper'); var $stage = $('#Stage'); $scene.on("mousewheel", function MouseWheelHandler(e) { var $elements = $(".elements"); var $lastChild = $elements.last(); var $firstChild = $elements.first(); if (e.deltaY != -1) { if (!TweenMax.isTweening($stage)) { $stage.prepend($lastChild); $stage.css('top', '-330px'); TweenMax.to($stage, 0.3, {top: -110, ease:Sine.easeIn}); } } else { if (!TweenMax.isTweening($stage)) { $stage.append($firstChild); $stage.css('top', '110px'); TweenMax.to($stage, 0.3, {top: -110, ease:Sine.easeIn}); } } }); }); |
The script first checks if the scroll was moved up or down,
|
1 |
e.deltaY != -1 |
then it moves the first and the last menu item to bottom and top accordingly using jQuery’s prepend and append functions.
Lastly, it animates the whole stage using GSAP’s TweenMax:
|
1 |
TweenMax.to($stage, 0.3, {top: -110, ease:Sine.easeIn}); |
Now our HTML is complete.
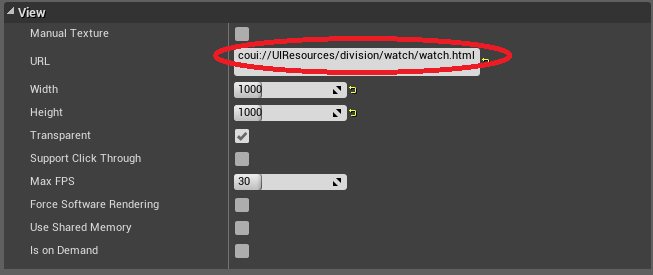
The only thing that remains is to set the URL’s of the Coherent UI components to the previously created HTML.
And here’s the finished menu:
and sample video:
Hristo

