Converting Adobe Photoshop ACV to LUT for color grading

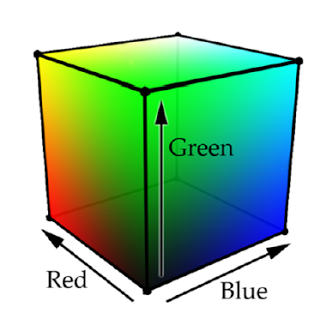
So, what does this even mean and what’s its purpose? First, ACV is the Adobe Photoshop curves file format, which stores color mapping information. An artist can easily create an .acv preset, which can drastically change the mood and color tone of the image. Second, LUT is just a look-up table, in our case a small 3D space which maps a RGB color to another RGB color. LUTs can be effectively used for nice and cheap post processing.
Basically, ACV and LUT are both the same thing, represented differently. Only the latter is usable in real-time rendering applications at negligible costs, though. Now that we understand the problem we’re solving, let’s take a look at
The theory
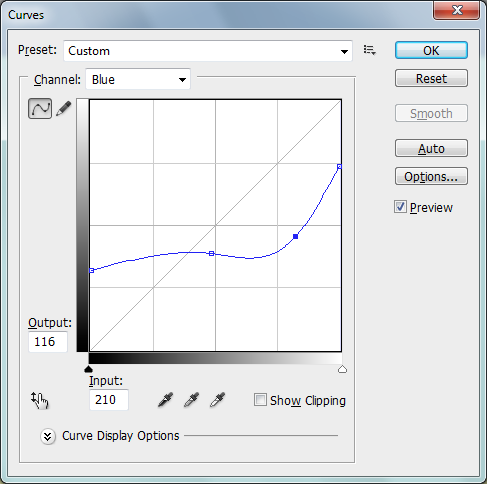
An .acv preset (generally) contains curves for each color component – red, green and blue. A curve is just a function f : X -> X, where the domain(and co-domain) is the integers in the interval [0, 255]. The curve is defined by a number of control points which change its shape. Here’s a little more graphical explanation (you can find the curve editor in Image -> Adjustments -> Curves):
This image shows the mapping of the blue channel. For example, every color that has a blue component of 210 will be transformed to a color with blue component of 116. You can adjust the curves for the red and green channels, too, giving you full control. There is also a master RGB curve which is applied afterthe individual channel curves. For example, if the master curve maps a value of 116 to 80, the cumulative result of the blue curve and the master curve will be a mapping of 210 to 80 for the blue channel.
Before we do anything further, we should first understand the information stored in the preset. Adobe has been kind enough to publish the specifications of the .acv file format.
|
Length
|
Description
|
|---|---|
|
2
|
Version ( = 1 or = 4)
|
|
2
|
Count of curves in the file.
|
|
The following is the data for each curve specified by count above
|
|
|
2
|
Count of points in the curve (short integer from 2…19)
|
|
point count * 4
|
Curve points. Each curve point is a pair of short integers where the first number is the output value (vertical coordinate on the Curves dialog graph) and the second is the input value. All coordinates have range 0 to 255.
|
Pretty straight-forward.
The question now is “how do we convert that curve to a lookup table”. The curve is defined completely by a finite set of points, so we can paraphrase the question as “how do we obtain a polynomial that passes through a number of predefined points”. And that’s where numerical analysis comes in handy. There are various methods for doing that, such as cubic spline interpolation or interpolation using Lagrange polynomials. They both work fine and I chose to use spline interpolation since it came to mind first. I’ll spare you the details, but you can find an explanation on cubic spline interpolation in any numerical analysis book or in the Wikipedia article.
The implementation
Now that we have our polynomial we have to make the LUT we’re talking about. But how big should it be? 256^3? That’s 64MB for 32-bit color, totally unacceptable! As stated by Kaplanyan in his CryEngine 3 talk at Siggraph 2010, 16^3 seems to be enough and from my experiments I tend to agree with that claim. That brings the memory footprint down to just 16KB for a single LUT!
The code for generating the small LUT cube is nothing special, we just take discrete samples of the curve:
We’re pretty much done here, so I’ll demonstrate how this “hard” work pays off with a simple sample based on, well, SimpleSample11 from the DirectX SDK (it runs only on Windows Vista SP2+). The program uses a simple well-known trick for drawing a full-screen triangle with no actual vertex data for displaying a selected image and the shader modifies the color based on the LUT. When creating the LUT itself, the loading options are set so no mips are created as they are not needed (although even if you docreate mips, the shader uses SampleGrad to sample the top surface). There isn’t much more to the implementation than that. Except that by default DXUT creates a backbuffer with sRGB format, which makes us do the gamma correction in the shader (or create the resource view with the appropriate format). You can find the code in the github repository at the end of the post.
One important note that’s worth mentioning: you should use a sRGB color profile in Photoshop to match the colors of the generated LUT. You can check the profile used in Edit -> Color Settings.
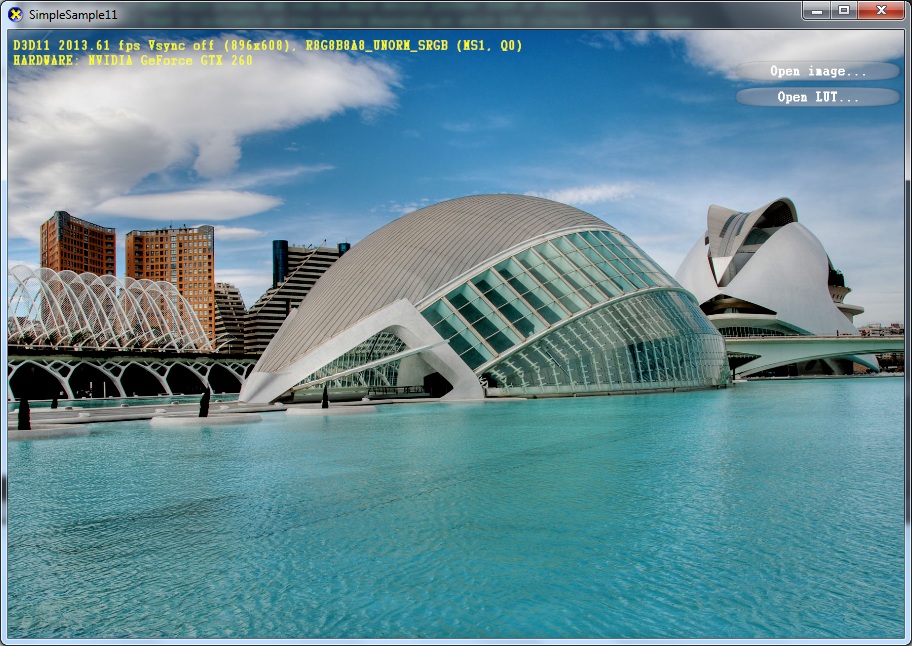
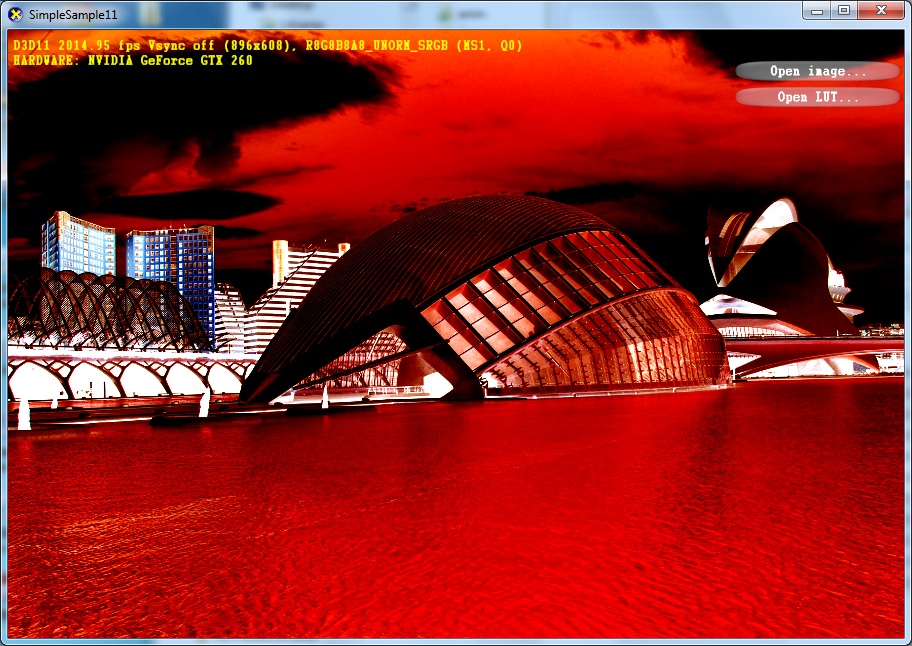
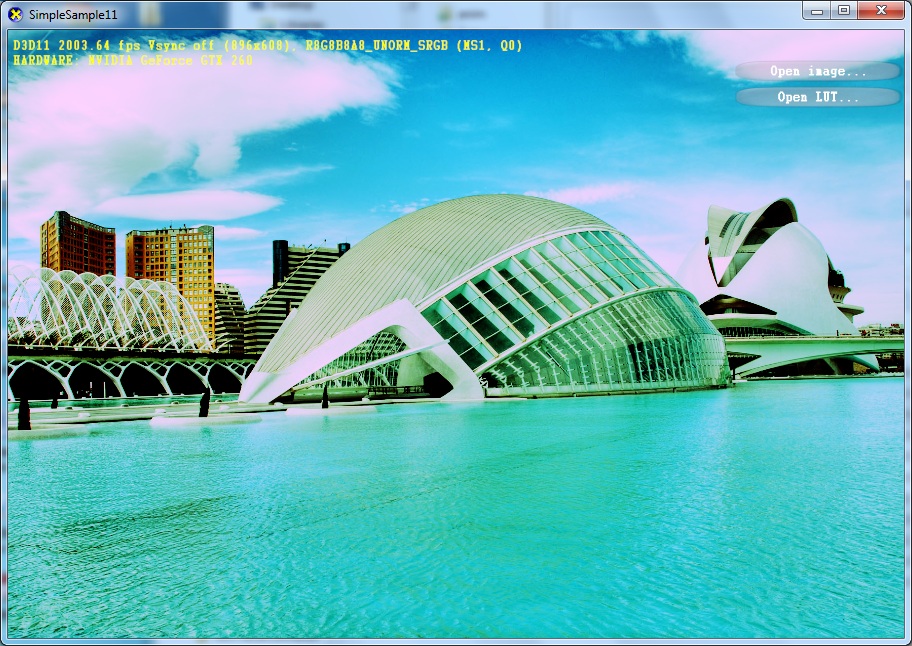
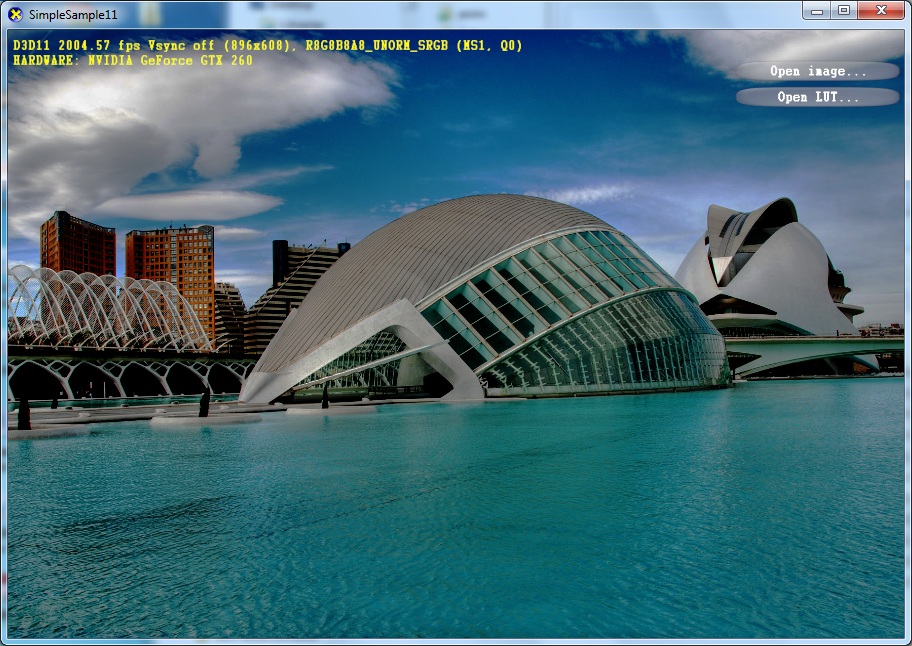
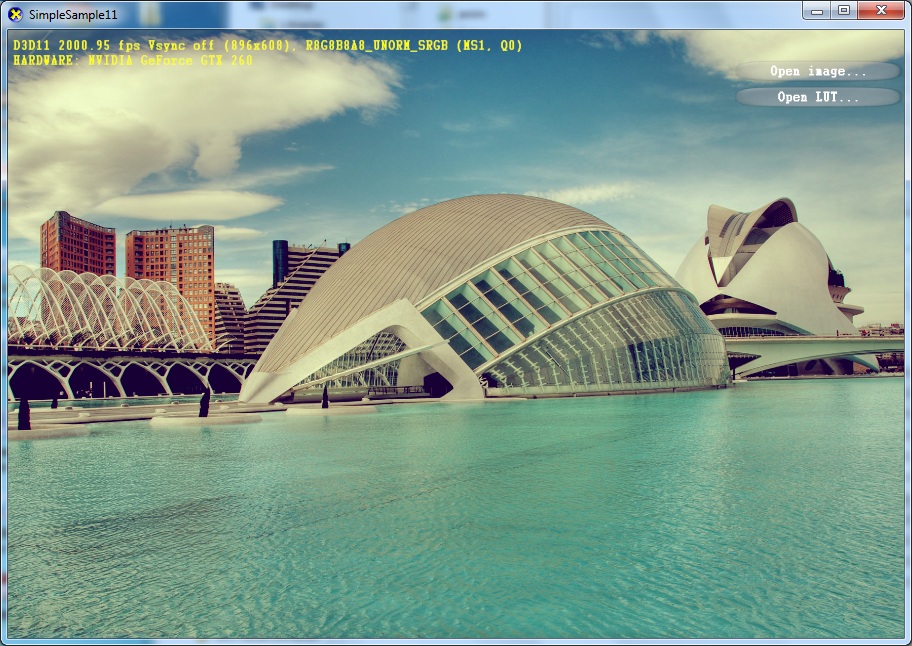
Finally, here are some sample images I made:
Download ACV/LUT convertor, sample application and presets from github
Follow Nick on Twitter: @Nikxio

