Unity3D – compositing multiple Coherent UI Views (tutorial)
In this Unity3D tutorial we’ll show how to compose multiple Coherent UI views simultaneously on the main player camera.
Some example scenarios when you would like to achieve such an effect are:
1) Having both the HUD and a browser simultaneously active on the player screen – both camera-aligned
2) In a strategy game all the unit’s portraits could be in one view (using the on-demand view feature for perfect gameplay synchronization) and all other HUD details (unit construction, menus, etc.) in another view
3) If you want to keep some sort of logic separate between views – for instance having the HUD and the menus in different views
These are only a handful of use cases, I’m sure many more can be invented. Keep in mind that most of the the time you could use just one view and separate the content with divs or iframes. For all the cases when this is not possible – here is a quick tutorial.
As it turns out achieving the composition is super easy in Unity3D and requires no code at all.
Multiple UI views in Unity3D tutorial
We’ll use as a base the “MenuAndHud” sample available in the Coherent UI package.
In essence we’ll render the two views on two render textures and then compose them on the Main camera via “GUI Textures”.
1) Create an empty project
2) Import the Coherent UI package
3) Run Assets->Coherent UI->Install Coherent UI
4) Now navigate and open the scene we’ll modify –
Assets/CoherentUI/Samples/Scenes/Sample03_MenuAndHUD/Game/game.scene
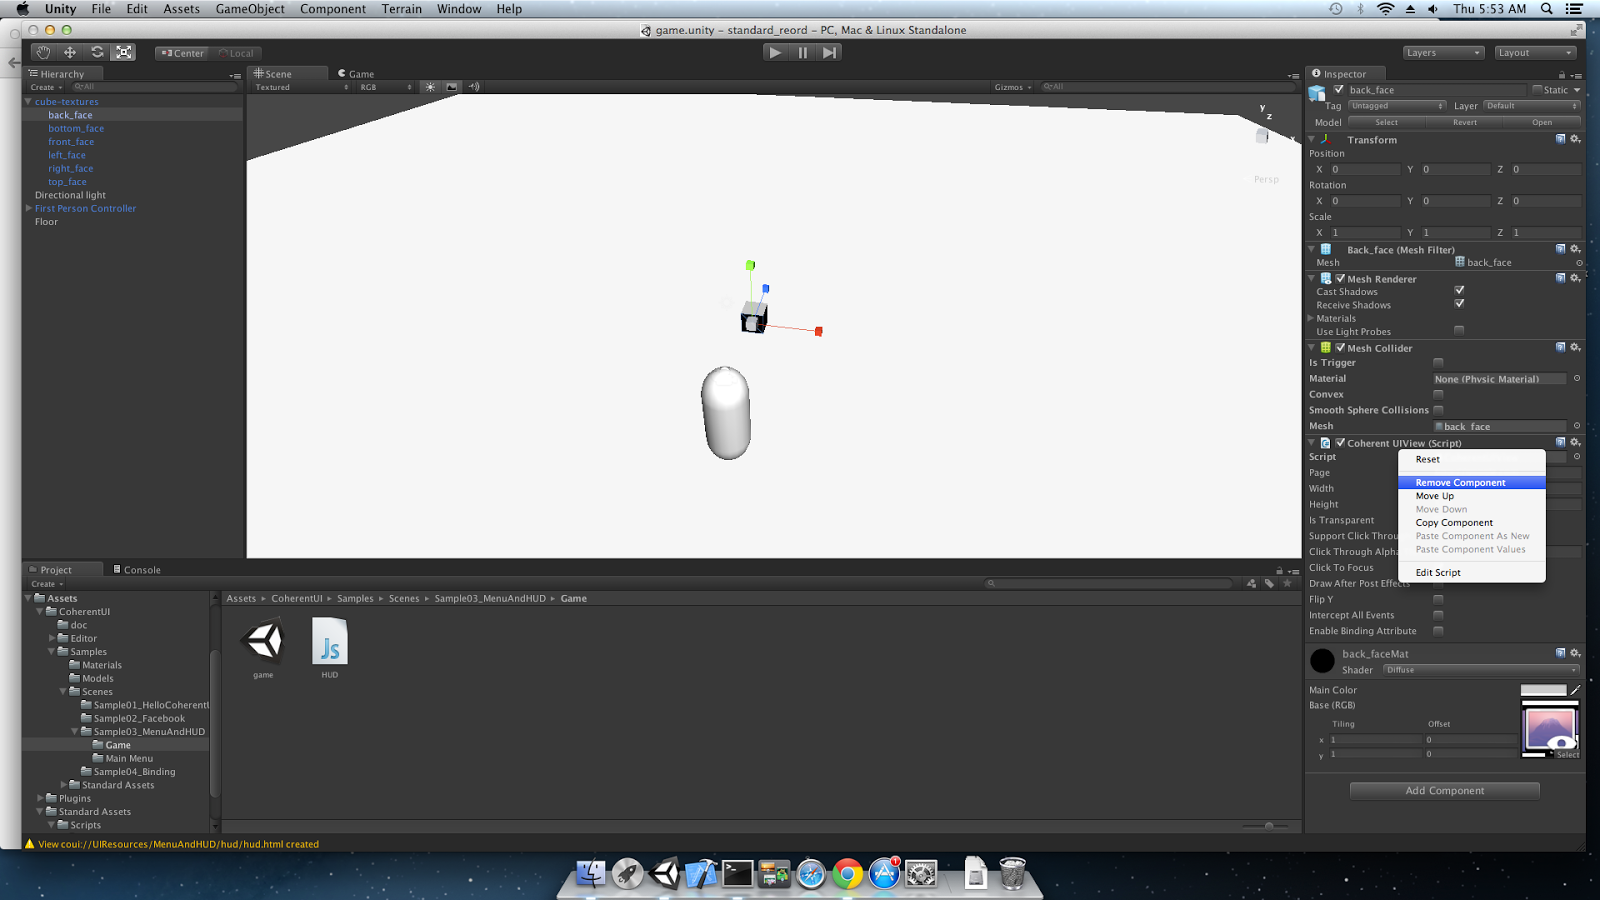
5) First remove the Coherent UI View component that is currently on one of the faces of the cube
6) Remove the Coherent UI View component from the “Main Camera” (under “First Person Controller”)
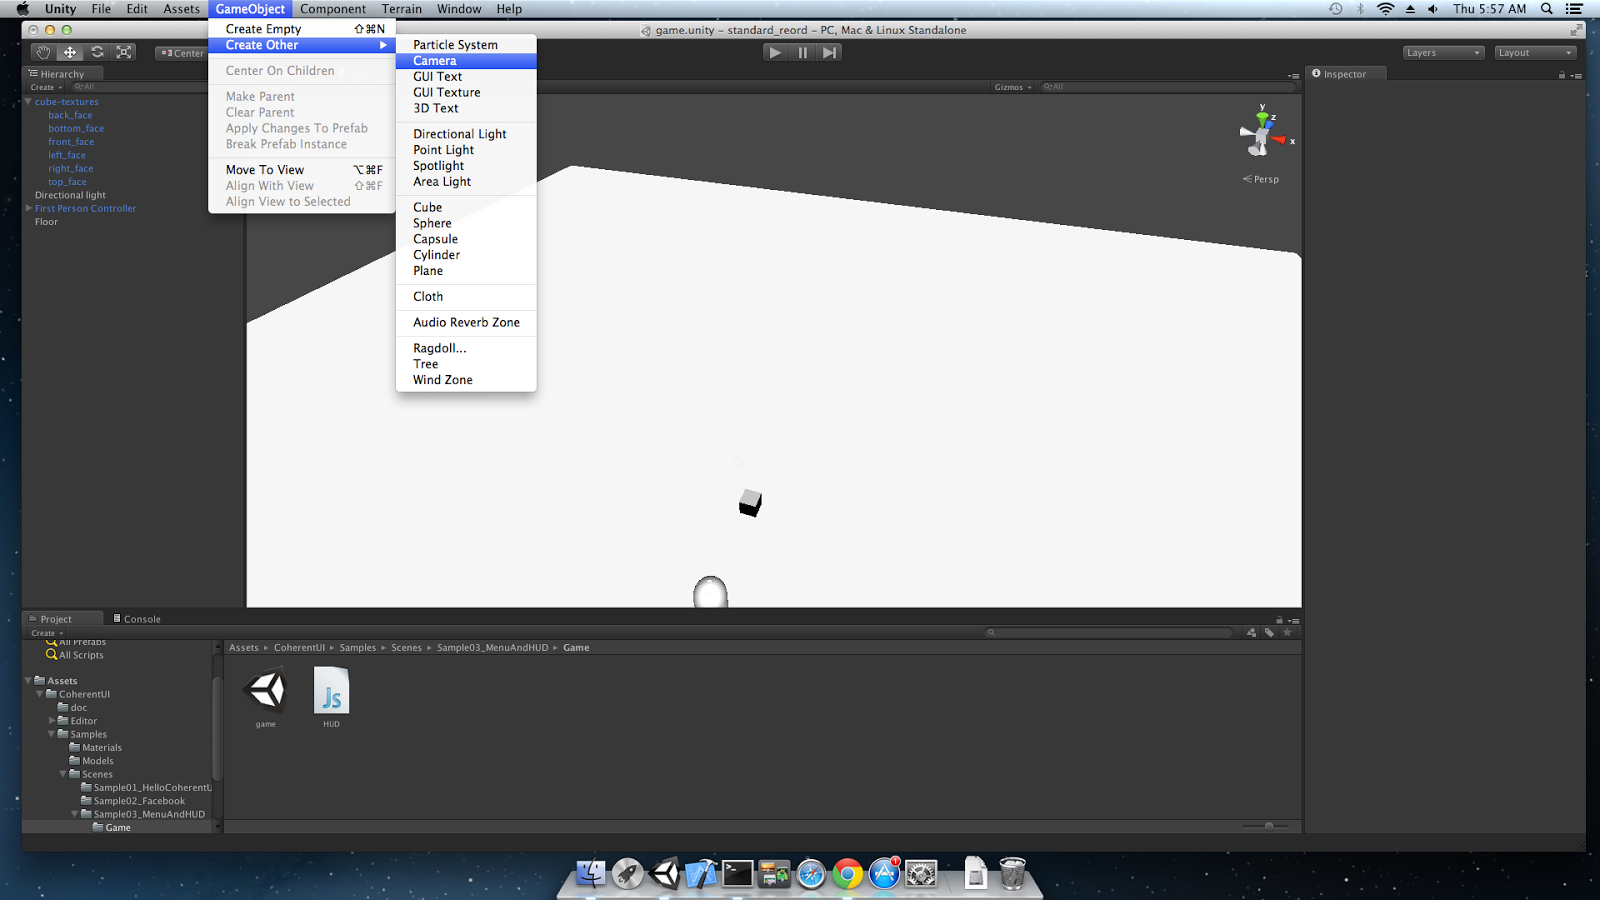
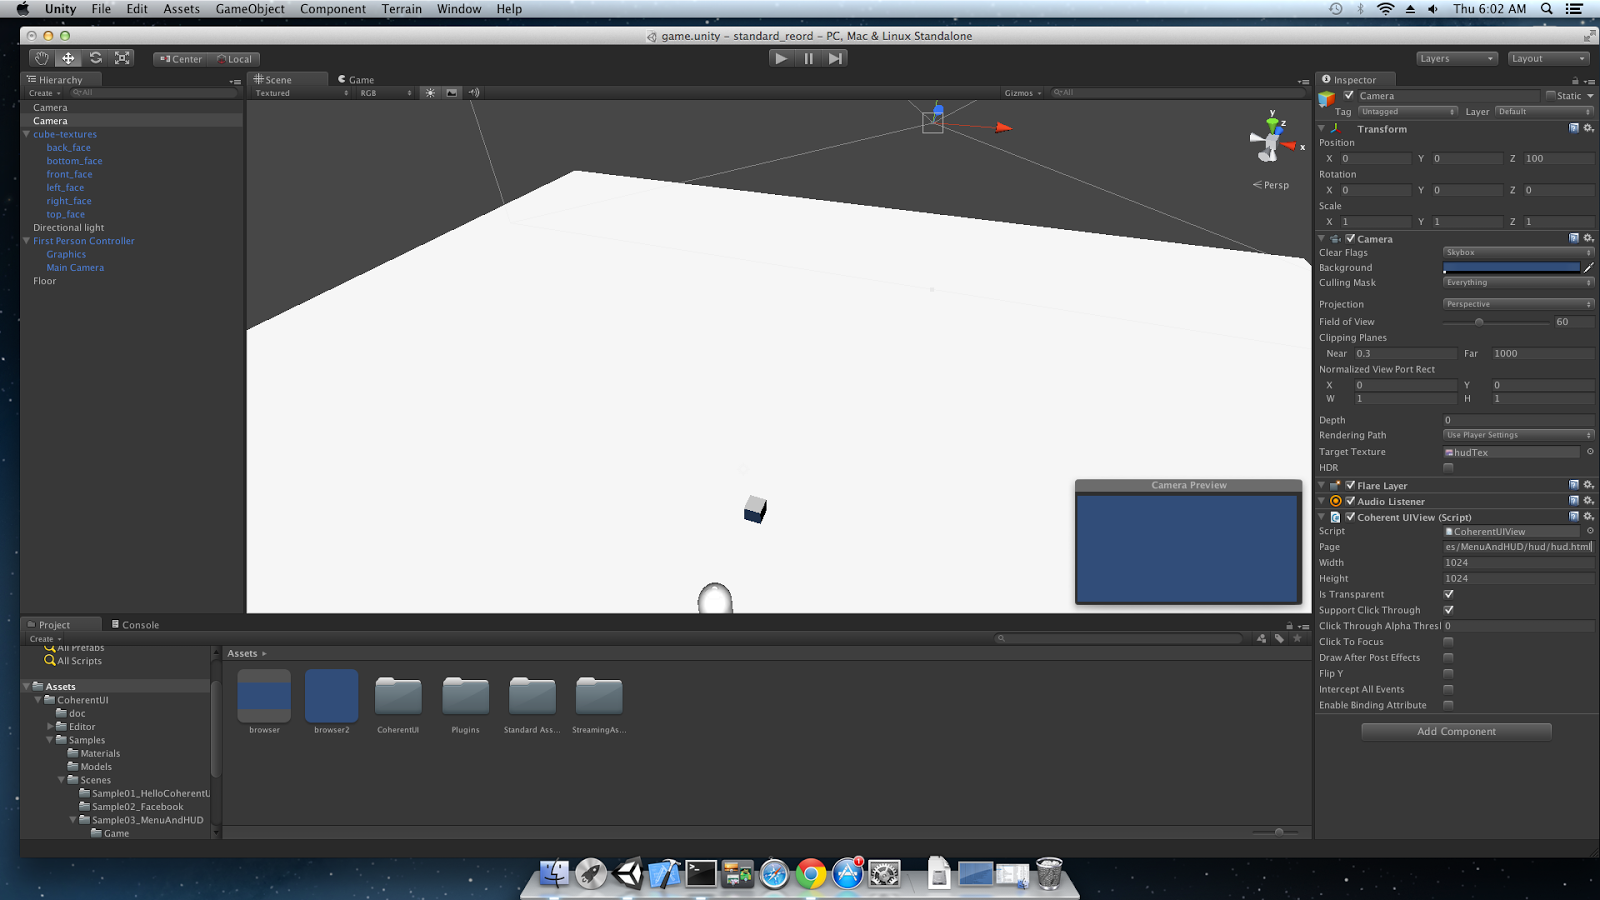
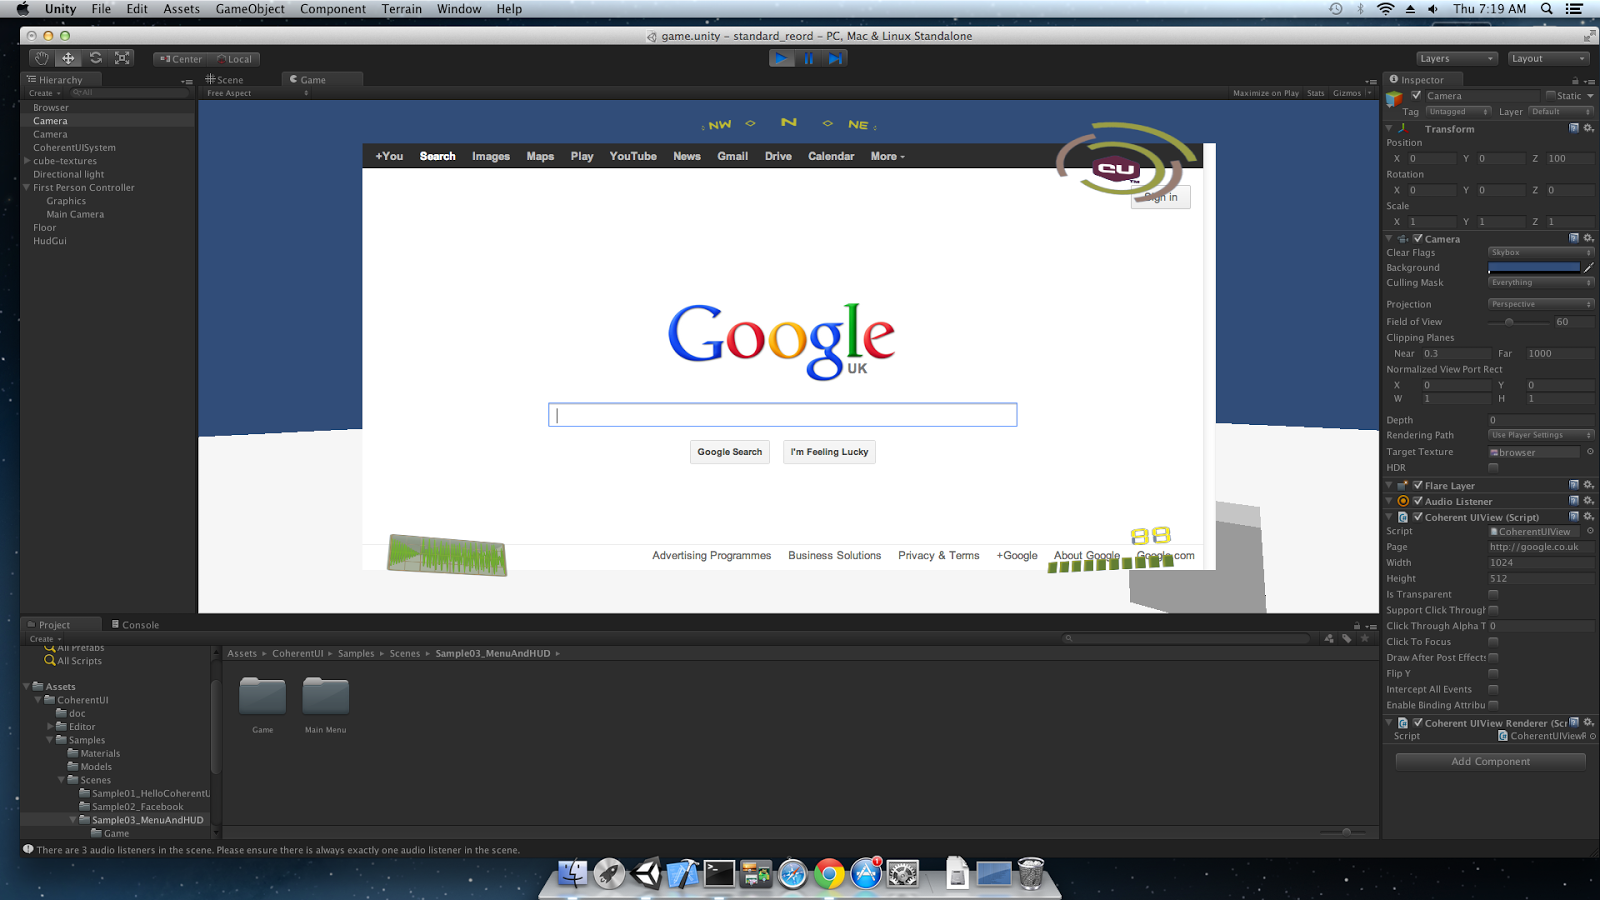
7) Add a Camera Game Object and set it’s position to (0, 0, 100) or any other position where it won’t be able to ‘see’ any of the scene or just use the culling mask of the camera
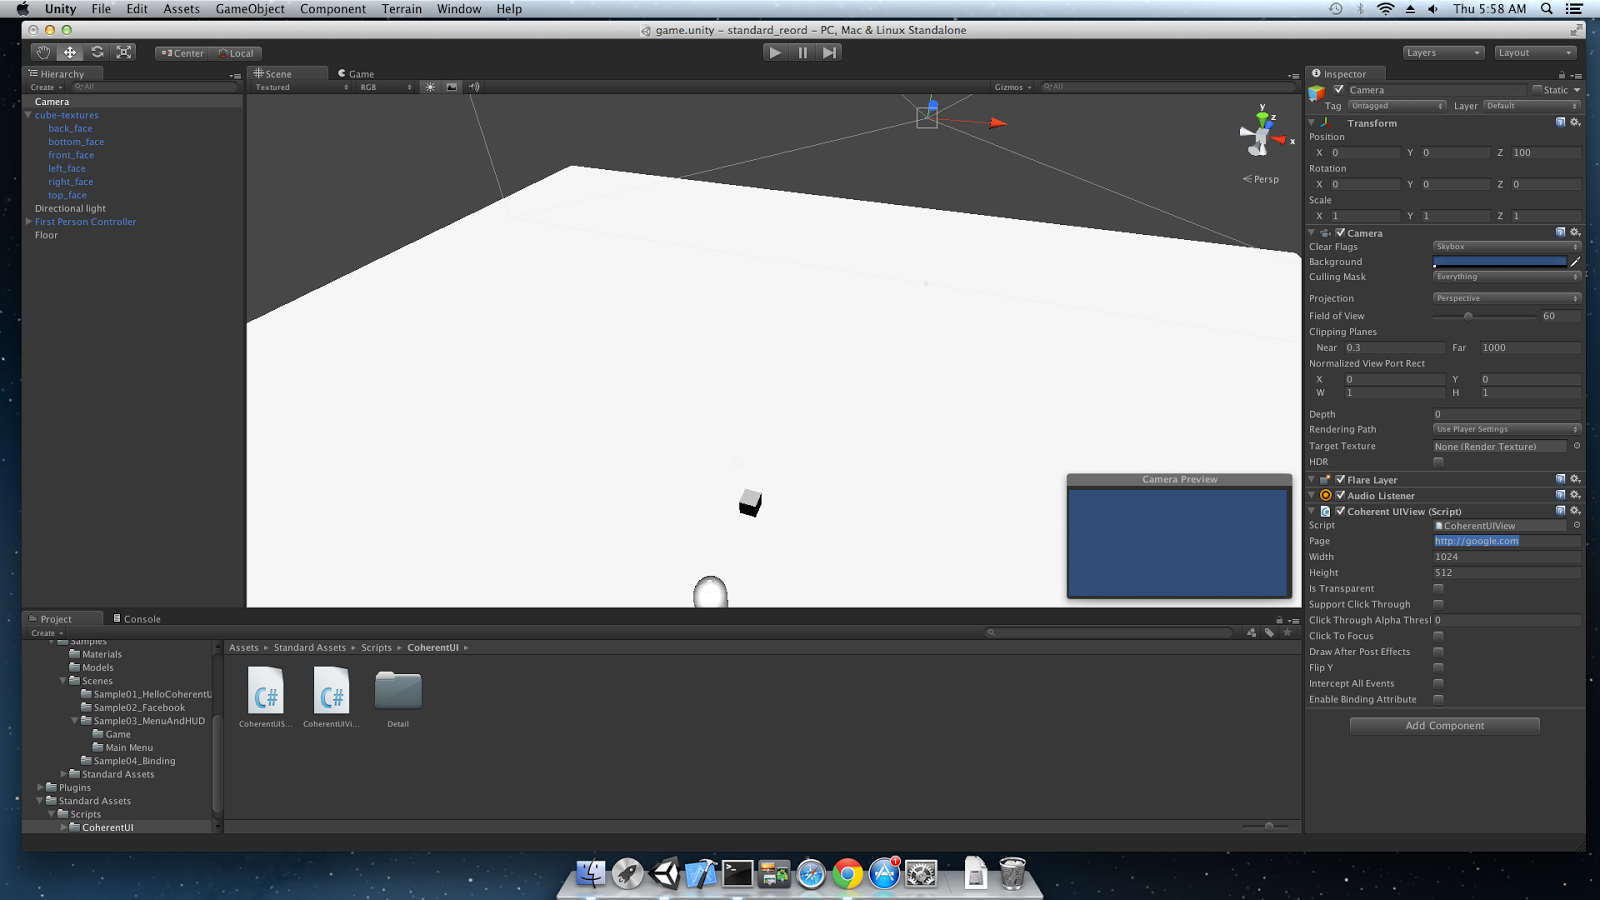
8) Add a Coherent UI View component to this new camera
9) IMPORTANT: Remove the ‘GUI layer’ component from the newly created camera.
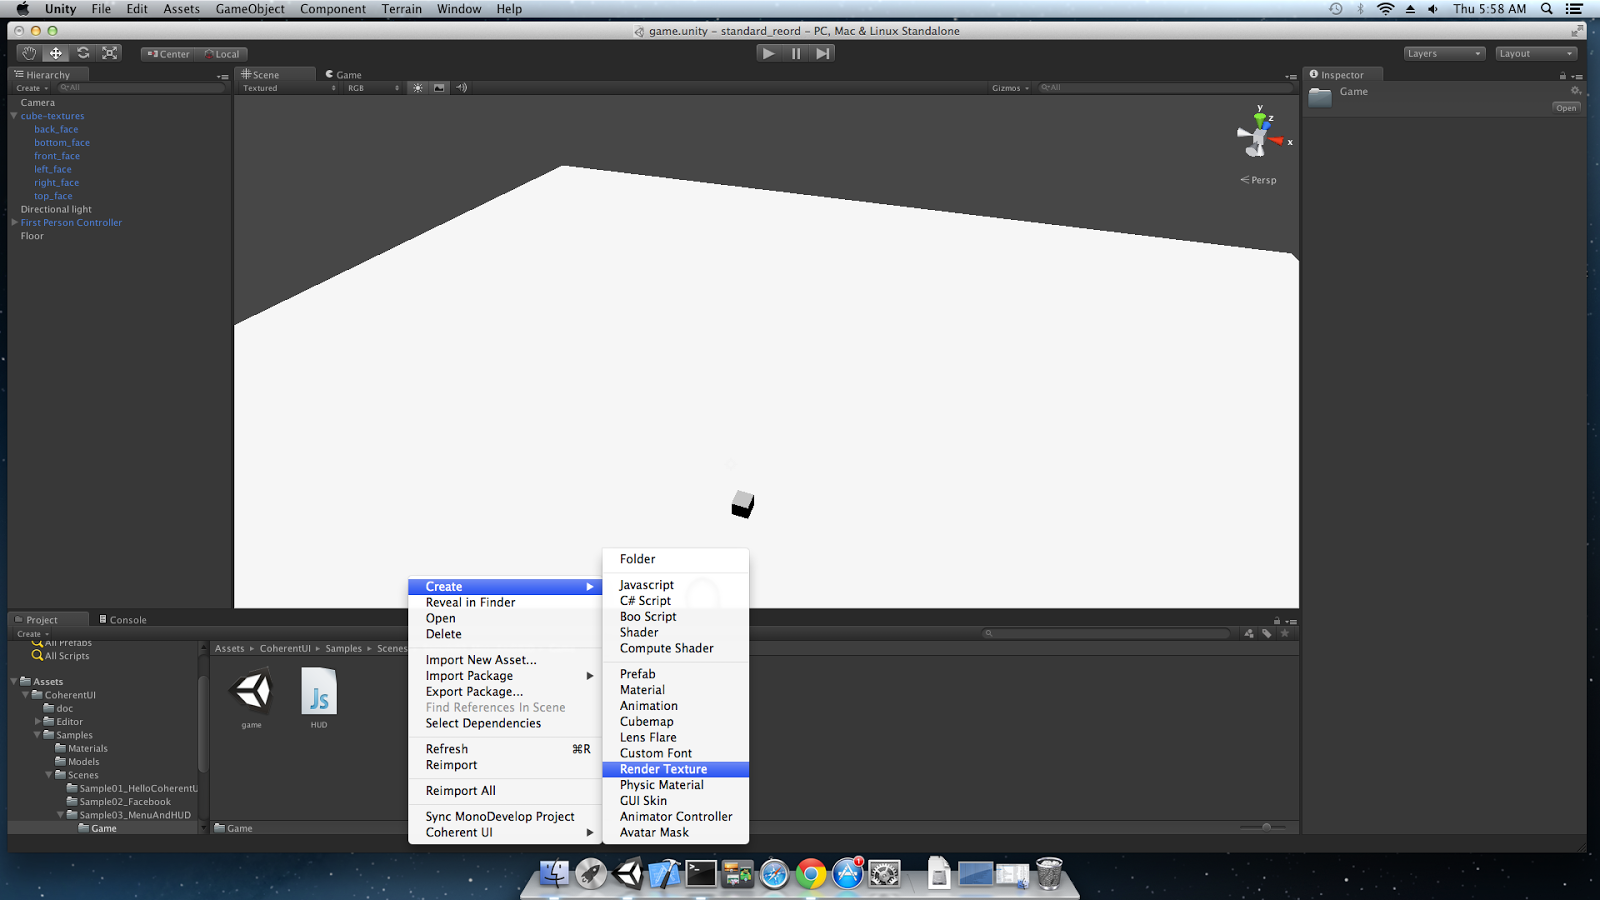
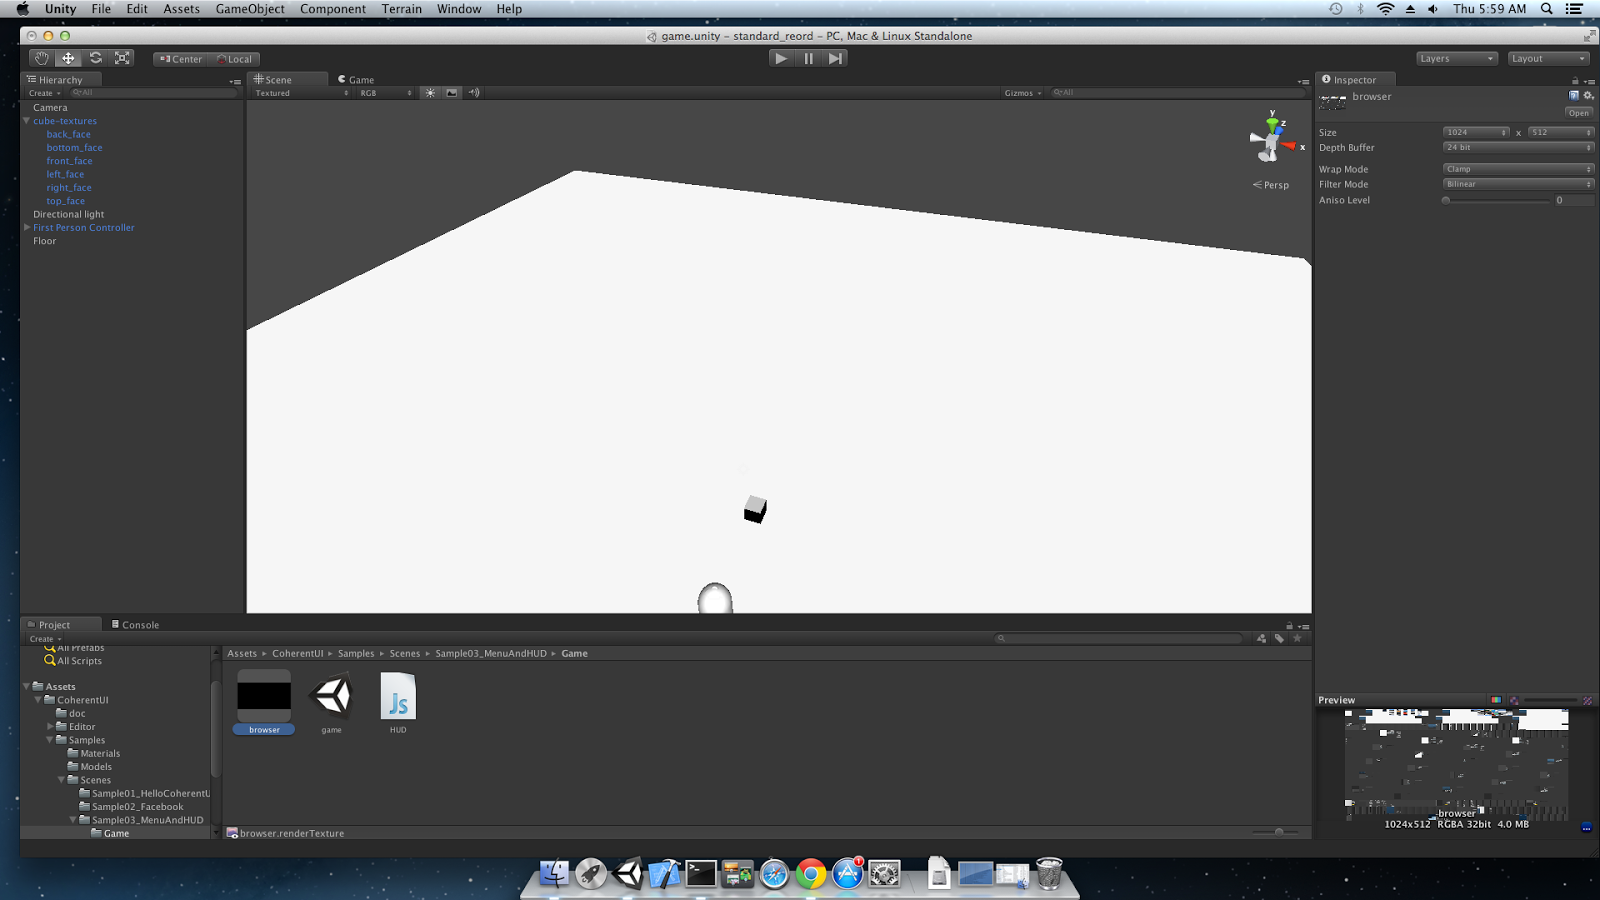
10) Create a Render texture to hold our rendered view
11) Rename the texture to ‘browser’ and set it to 1024×512 pixels
12) Set the ‘browser’ texture as Render target for the new camera
13) Repeat steps 6-11 – create again a new camera, remove the GUI Layer component, create a new render texture but this time name it ‘hudTex’. Set the Coherent UI View component on the second camera to be 1024×570 pixels and set it’s ‘Page’ to ‘coui://UIResources/MenuAndHUD/hud/hud.html’. Make sure the view has also “Is Transparent” and “Support Click Through” set to true.
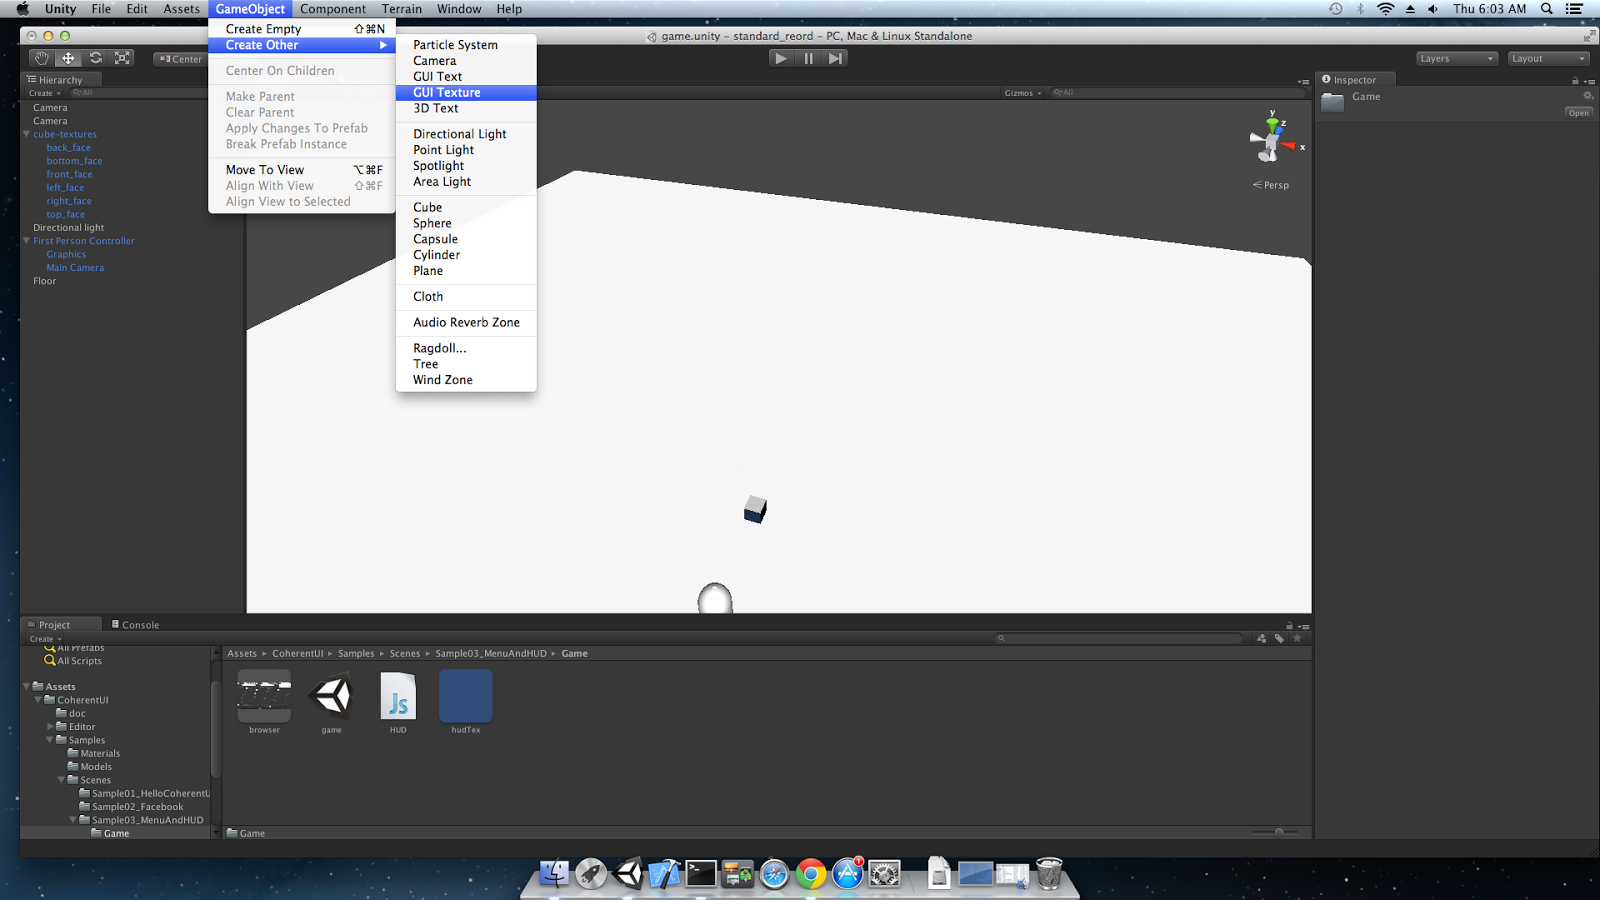
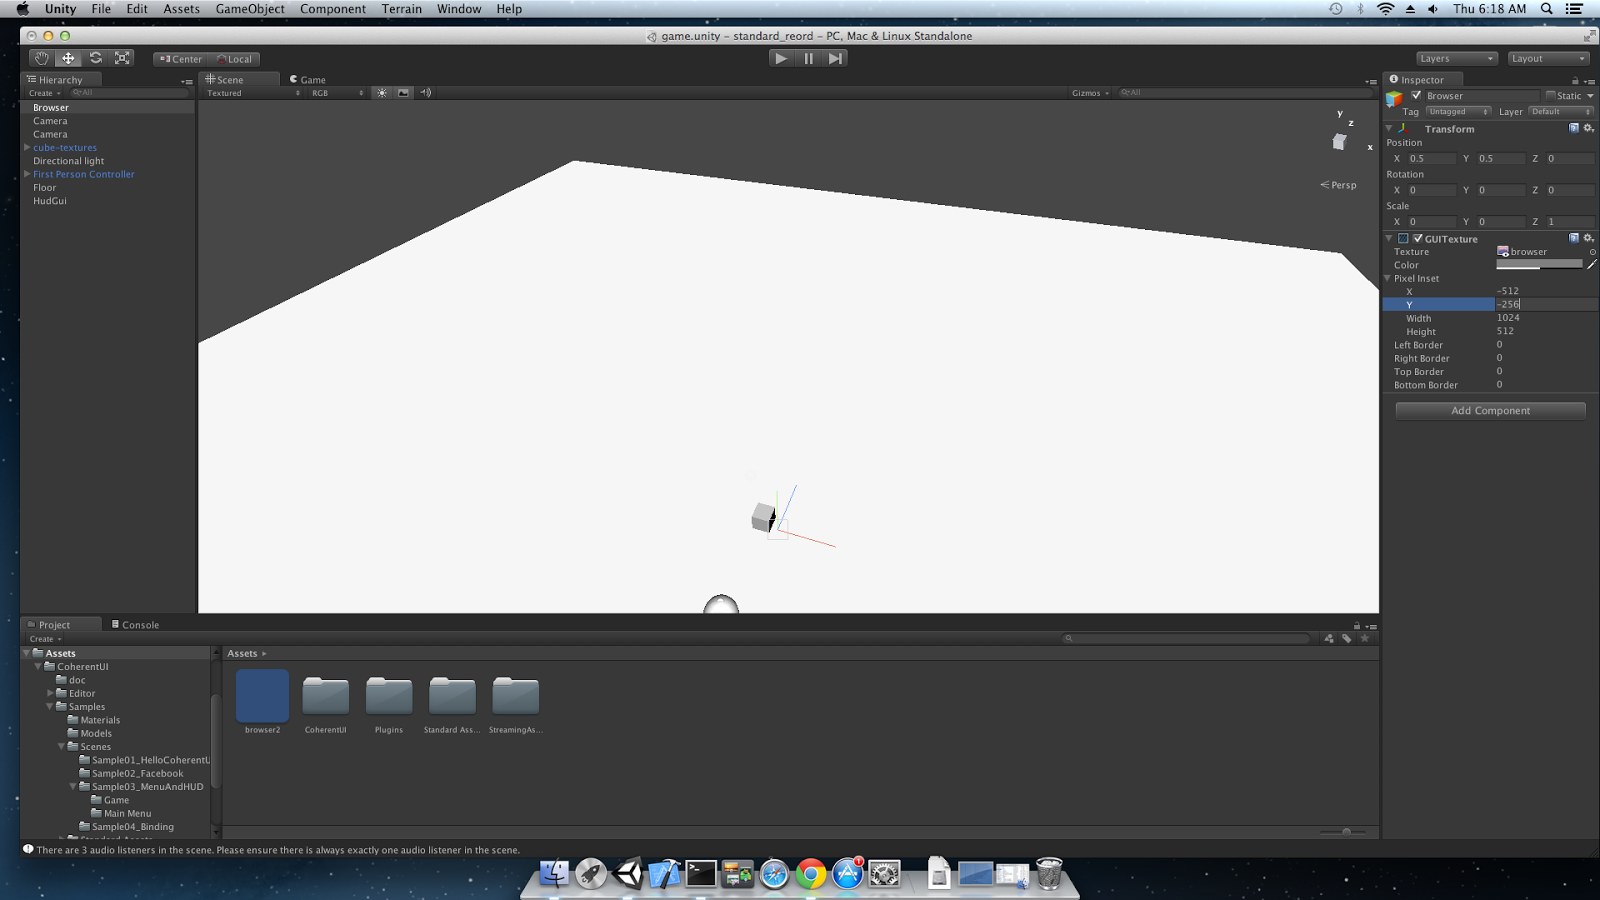
14) Create a “GUI Texture” Game Object
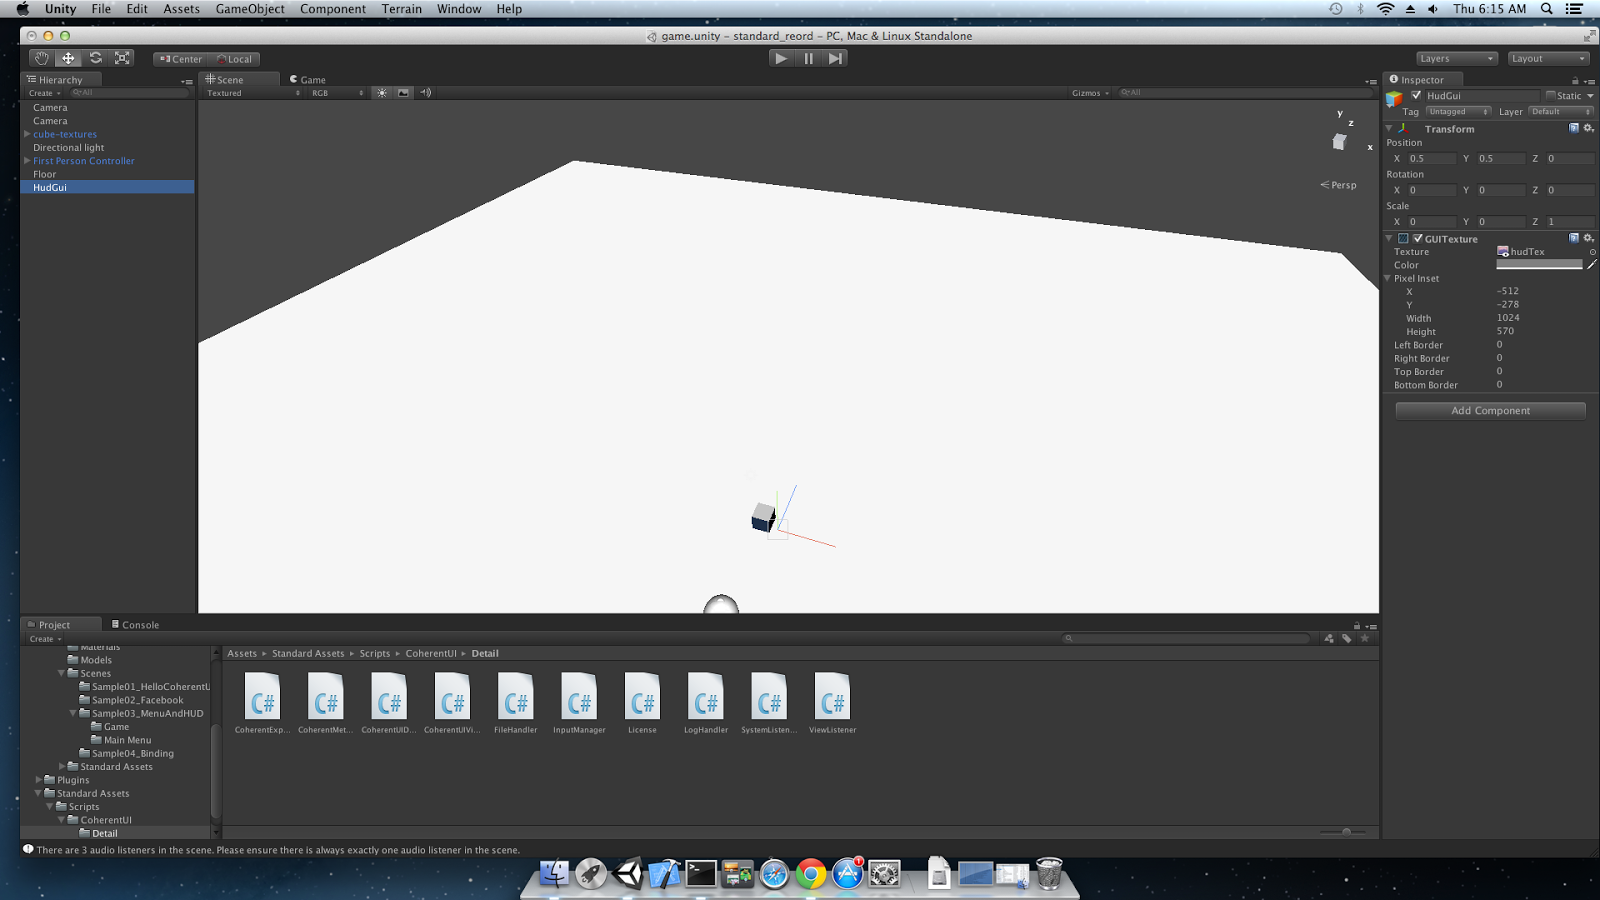
15) Rename it to ‘HudGui’, set it’s texture to our ‘hudTex’, it’s position to (-512, -256) and it’s size to 1024×570
16) Create another “GUI Texture” Game Object
17) Rename it to Browser, set it’s texture to our ‘browser’, it’s position to (-512, -256) and it’s size to 1024×512. Note that the result will also be tinted by the GUI Texture ‘Color’ property. This could be used to achieve some neat effects.
18) Play!
That’s it! With this technique you can compose as many UI views as you like anywhere on the screen.
Follow Stoyan on Twitter: @stoyannk

