Coherent UI in the Unity3D editor – Introduction
We would like to share a video showing the first version of the Coherent UI integration in the Unity3D editor. In this video we show how to:
- Import the Coherent UI package
- Create an in-game object with a web page on it
- Interact with a web page in the game
- Add a HUD powered by Coherent UI
- Build the game
We plan to release a Beta version of the product in a couple of weeks tops so stay tuned! For any suggestions or thoughts about the Unity integration please leave a comment or visit this thread.
How it works
The integration is very powerful yet very simple to use and requires little or no programming at all as we have wrapped everything in components with editor-accessible properties. However, we also expose to script all the features available in the .NET and C++ version of the library so more custom behavior can also be achieved.
What happens in the video:
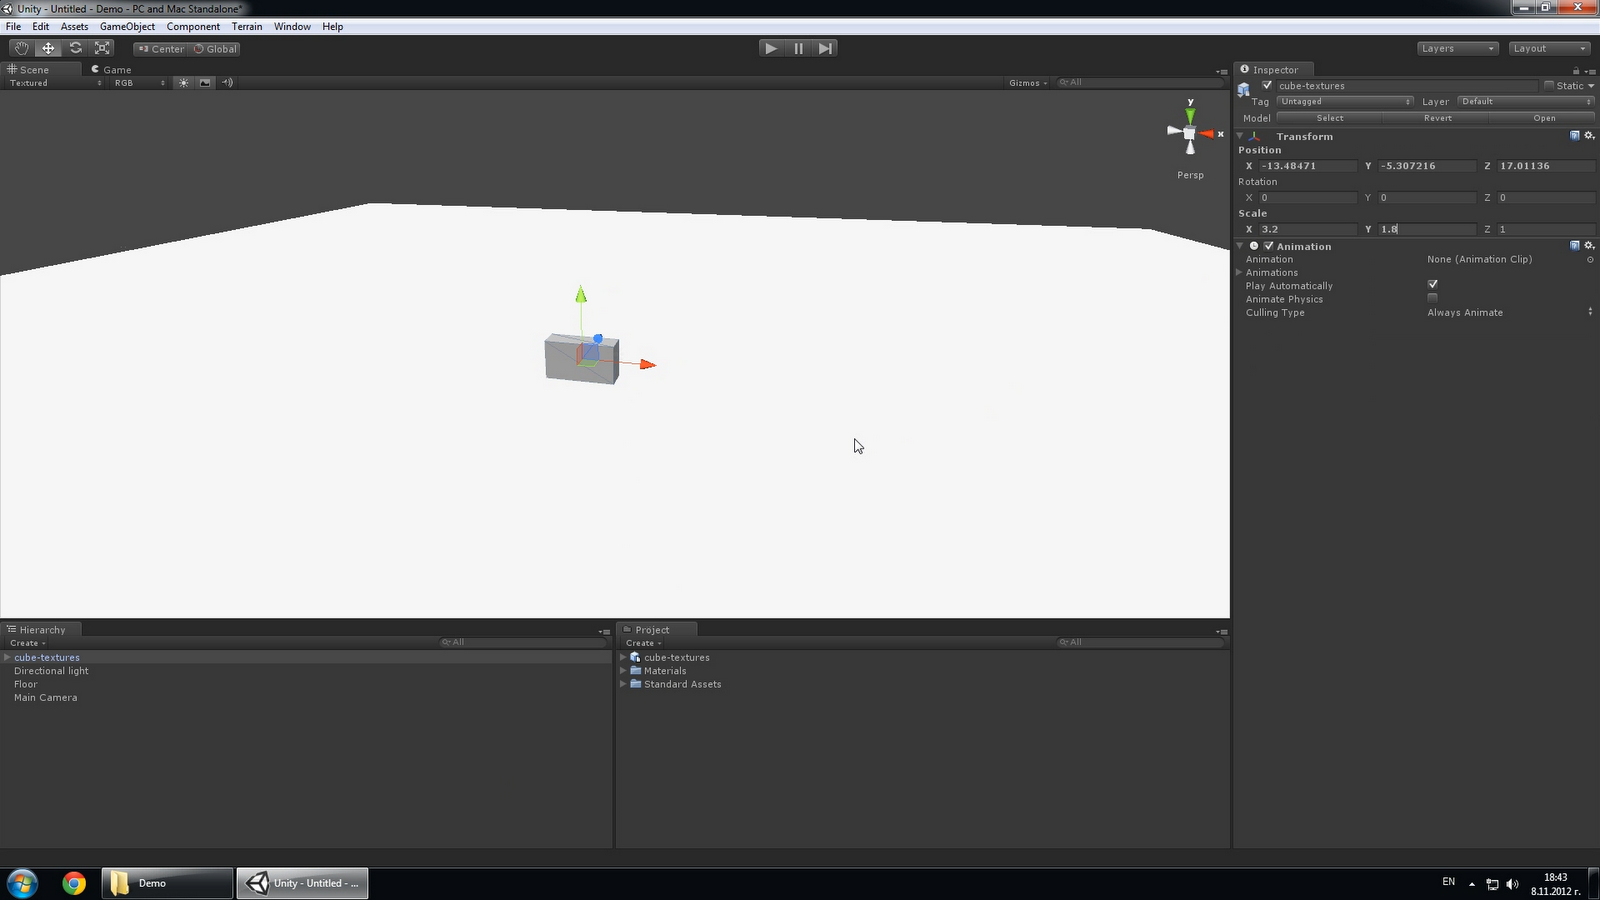
1. We load an empty scene and add a floor, a light and a cube on which we’ll project what in Coherent UI terms we call a ‘View’. A view is something that Coherent UI renders – that could be a HUD element, a projected web page, an animation – anything wrapped in an HTML page.
|
Simple scene
|
2. We add a character controller so that we can move around
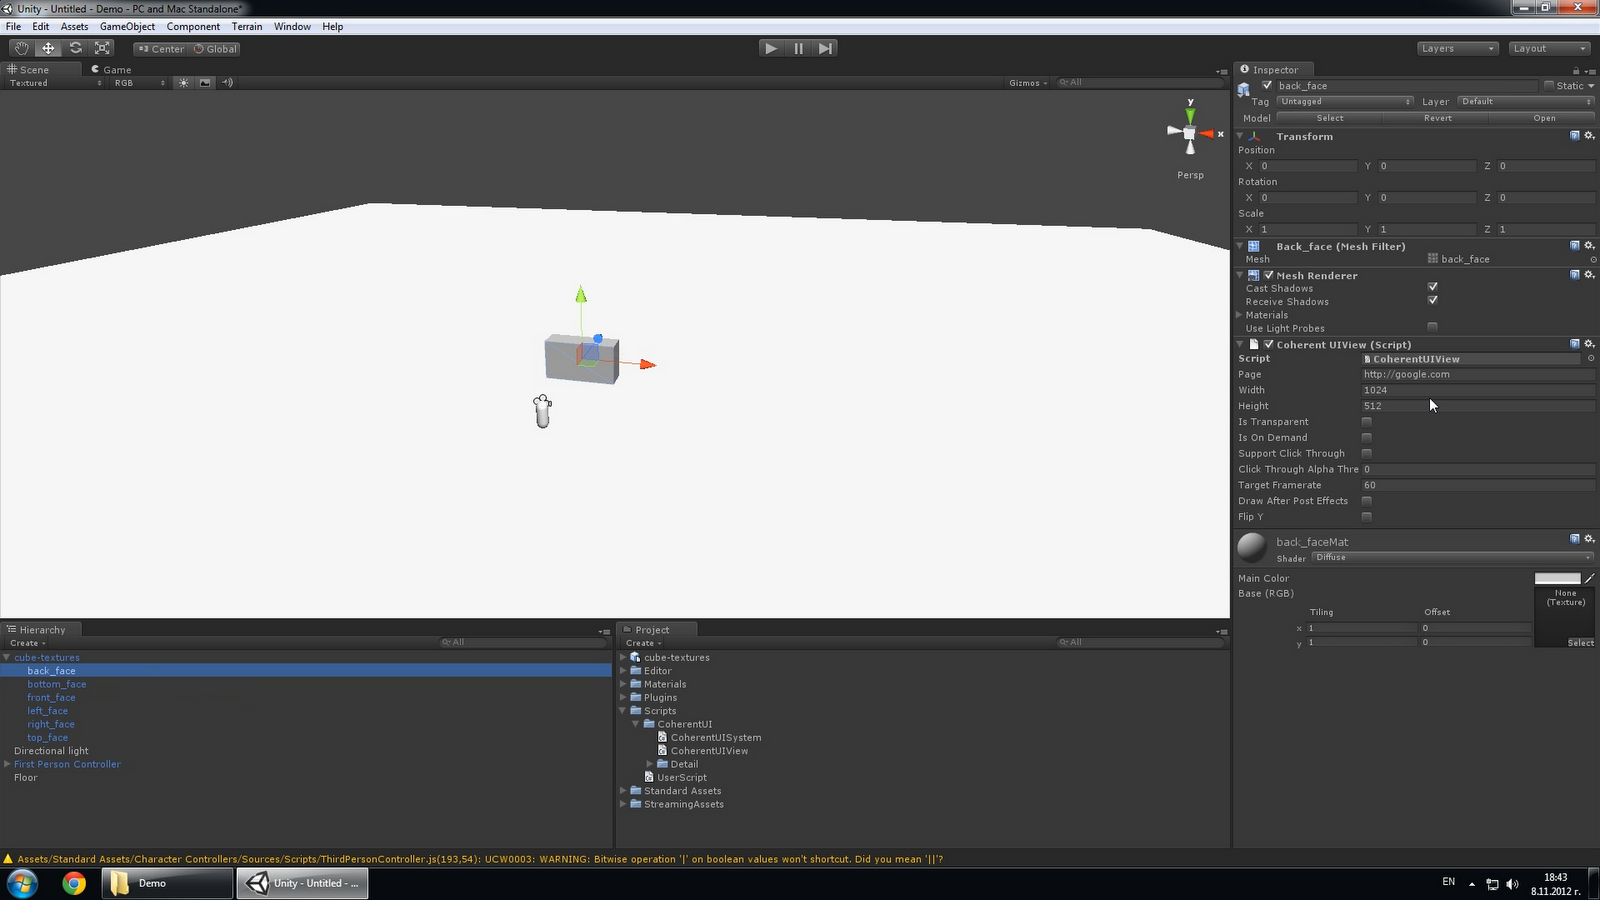
3.We import the Coherent UI package. The component we are interested in this tutorial is ‘CoherentUIView’. We drag it on one of the faces of the cube. All the various properties of the View are editable in the Inspector. By default it will load google.com. Let’s hit ‘Play’.
|
A Coherent UI View on an object
|
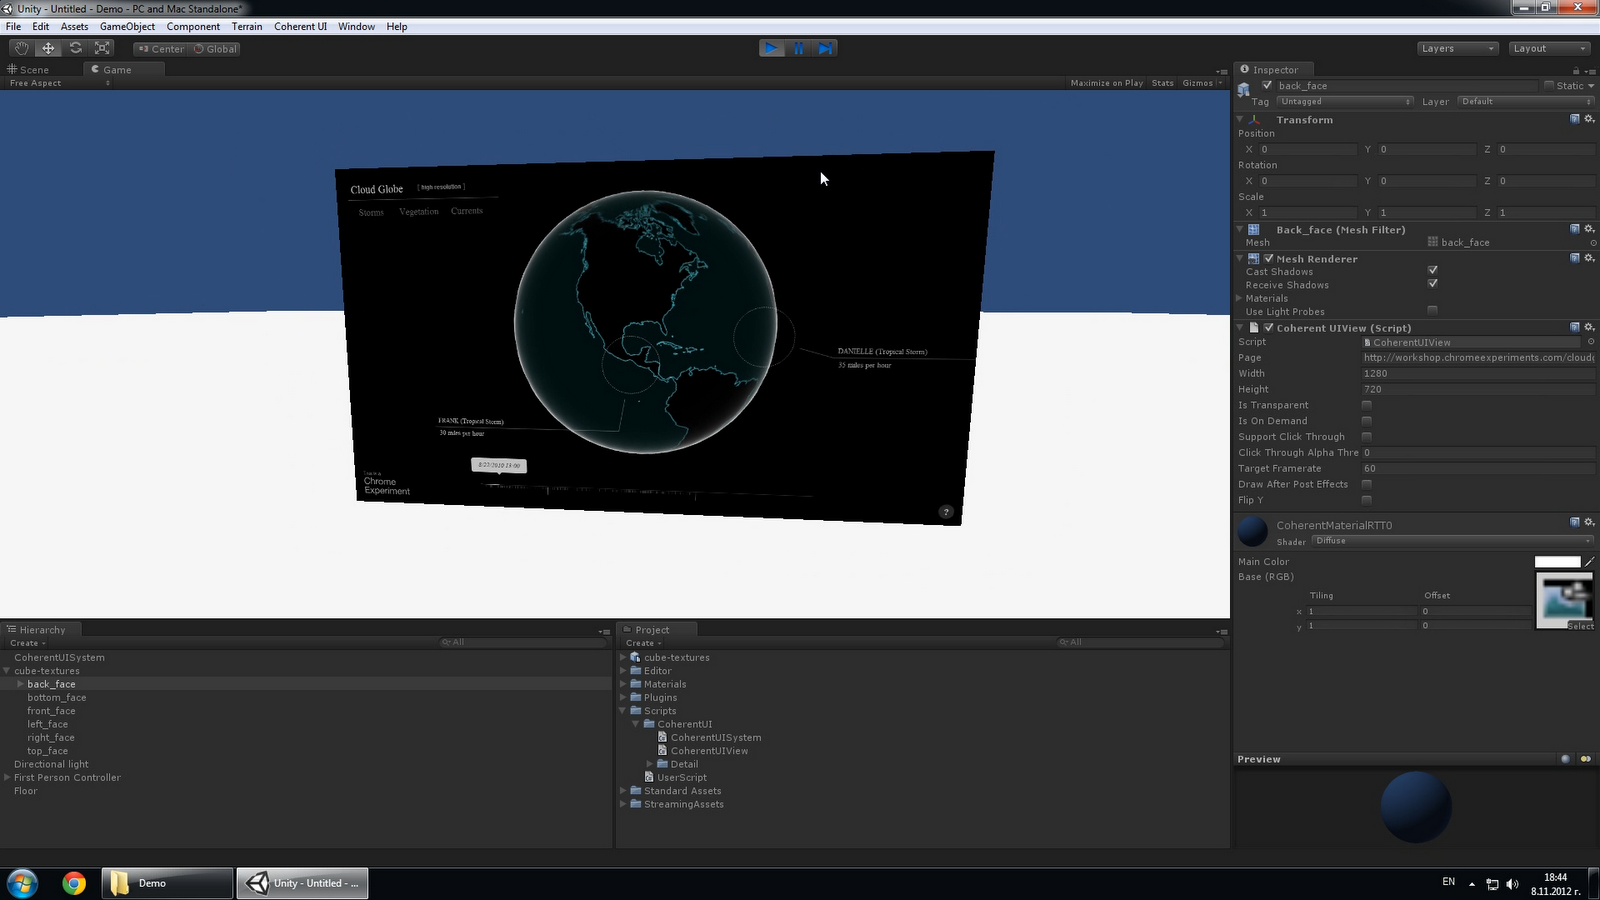
4. We can see the web page on the game object in Unity!
5. We change the web page and the resolution.
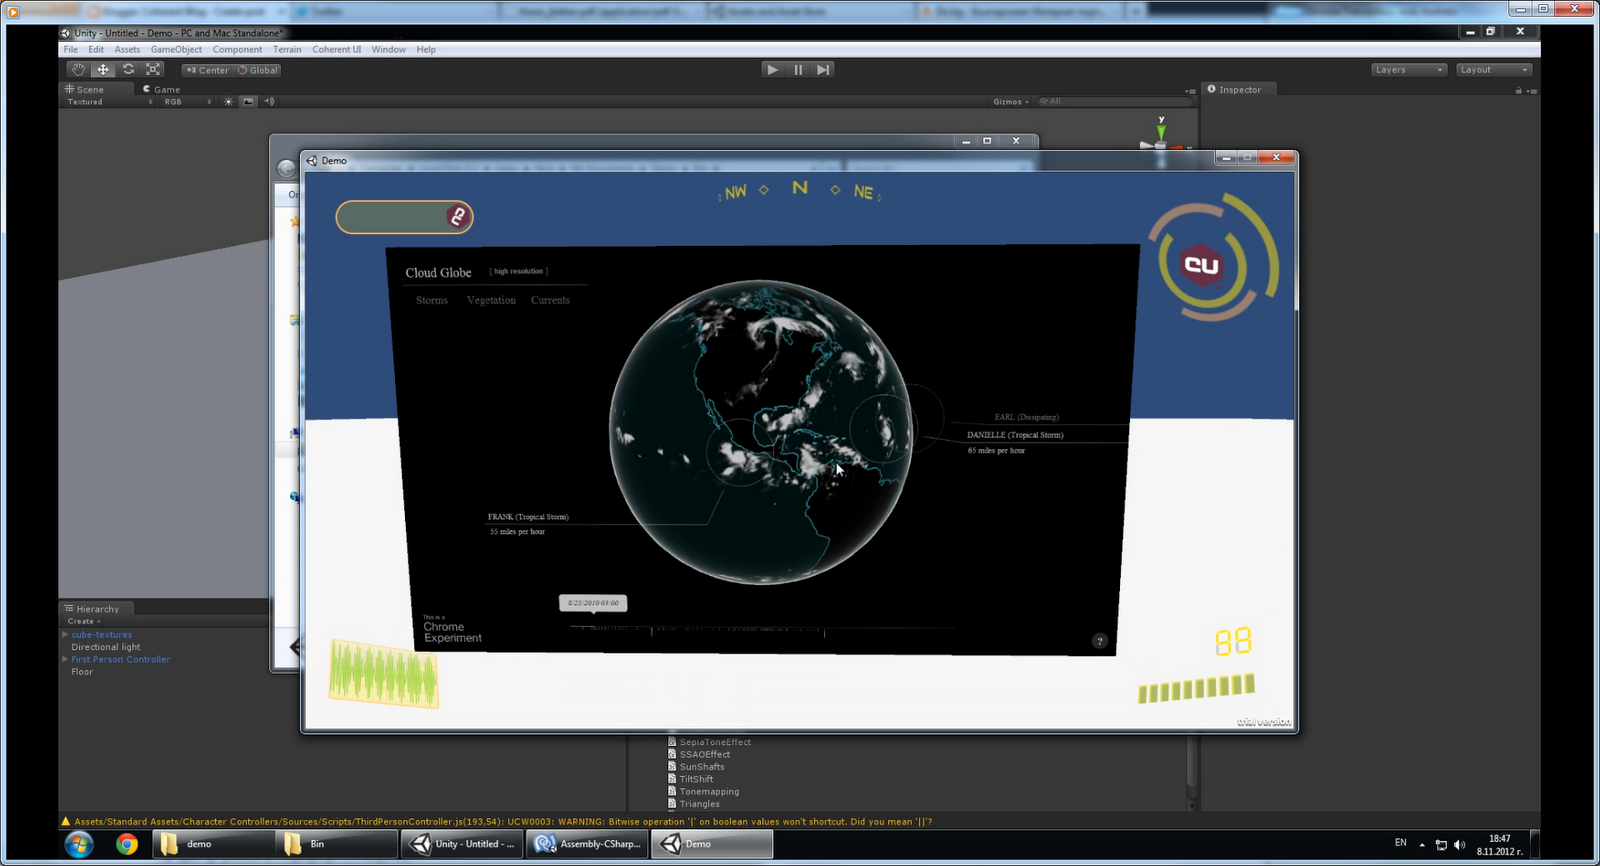
6. Now we have a nicer page in a better resolution.
|
An interactable web-page projected on a game object
|
7. The next thing is to make the page interactable. To do this we add a Mesh Collider component to the mesh. Then a UserScipt component that just handles the raycast and mouse button translation to the Coherent UI View. We also add some code to the camera to stop it from receiving when we hit ‘L’, otherwise it’s very hard to click on anything with the mouse-look on. That’s it – the View is now fully interactable.
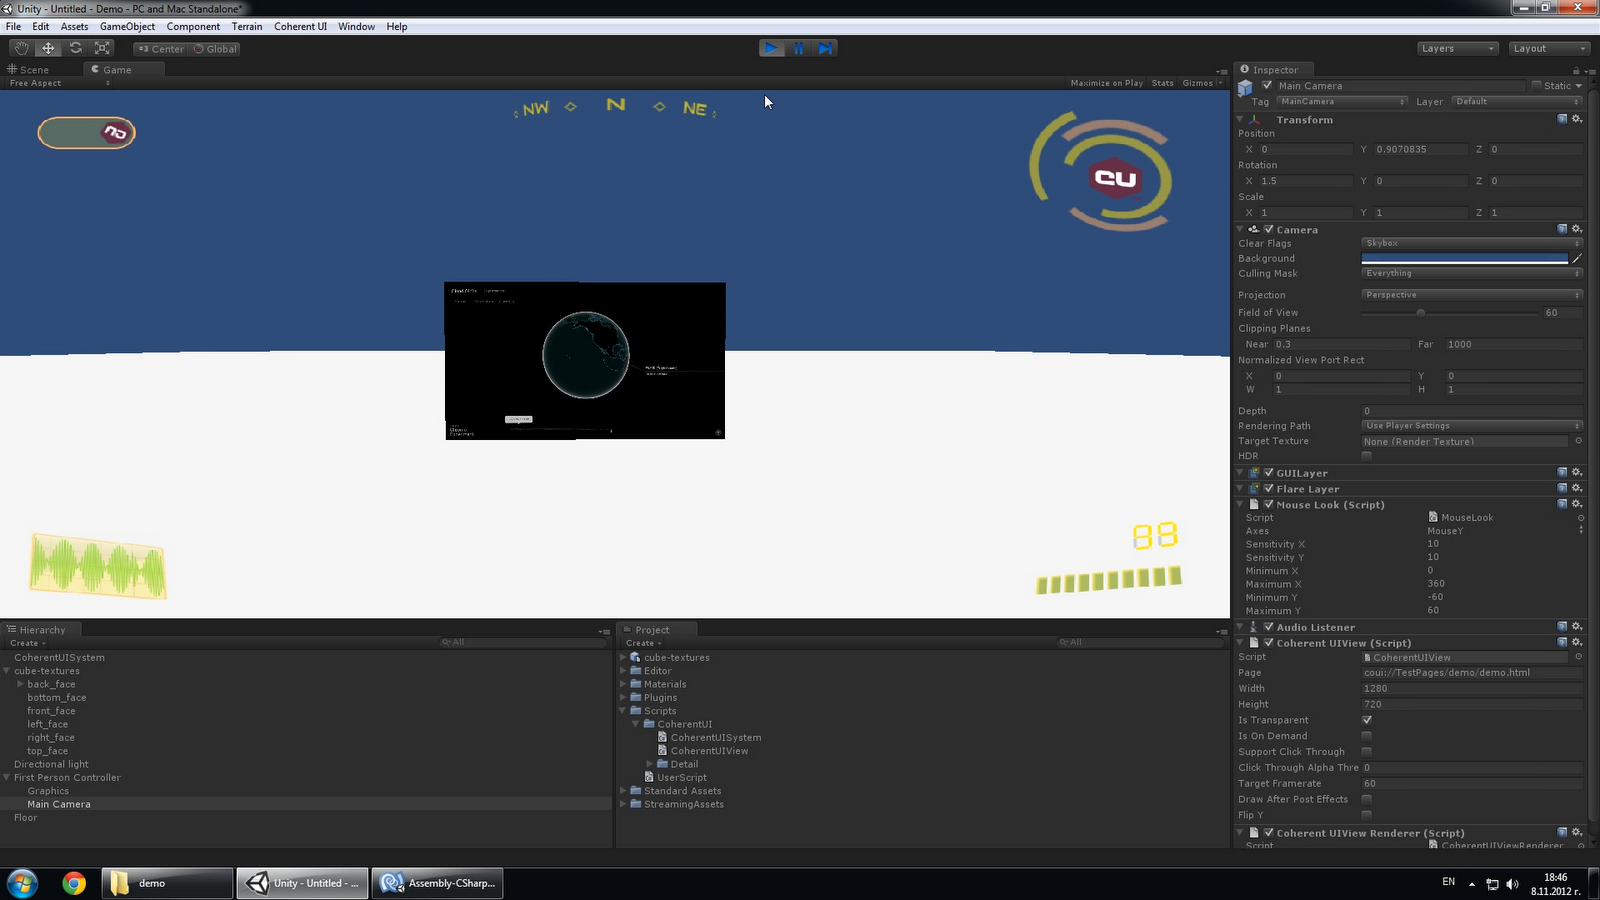
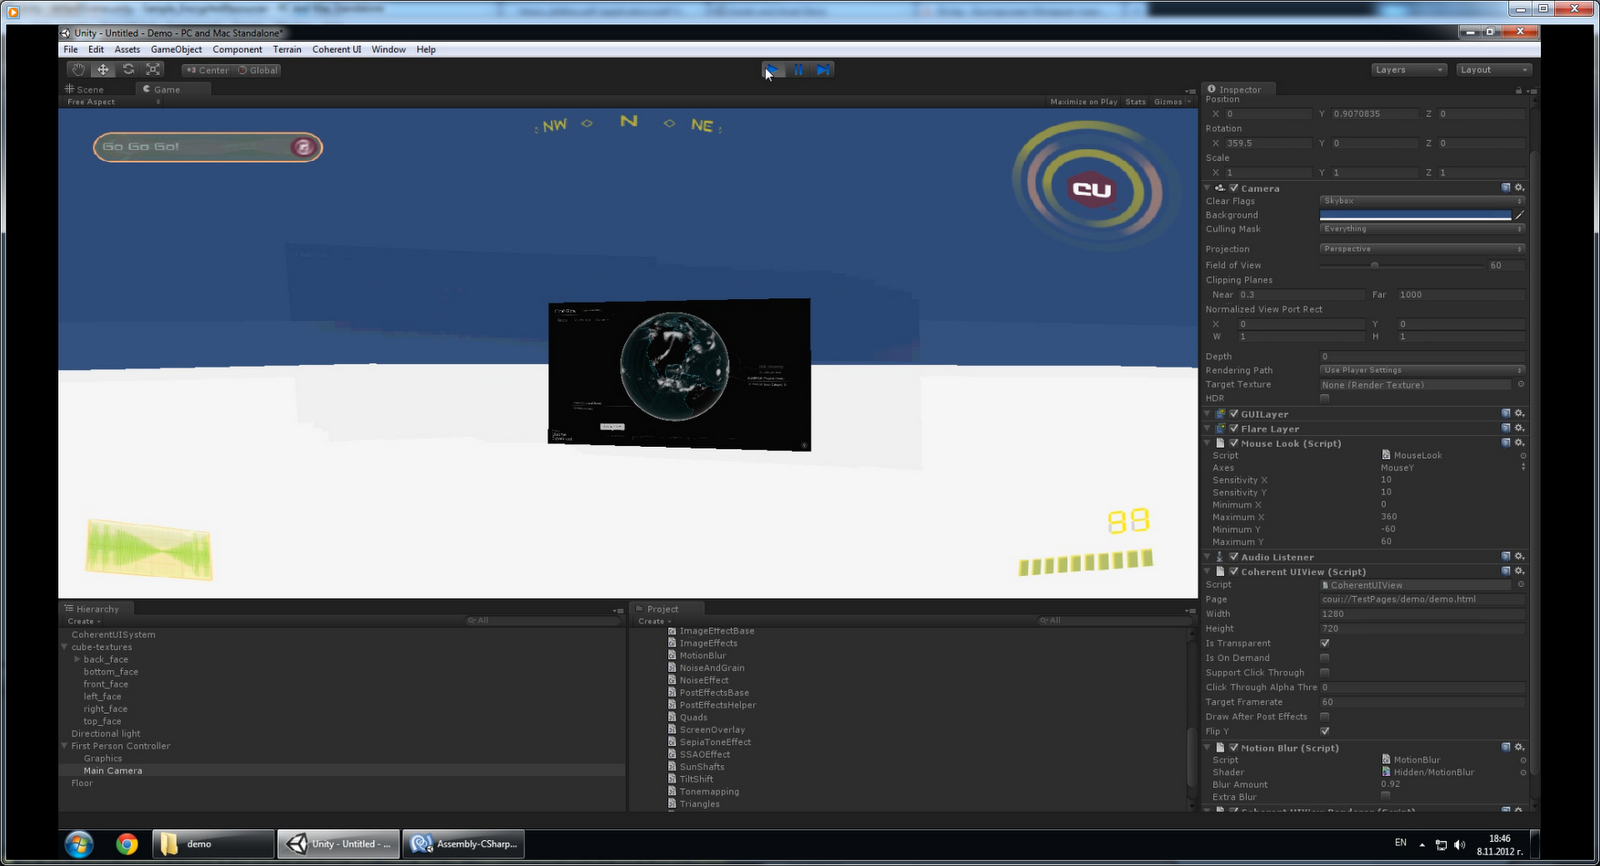
8. Now for the HUD – we just drag the ‘CoherentUIView’ component on our Main Camera. We have made the HUD resources and copy them in our project and set the View’s Page property to coui://TestPages/demo/demo.html.
‘coui’ is a special protocol we use to signal that the resource is local and subject to loading through the file handlers supplied by the application. In this way you can use a custom resource manager as well as for instance encrypt your UI data. The HUD looks pixelated because the resolution we set does not coincide with the one of the Editor pane. It will however be OK in the game when we build it. In your games the resolution will always be tied to the actual resolution of the Camera (the back-buffer).
|
A sample HUD made rendered through Coherent UI
|
9. The Coherent UI integration handles all cases and detects if the component is attached to and object in the world or a camera. It is compatible with post effects. We can add an effect on the camera. By default that effect will be applied to the View also. However this might not be desirable so by clicking ‘Apply After Post-Effects’ you can disable them on the View.
|
Post effects can be applied or skipped on Coherent UI Views
|
10. We now just have to build the game. Coherent UI resources will automatically be copied and made available at runtime.
|
The built game
|
All Coherent UI rendering happens in the native C++ plugin so it’s impact on the performance of your game should be minimal.
Follow Stoyan on Twitter: @stoyannk

