Migration Guide
Migrating existing documents to the Coherent Prysm document type can be done manually or through a JSFL script found in the Coherent Prysm Exporter package.
Manual migration

Existing Animate project files can be converted to Coherent Prysm without the need to recreate them, thus saving the UI developer a lot of time when migrating from different solutions.
The following steps describe how to manually migrate a project.
- Open the existing project file in Adobe Animate.
- Select "Convert to" from the File menu.
- From the dropdown select "Coherent Prysm".
- A new Coherent Prysm document with the same content as the existing file will be created.
Migration through a script
The JSFL script can be used when a lot of Animate projects need to be converted. The script converts all files from a folder sequentially.
The script can be found in the Coherent Prysm.zxp package - com.CoherentPrysm.zxp\CoherentExporter.zxp\ExperimentalExporter\jsfl\PRYSM_CONVERTER.jsfl.
Using the script
There are two ways to use the conversion script. The steps for both are described below.
Approach A
- Open Animate
- Close the Properties window and all of the Prysm modal dialogs.
- Use File -> Open to open the
PRYSM_CONVERTER.jsflscript. - Press the run script button of the JSFL script.
- Select the folder with the project files from the folder picker.
- Wait for the process to finish
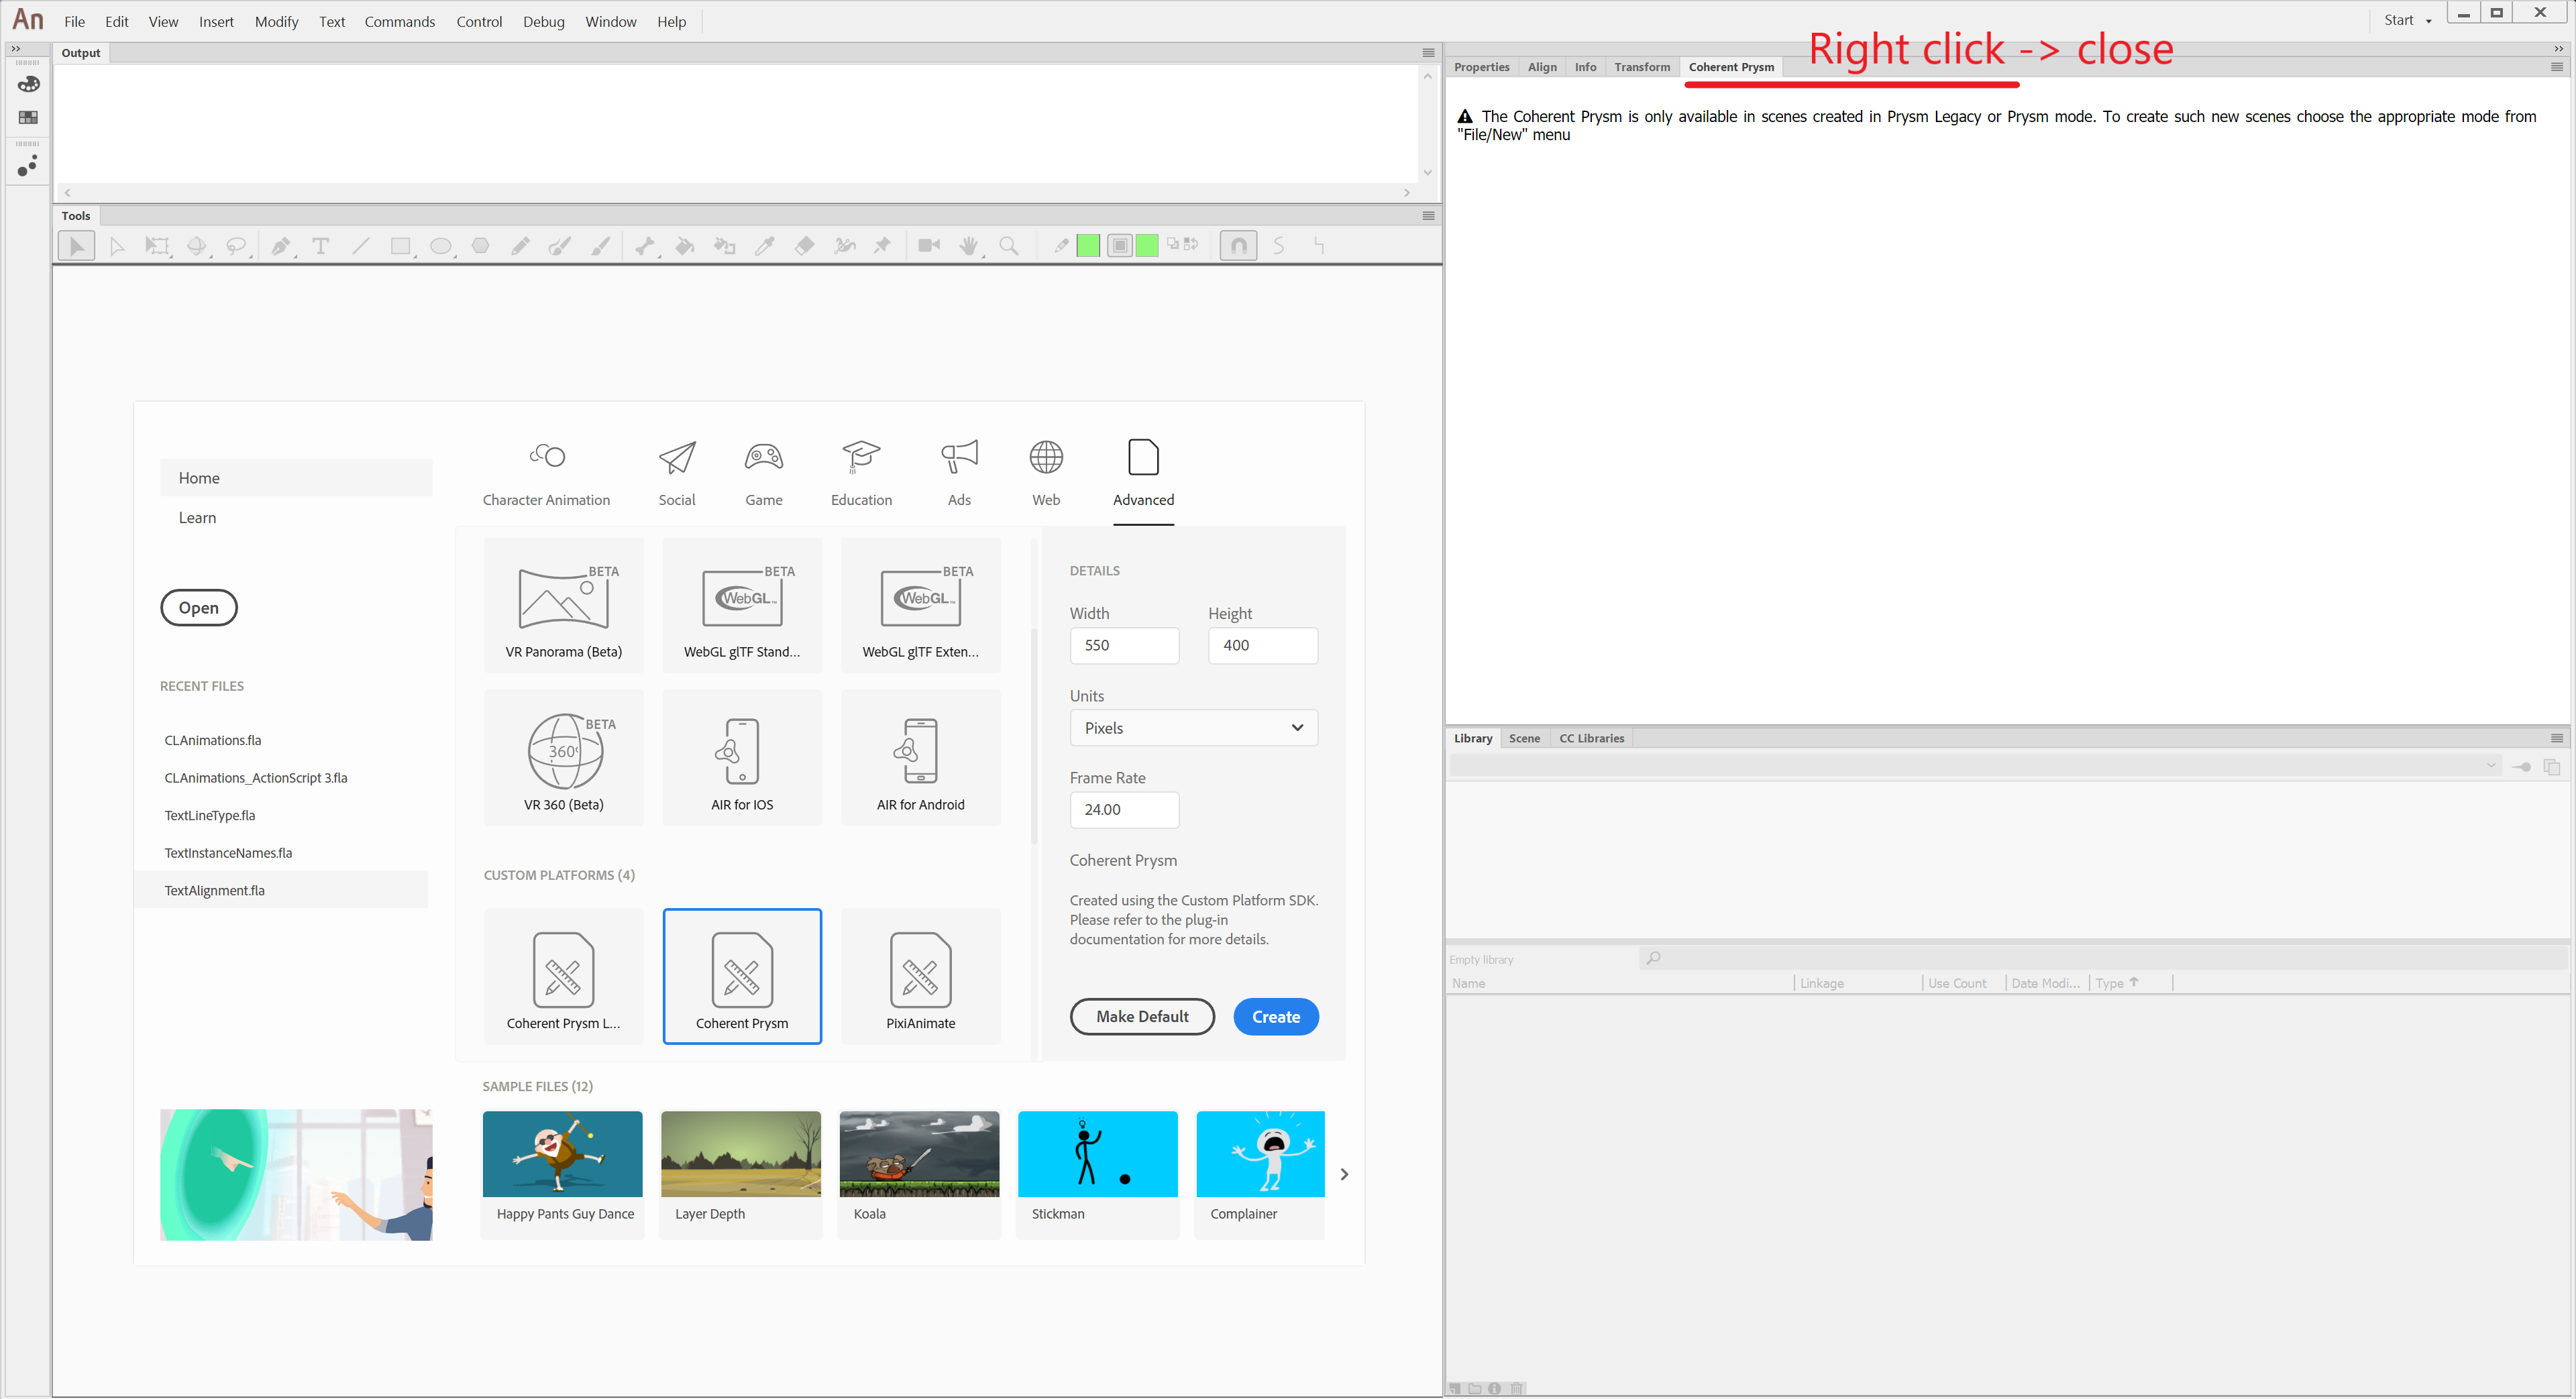
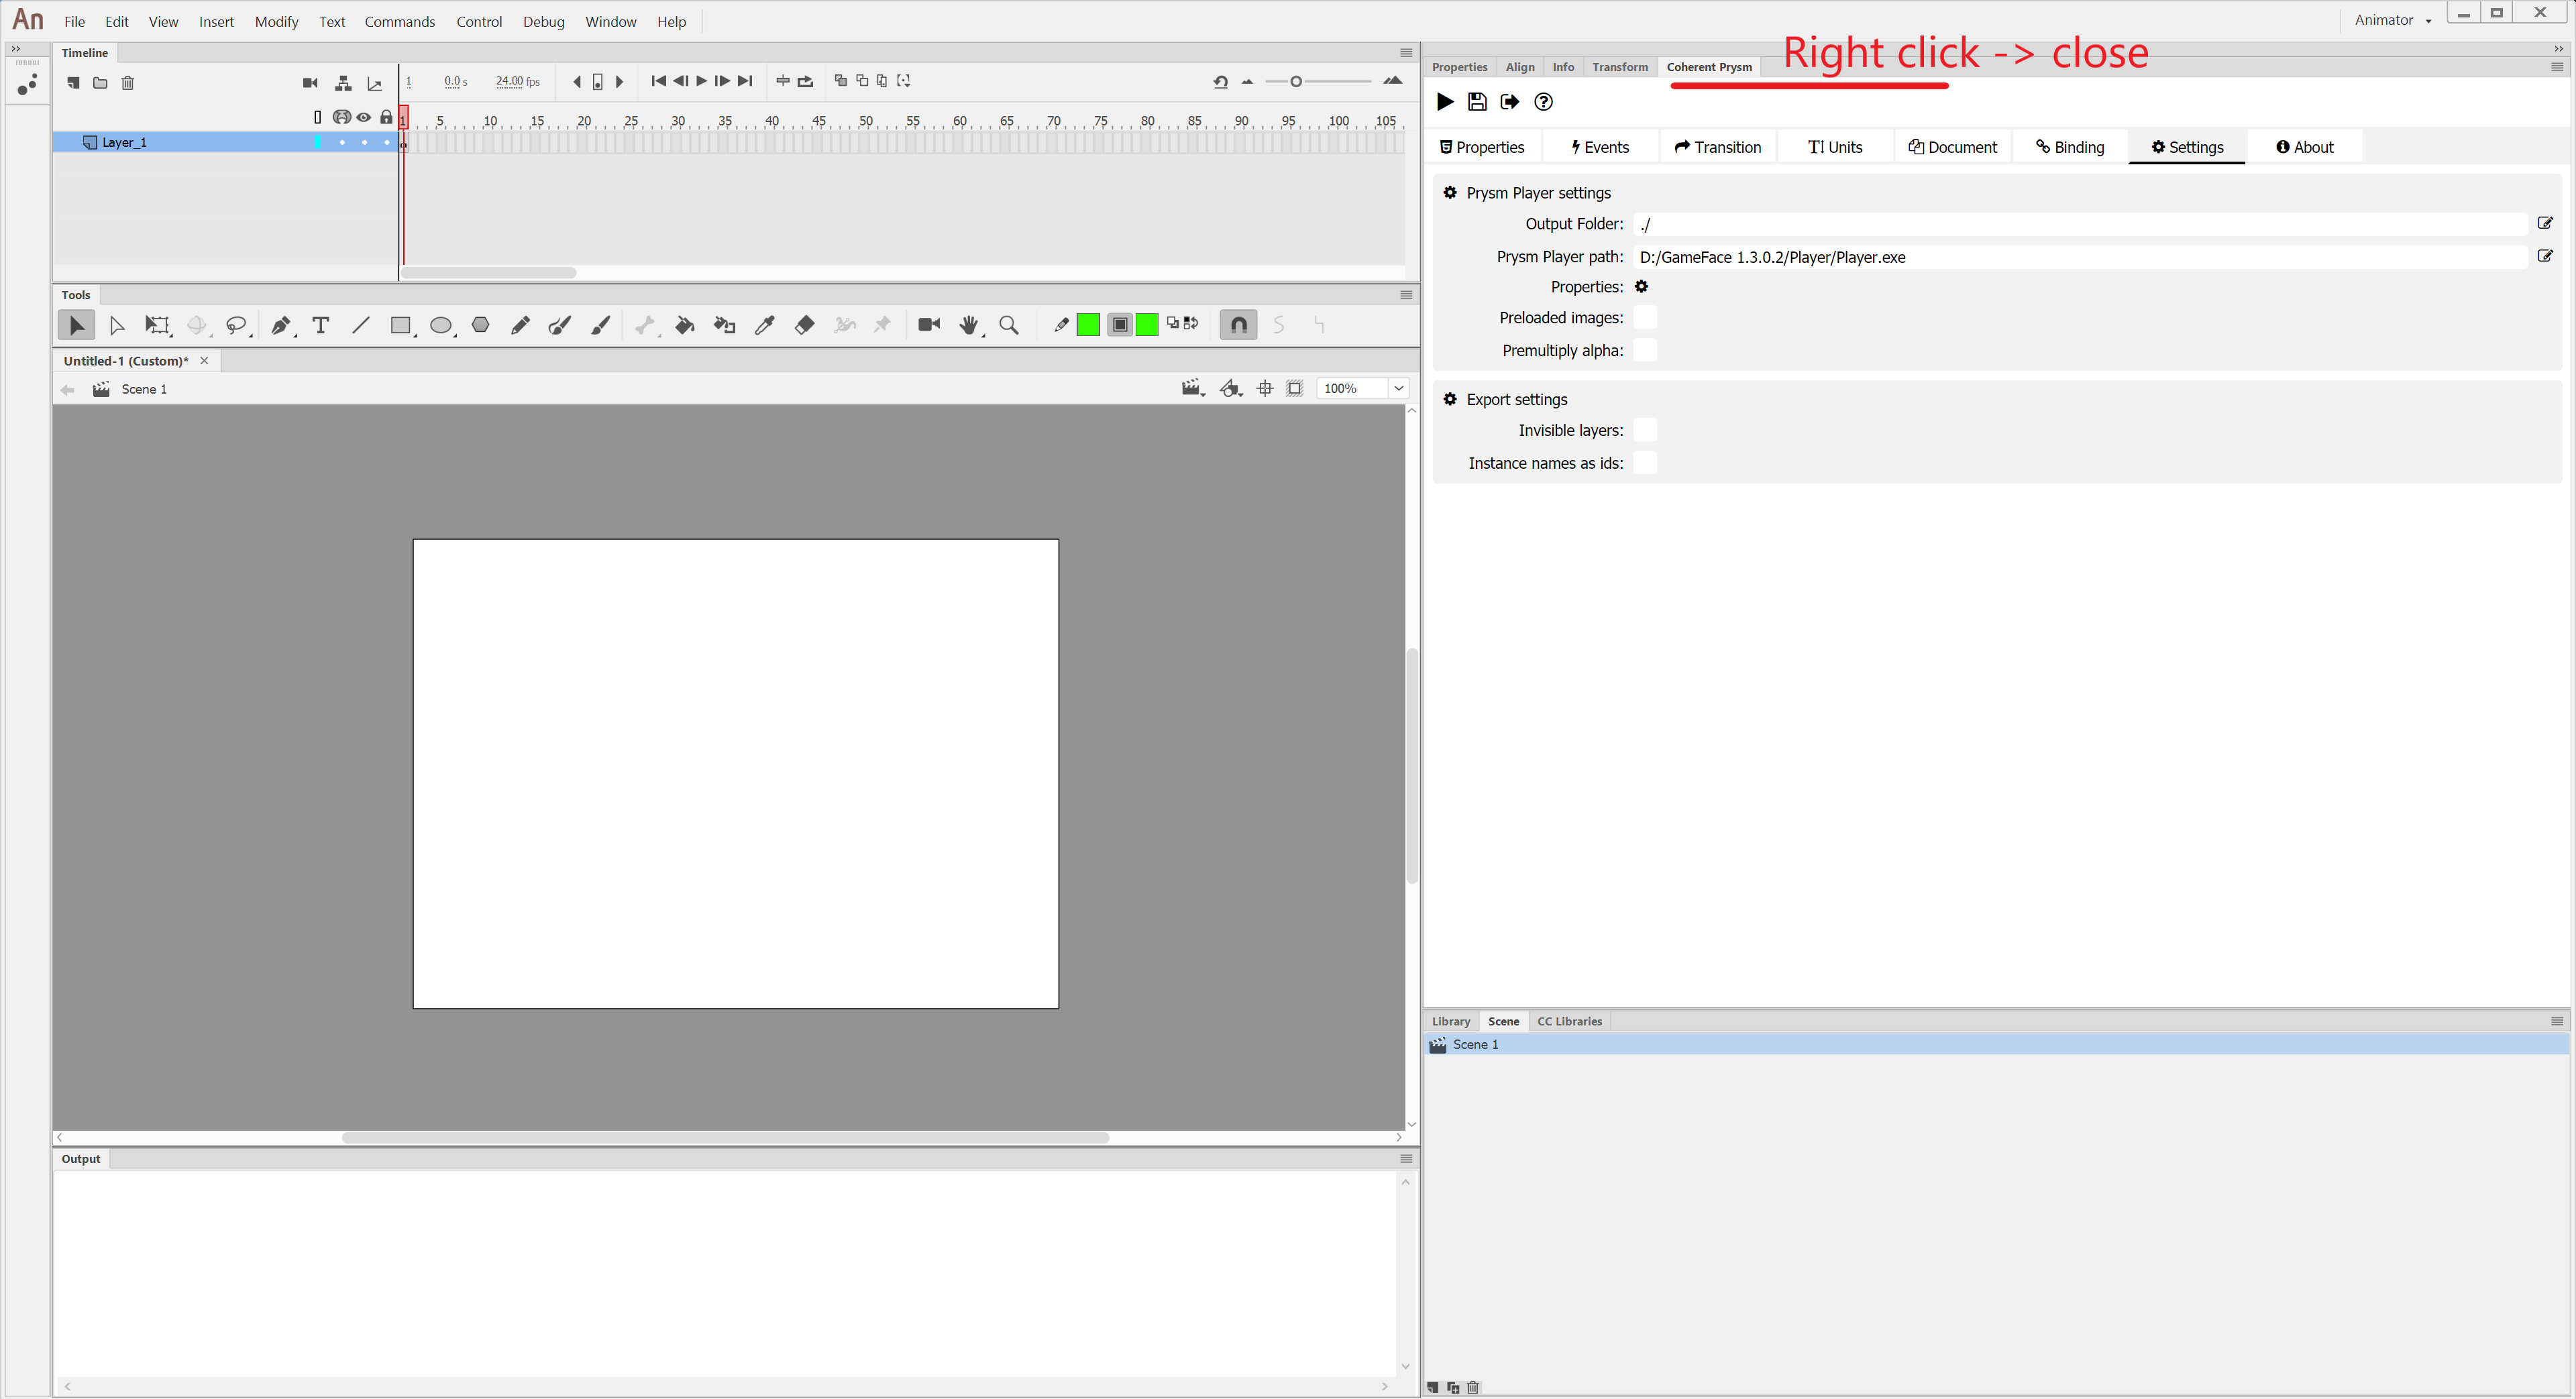
Approach B
- Open Animate.
- Create a new "Coherent Prysm" document.
- Press F4 to close all Animate panels.
- Use File -> Open to open the
PRYSM_CONVERTER.jsflscript. - Press the run script button of the JSFL script.
- Select the folder with the project files from the folder picker.
- Wait for the process to finish
- Press F4 again to reopen all Animate panels.
Conversion results
The conversion script renames the original files to ${fileName}_old.fla and generates new files with the same names as the original files ${fileName}.fla.
A log file contains detailed information about the conversion. It can be found at ${Animate config dir}/PRYSM_CONVERTER_LOG.txt, for example on Windows the path can be ${C:\Users\User1\AppData\Local\Adobe\Animate CC 2019\en_US\Configuration\PRYSM_CONVERTER_LOG.txt}.
XFL files conversion
XFL projects are converted differently due to their directory structure. The converter looks for XFL files one level deeper inside the selected conversion directory.
For example, for a selected root directory myDir, a XFL file can be inside myDir/directory/project.xfl. The converter will generate the new files in myDir/new_directory e.g. myDir/new_directory/new_project.xfl.
Known issues
The conversion script uses Animate's built-in converter that has the following issues.
Bitmaps can lose their original library path
Animate's build-in converter moves all bitmaps to the root of the library.
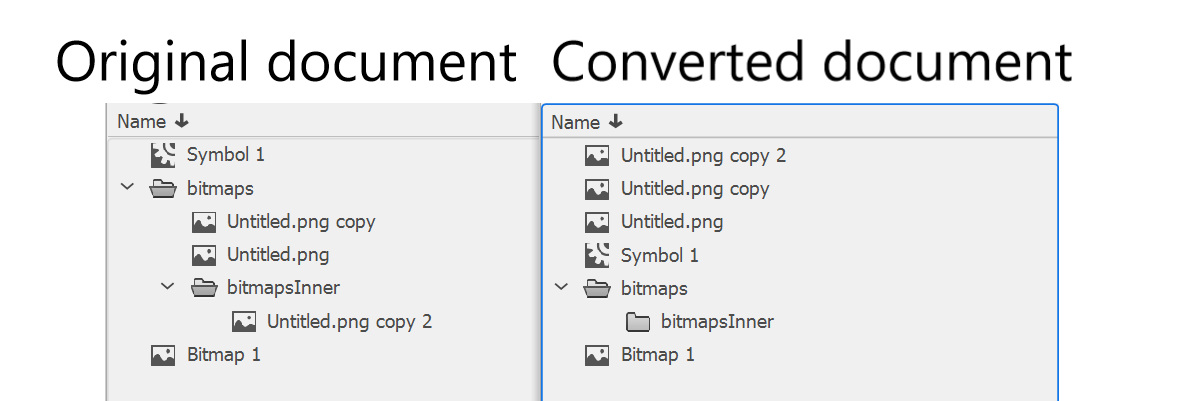
This behavior can lead to naming collisions as library folder names are prepended to PNG names on export.
The conversion script restores the original bitmap paths after conversion.

Any issues with the library structure will be in the log file. An error message looks like the following.
The library structure has been changed due to applying the bitmap reordering fix! Please check if the library structure is the same as the original one!
A successful library restoration results in the following.
No critical issues were found in the library structure.
Warnings for unsupported features
Documents that contain unsupported features generate warning messages like the following.
Warnings generated while copying/importing in ${the document name}.fla:
Quality, Knockout, Inner Shadow and Hide object of DropShadow Filter is not supported in Coherent Prysm document and has been removed in an instance of Movieclip ${name}.
Files that contain author-time shared symbols, that have a converted filter, trace an alert when closed. The alert doesn't cause export problems.
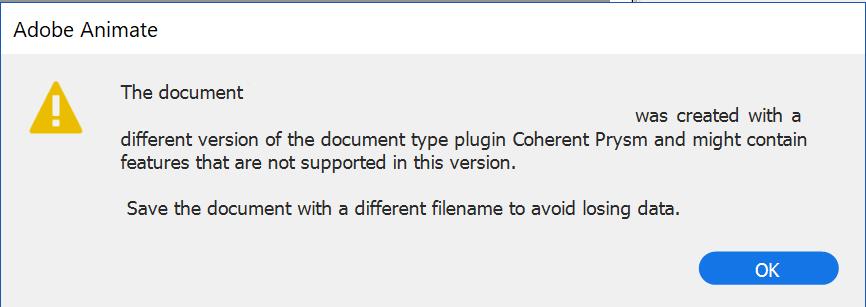
Warnings for unsupported filters can be manually workaround through the following steps.
- Find the symbol that contains the filter through the "Find and replace" Animate feature.
- In the Animate's Properties window navigate to the filters section,
- Add a dummy filter by pressing the '+' button,
- Remove the dummy filter and save the document.
Masked layers errors
Converting a document with two scenes that has masked layers in the first scene, causes the layers on the second scene to be converted to masks.

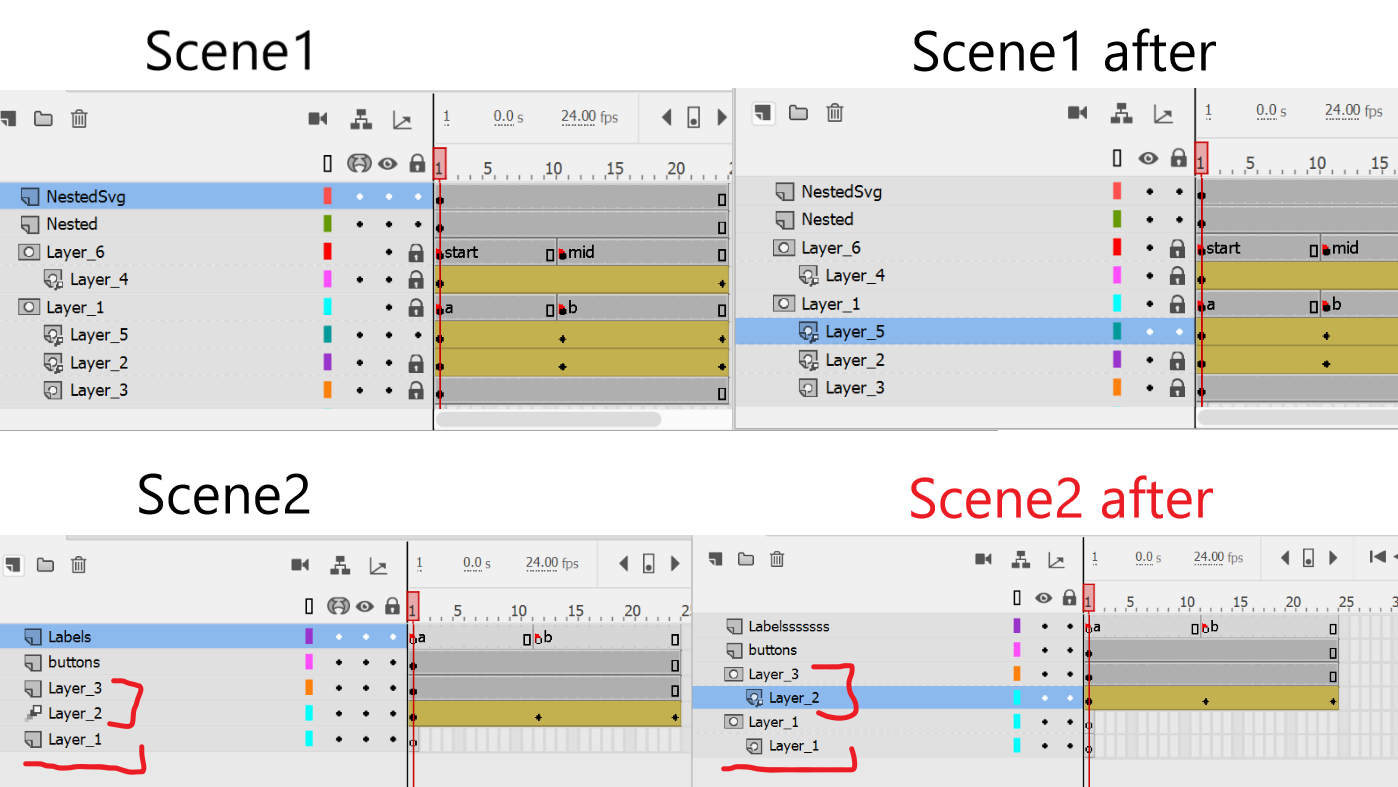
The log contains a record if the error occurs.

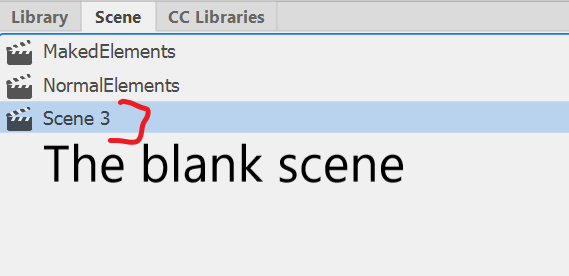
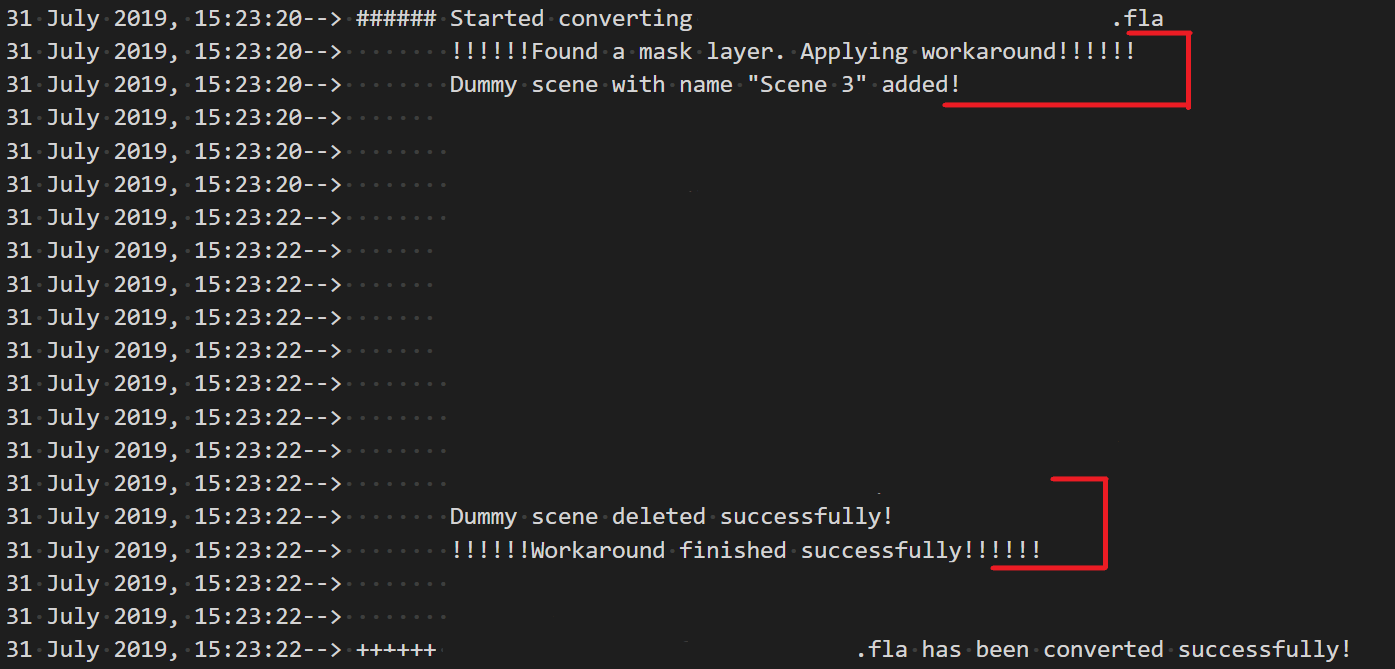
To fix the problem the conversion script appends a blank scene in the document. The dummy scene receives the broken mask and is deleted after conversion.
The log contains a record if the workaround is applied.
If the workaround is not successful, changing the scene layers to Normal for the last scene manually, converting, and then making them masks again should fix the problem.