Tutorials - Animations and binding events
In this tutorial, we will extend the list with cards made from the previous tutorial:
- Will create and design a card back layout.
- Will animate opening and closing a card.
- Will use the data bind event to make card toggle when clicked with the help of the animations control API.
For this tutorial you need the following knowledge related with the Coherent Prysm:
- How to use data binding events.
- How to use CLAnimations.js API.
The final result from the tutorial will be that all the cards from the previous tutorial can be opened/closed.
Preparing the UI
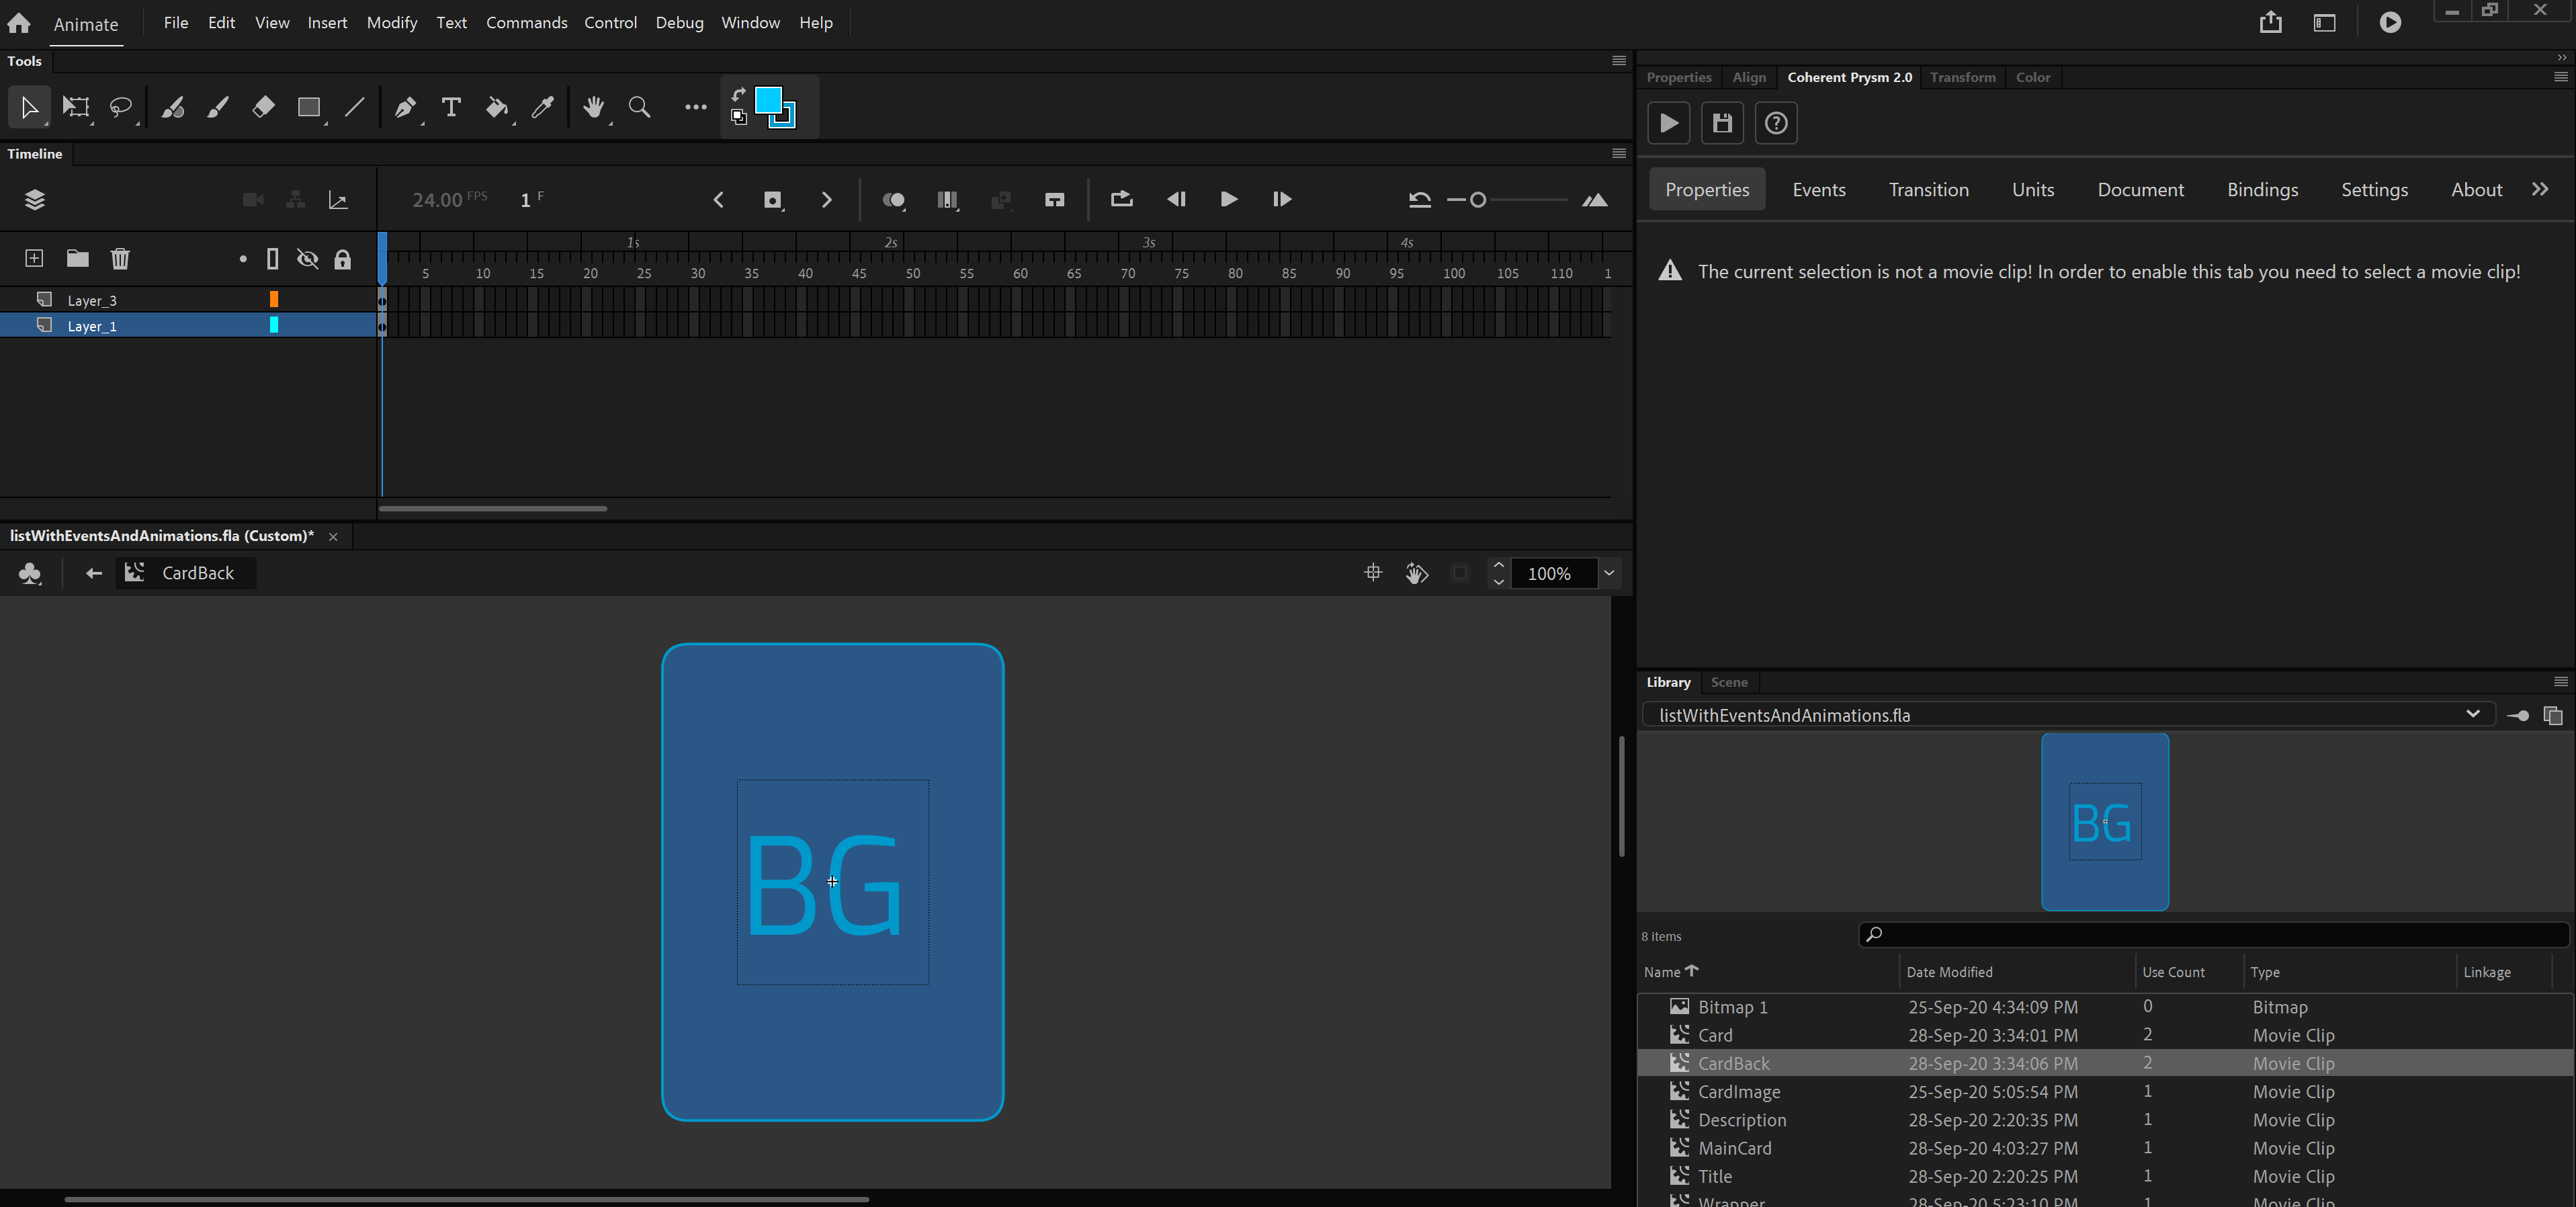
Creating the card back
-
Create a new Symbol CardBack
-
The background should be with the same size as in the CardSymbol.
- Design the back with your idea. In this example, we will have the same background color, the border, and with the text element "BG".
Animating Card and Card back
-
To animate the closing and opening of Card and CardBack symbols we need first to wrap them.
-
Create a new symbol with name MainCard.
- Make a transition between the back of the card and the card item with animating both symbols.
- Also set a layer with labels open_card and close_card
- Make sure that Animations play state options from the Document tab is set to paused so the animations won't start when the scene is played.
Changing the Card with MainCard
- Navigate to Wrapper's timeline and select Card symbol.
- Remove the bind-for from the Card symbol.
- Set position of the Card symbol to be Absolute.
- Swap the Card symbol inside Wrapper with MainCard.
- Set position of the MainCard to be Relative.
- Set bind-for to the MainCard with value item:{{model.itemsArr}}.
Extend the model.js
Now we will create logic for toggling the card when it is clicked.
- Add isOpen property to the default item model.
- Add onCardClick method.
- This will be the callback when the data-bind-click event occurs.
- Will check whether or not the card is opened.
- Will play the animation of opening/closing the card using the CLAnimations labels API.
const itemsArr = [];
const NUMBER_OF_ITEMS = 10;

for (let i = 0; i < NUMBER_OF_ITEMS; i++) {
    // set default info for each card
    itemsArr.push({ title: `Card ${i + 1}`, isOpen: false, description: `${parseInt(Math.random() * 10)}/10`, image: 'resources/placeholder.png' });
}

const model = {
    itemsArr: itemsArr
}

engine.createJSModel('model', model);
engine.synchronizeModels();

setTimeout(() => {
    for (let i = 0; i < NUMBER_OF_ITEMS; i++) {
        // when the items are loaded set their corresponding card images and update the model.
        // resources/img${parseInt(Math.random() * 3) + 1}.png can be any valid image url
        model.itemsArr[i].image = `resources/img${parseInt(Math.random() * 3) + 1}.png`;
        engine.updateWholeModel(model);
        engine.synchronizeModels();
    }
}, 0);

function onCardClick(event, element, item) {
    if (item.isOpen) {
        CLAnimations.gotoAndPlay("close_card", element);
    } else {
        CLAnimations.playFromTo("open_card", "close_card", element);
    }

    item.isOpen = !item.isOpen;
}
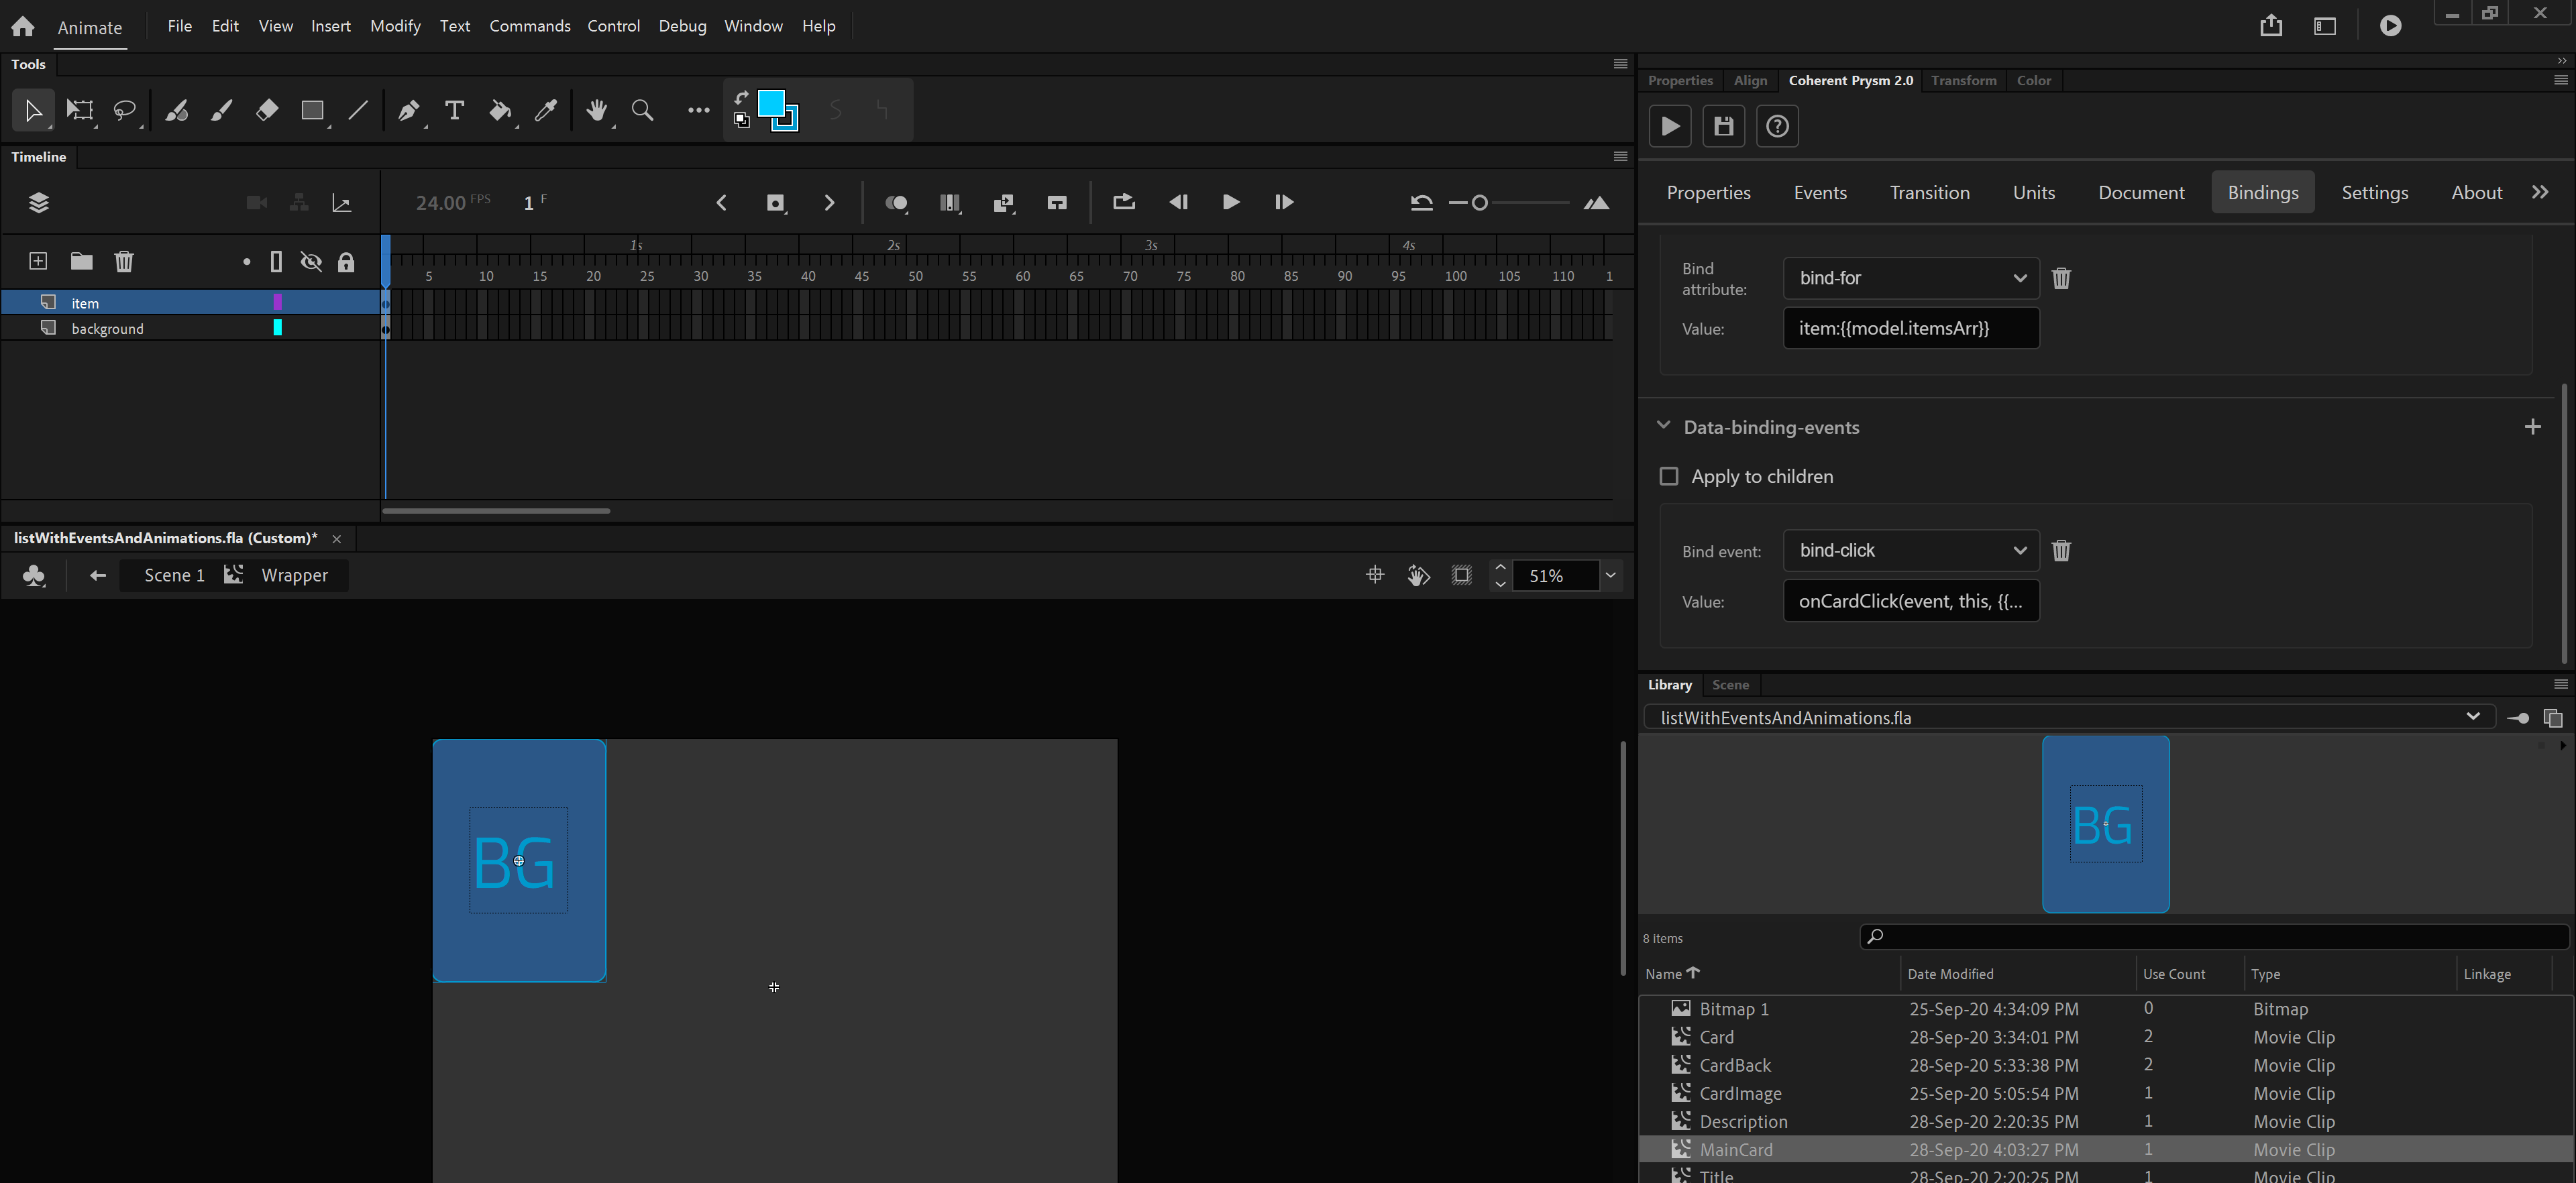
Add data-bind-click event to a card
-
Enter inside Wrapper's timeline and select MainCard symbol.
-
Add a new data binding event with the following options:
-
Data binding event - bind-click
- Value - onCardClick(event, this, {{item}})
If you start the scene you will see that when you click onto the card it will open and when you click again it will close.
Check the tutorial
To check and download the whole working tutorial you can click here.