Animations - Transitions
Overview
Transitions are a really strong feature of CSS that lets you easily animate the change of a certain property of an element from one value to another e.g. change the width of a rectangle from 250px to 125px. What is more, these values don't have to be known in advance, so any changes made via JavaScript or via data binding will be animated as well.
This feature makes the creation of certain UI elements very easy, therefore, we have added the ability to export them from Animate with the help of the new Transition panel.
We apply transitions on symbols and the panel lets you tune different properties of the transition via a couple of input fields. Let's see how the panel works by making a health bar.
Health bar setup
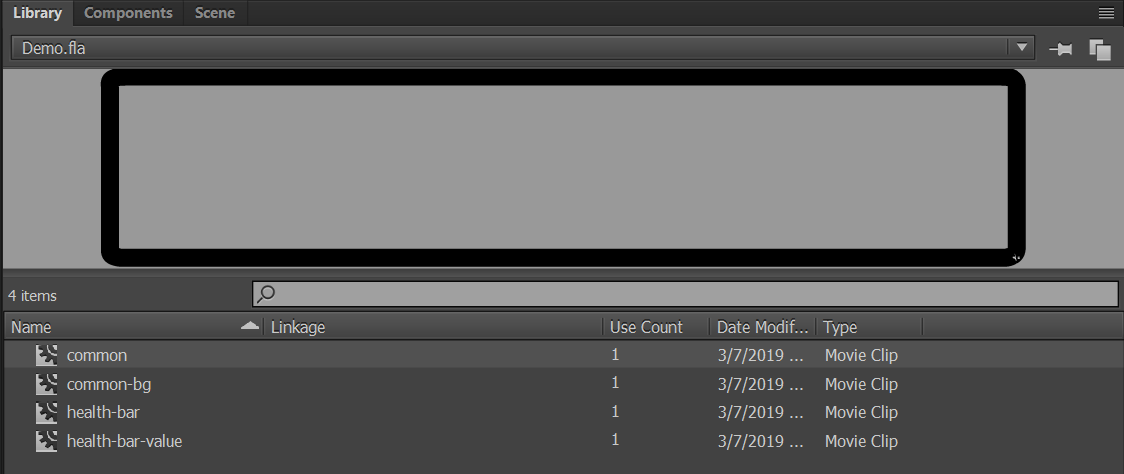
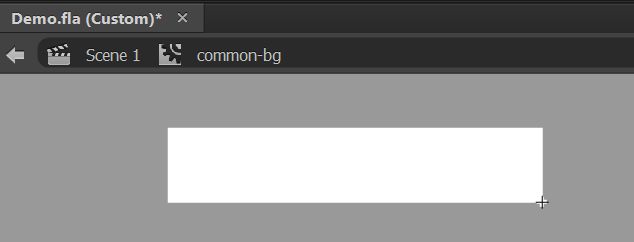
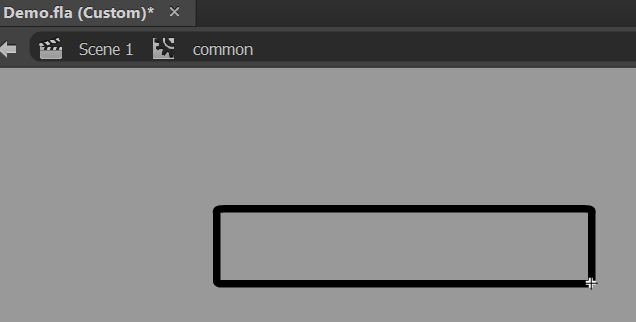
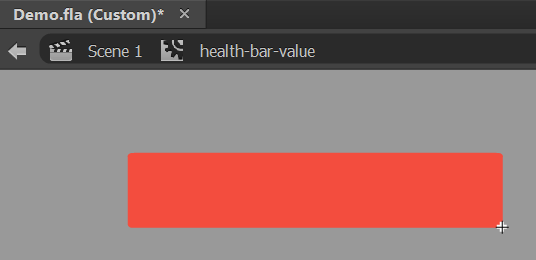
Firstly, we will need a couple of symbols for the health bar which includes a common border, a common background color, the value of the bar, and a wrapper to group the bar into a single unit that can be Author-time shared and duplicated.
There are two common symbols so that we can vertically align the background below the border for design purposes.
The value changes will be driven by data binding, hence, we need to add a data binding property on the symbol for the health bar value.

The binding expects the model to include a current health value and a max health value.
{{healthBar.current}} / {{healthBar.max}} * 100
The current value is normalized to represent a percentage of the total health and the value is bound to the element's width.
The binding is sent to the children of the symbol so that the symbol defines the max-width of the bar and the width of the child shape represents the current value of the bar.
In a way the total health is mapped to the entire width of the symbol and no health is bound to an element with no width.
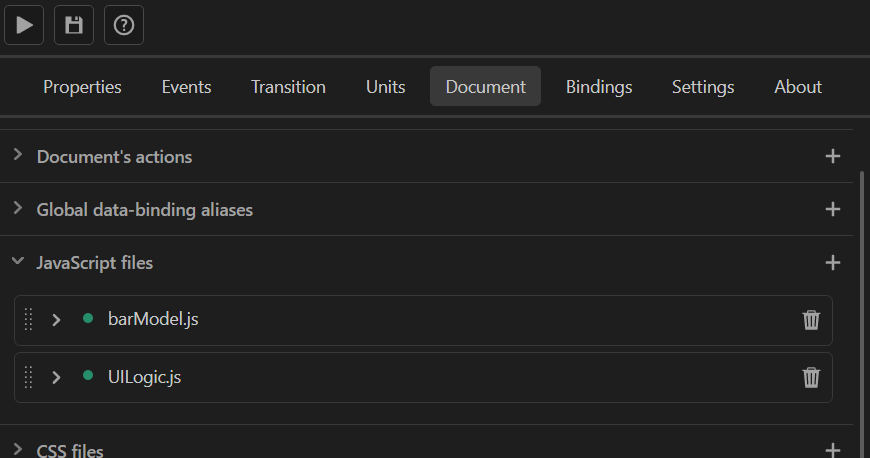
To complete the change of the element we need to include a couple of JavaScript files to drive the data binding.
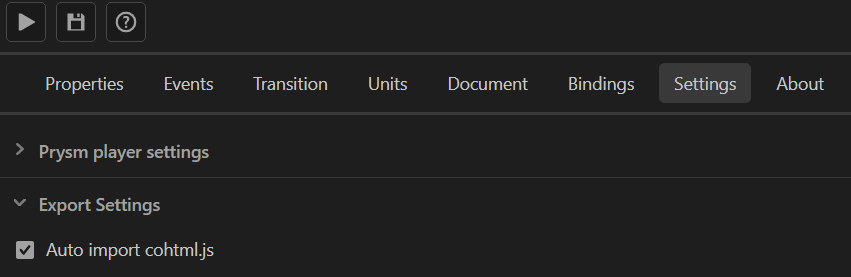
Also, make sure Auto import cohtml.js is enabled from the Settings tab!
On one hand, the contents of the barModel.js file create the healthBar model object.
class Bar {
    constructor(max, initial) {
        this.maxResource = max;
        this.resource = initial;
    }

    get max() {
        return this.maxResource;
    }
    get current() {
        return this.resource;
    }

    update(value) {
        if (value >= 0 && value <= this.maxResource) {
            this.resource = value;

            engine.updateWholeModel(this);
        }
    }
}

engine.on("Ready", () => {
    engine.createJSModel("healthBar", new Bar(100, 33));

    engine.synchronizeModels();
});
The UILogic.js file on the other hand simulates change of the health bar value, updates the model, and synchronizes it to yield visual changes. The symbol_health_bar variable is the auto-generated collection that represents the instances of the health-bar symbol in the document.
for (let i = 0; i < symbol_health_bar.length; ++i) {
    symbol_health_bar[i].addEventListener("click", () => {
        healthBar.update((Math.random() * healthBar.max - 1) + 1);
        engine.synchronizeModels();
    });
}
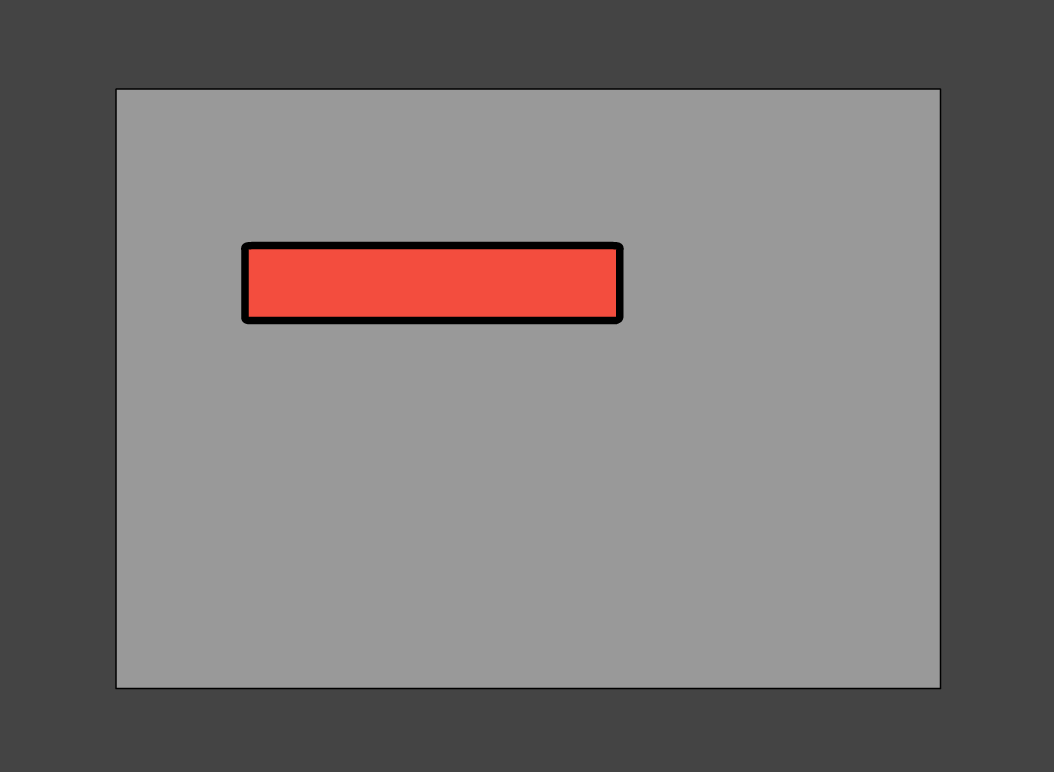
As mentioned, the wrapper symbol groups everything necessary for the health bar and positions it in the document.
If we export and play the content at this stage we will notice that the bar changes with a snap.
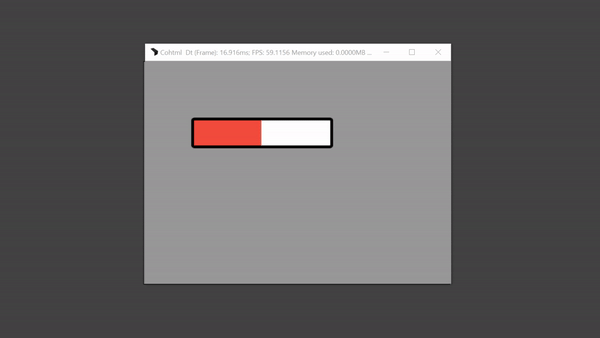
Transitions in action
To provide a better visual experience we would like to make the change animated and transitions are the right tool for the job.
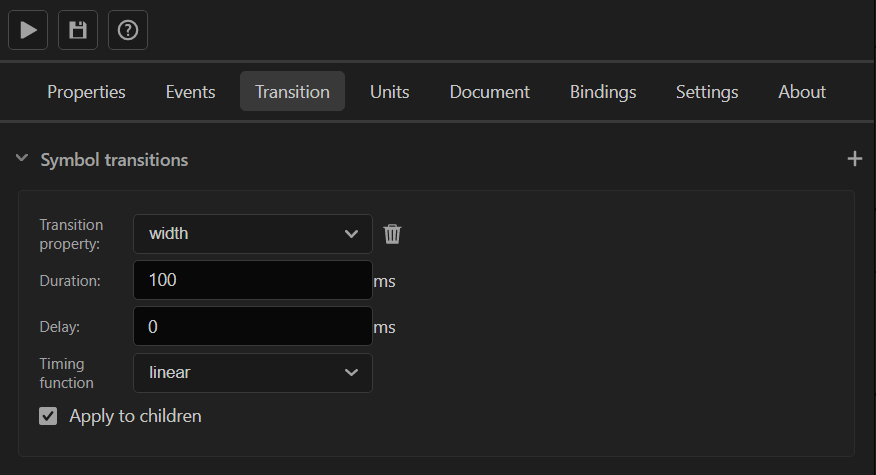
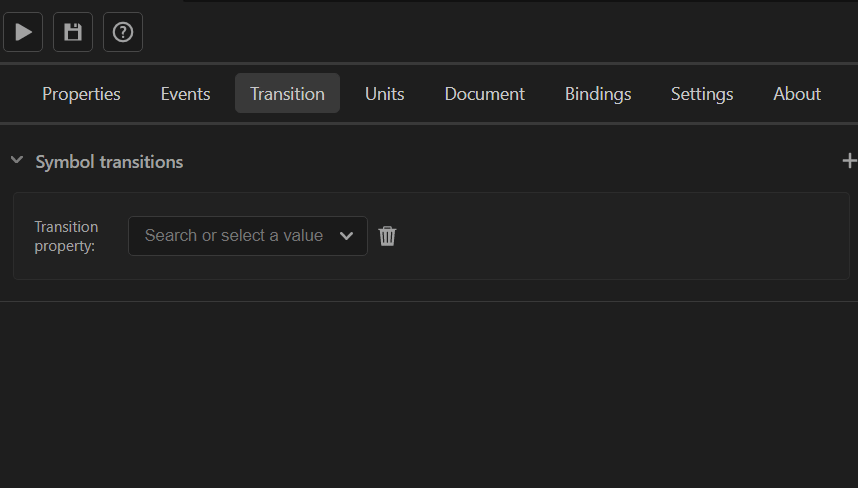
To apply a transition we select the symbol which holds the value and navigate to the Transitions panel. Once there, we select the plus icon to add a new transition.
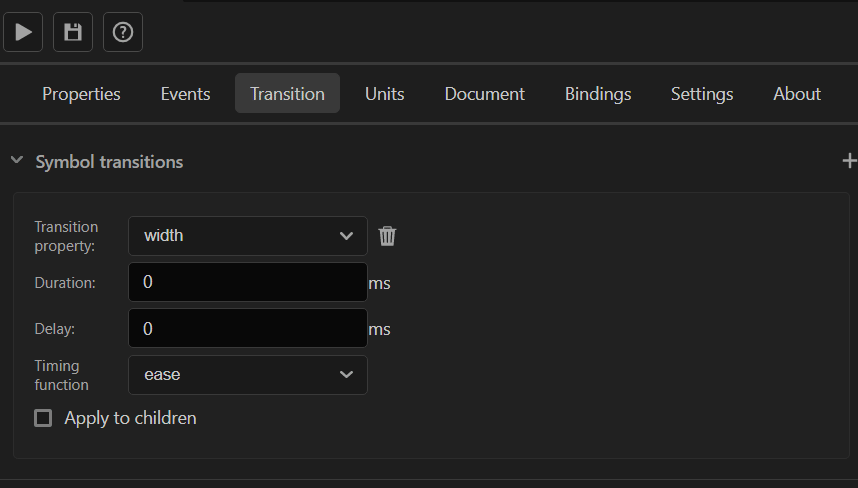
After that, we have to select a property to be transitioned and since we are changing the width of the bar, we should select width.
Once we select what property we are going to change, a couple of new fields appear.
Firstly, the Duration field changes how long an element will transition from one state to another.
Secondly, the Delay input defines any wait time from the time of the change to the start of the transition e.g. if we set a 100ms delay, whenever we click the health bar 100ms will pass before the transition starts.
Next, the Timing-function dropdown lets you select from a couple of built in timing functions that alter how the element changes. Read more about them here
Last but not least, there is the Apply to children checkbox which propagates the transition to all children of the symbol is selected. Since we change the width of the child via data binding we want the child to receive the transition, so we will check that box.
And Voilà! With a couple of clicks, we have set a transition that animates the change of a property from one value to another. When we play the file we will see a much more visually pleasing result.